
Following the upgrade sequence, the Unified Access Gateway (UAG) is the next component to be upgraded.
Currently, there is no direct upgrade for the UAG but instead, the correct method is to reinstall the new version.
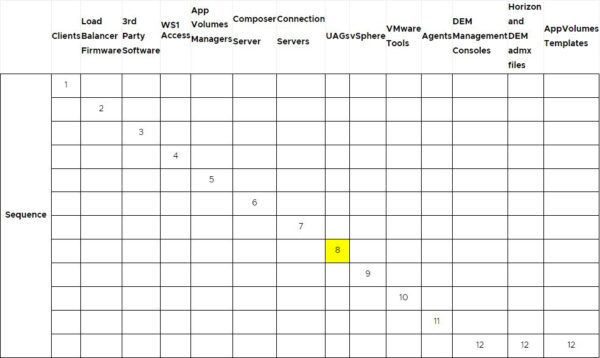
Blog serie
Omnissa Horizon 2503 upgrade guide: App Volumes Manager - pt.1
Omnissa Horizon 2503 upgrade guide: Connection Server - pt.2
Omnissa Horizon 2503 upgrade guide: UAG - pt.3
Omnissa Horizon 2503 upgrade guide: DEM and Templates - pt.4
Before the upgrade
Since the upgrade of the Unified Access Gateway requires the deletion of the old version of the UAG, before proceeding you need to save the current configuration that will be imported to the new UAG later.
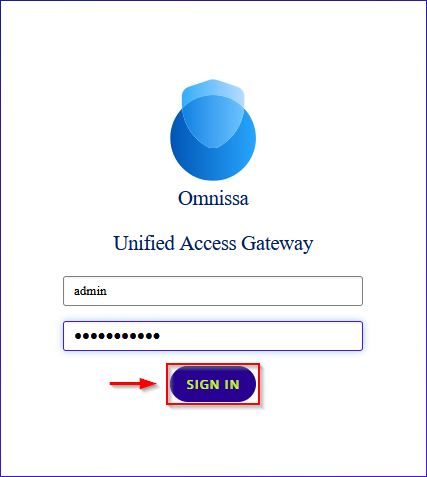
Using your preferred browser, access the UAG login page, enter the required credentials and click Sign in.

In the Configuration Manually pane, click Select.

In the Advanced Settings area, click the gear icon for System Configuration.

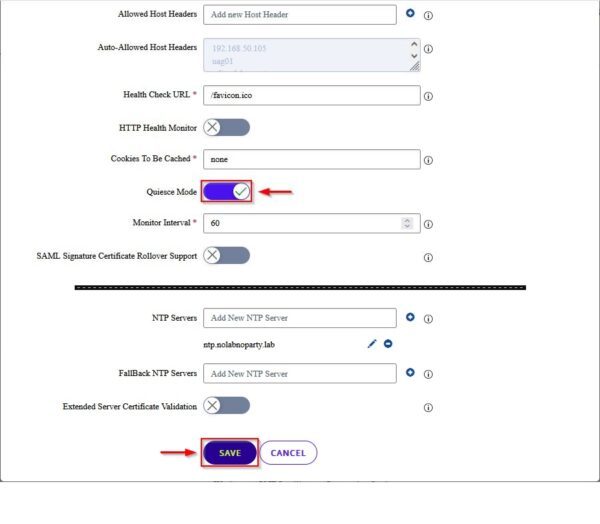
Enable the Quiesce Mode to show the UAG as not available when the load balancer checks the health of the appliance. Click Save at the bottom to save the setting.
Now go to Support Settings area and click JSON to Export Unified Access Gateway Settings.
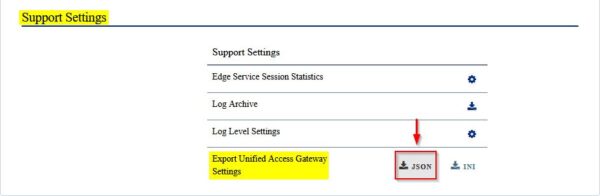
The configuration is saved to the Download folder in your computer.

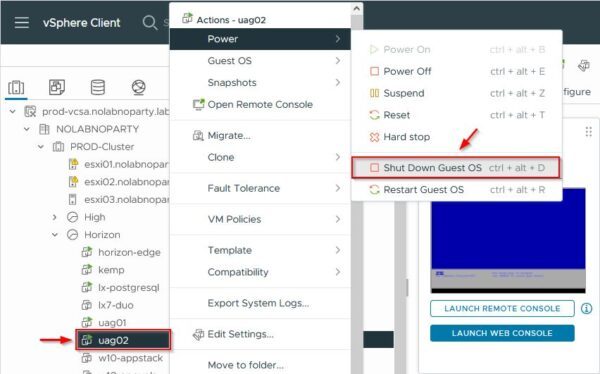
Now shutdown the UAG to upgrade. Right click the appliance and select Power > Shut Down Guest OS.
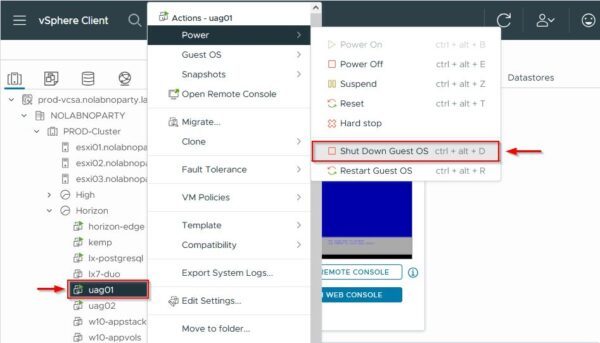
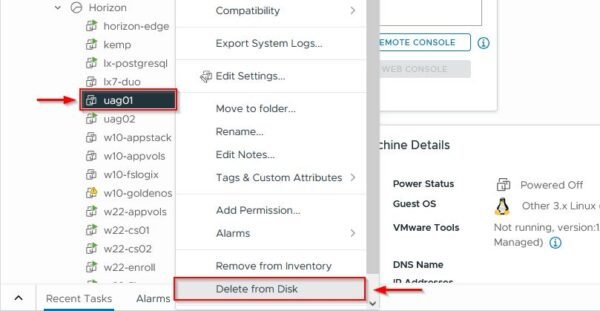
When the appliance has been powered off, delete the appliance. Right click the appliance and select Delete from Disk.
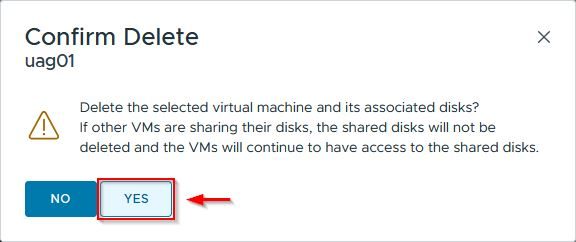
Click Yes to confirm.
Upgrade the UAG
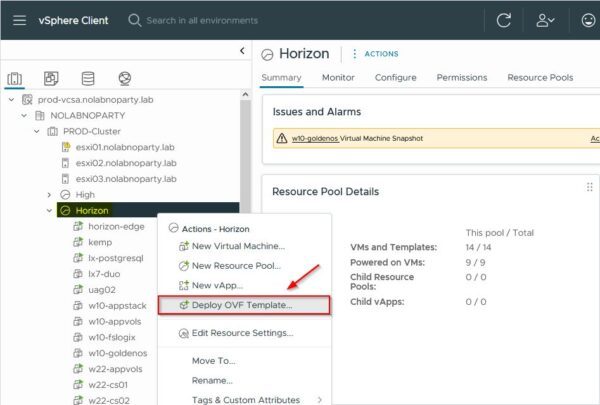
Right click the Resource Pool in which you want to deploy the new UAG and select Deploy OVF Template.
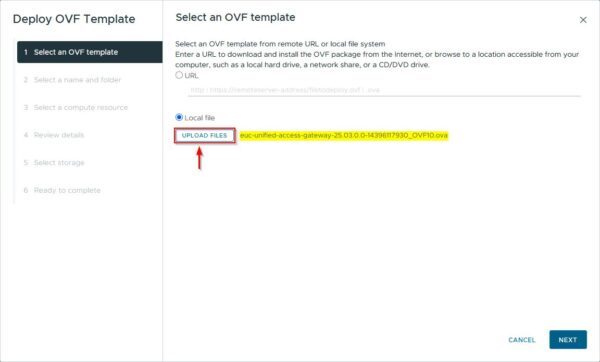
Click Upload Files and select the OVA (currently euc-unified-access-gateway-25.03.0.0-14396117930_OVF10.ova) to install the new version. Click Next.
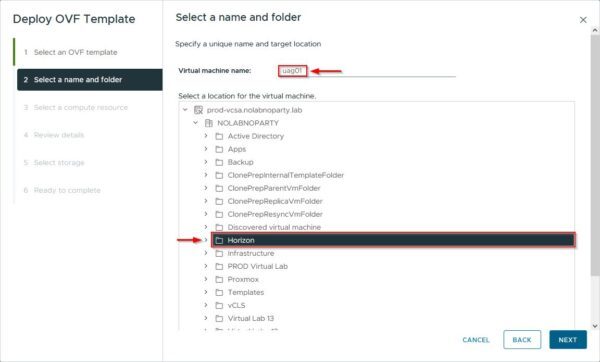
Enter the Virtual machine name and the folder to store the appliance. Click Next.
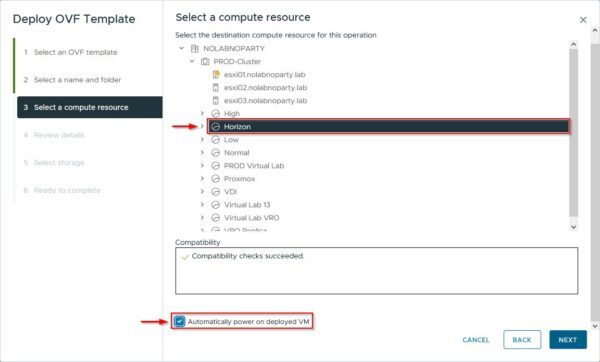
Select the compute resource to use and enable the Automatically power on deployed VM. Click Next.
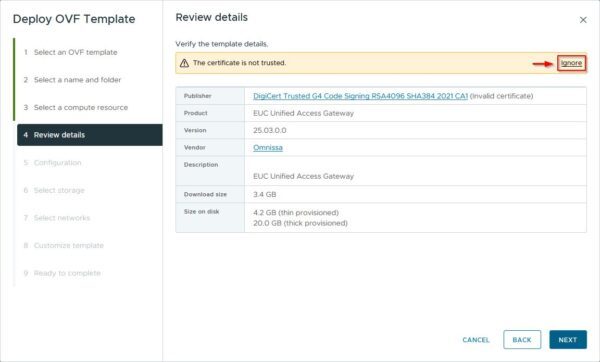
Click Ignore then click Next.
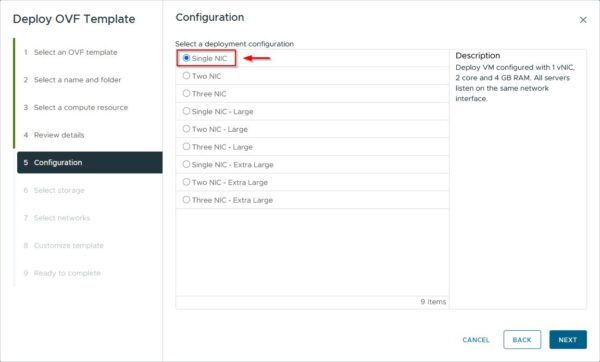
Select the required Configuration (Single NIC in the example). Click Next.
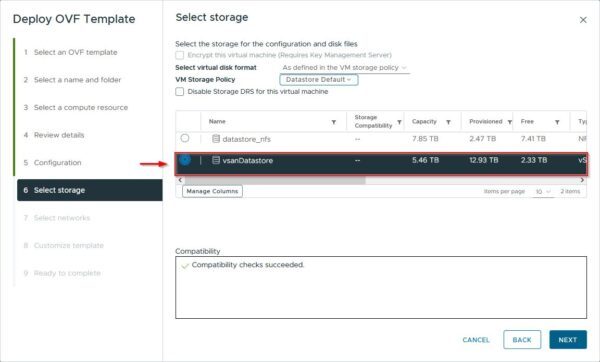
Select the storage to use and click Next.
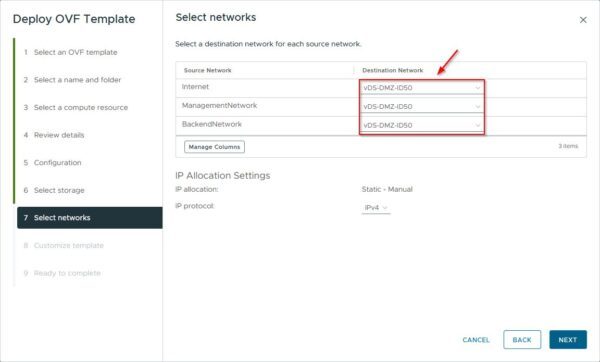
Select the Destination Network for each source network then click Next.
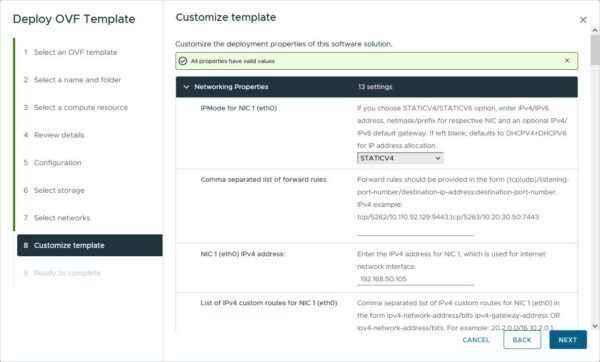
Enter the parameters to customize the installation then click Next.
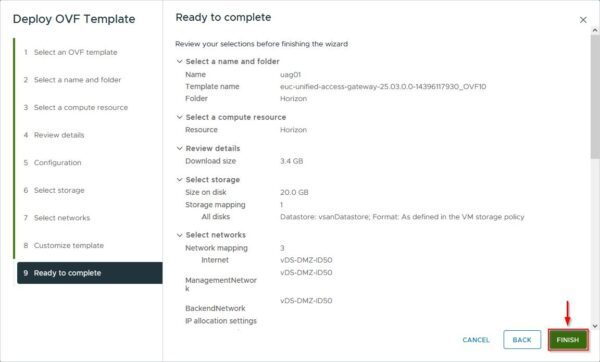
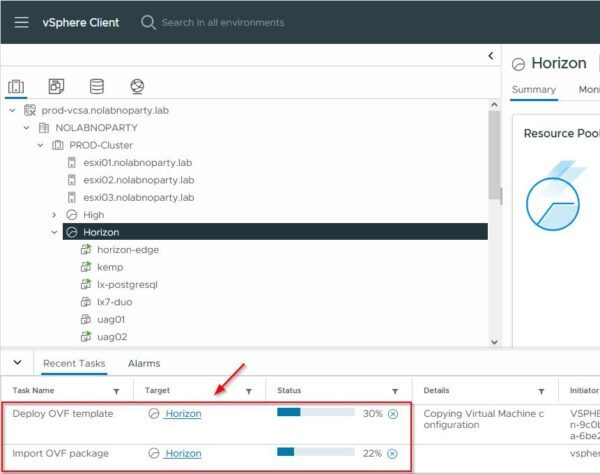
Click Finish to begin the deployment.
The appliance is being installed.
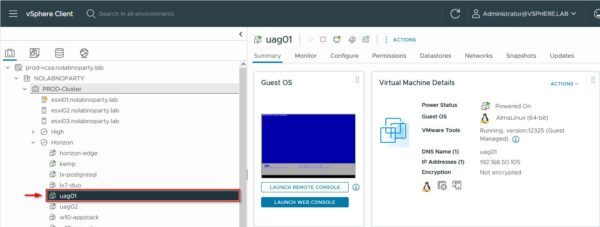
When the appliance has been installed, select the new Unified Access Gateway and click Power On.
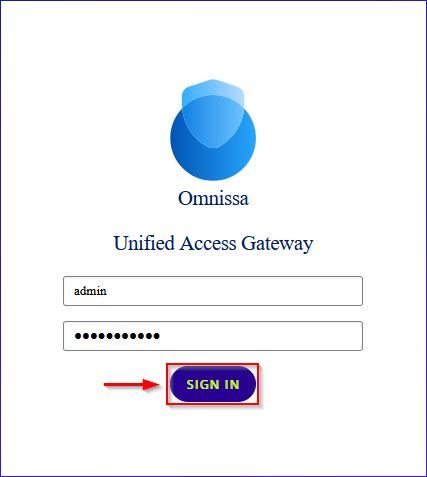
Using your preferred browser, enter the credentials set during the configuration then click Sign In.
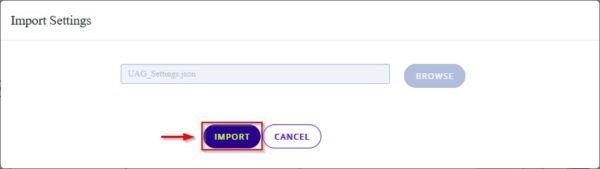
Click Select in the Import Settings pane to import the configuration saved earlier.

Click Browse to select the JSON configuration file.
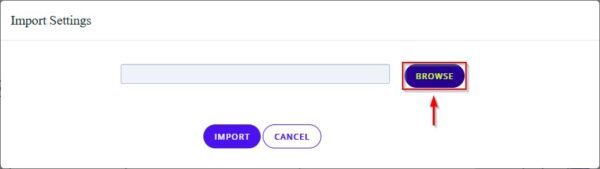
Click Import to import the configuration.
The configuration has been imported successfully.
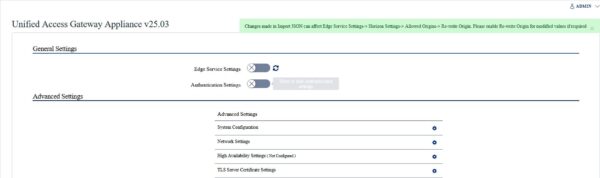
After few seconds, the connectivity to the Connection Server is restored.

Import the SSL certificate
The import of the JSON file is not enough to restore the full functionality of the UAG. The SSL certificate must be re-imported to complete the upgrade. This is required because the JSON file cannot contain private keys associated with an SSL server certificate since private keys cannot be exported due to security reasons.
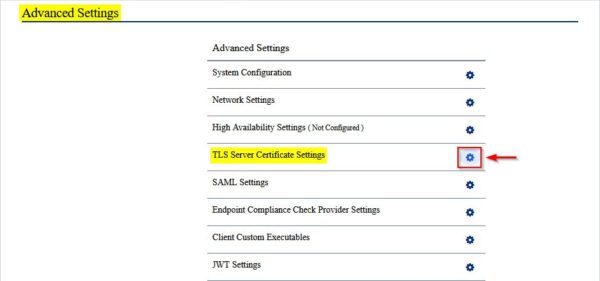
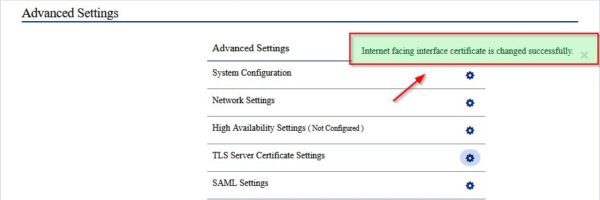
In the Advanced Settings, click the gear icon for the TLS Server Certificate Settings.
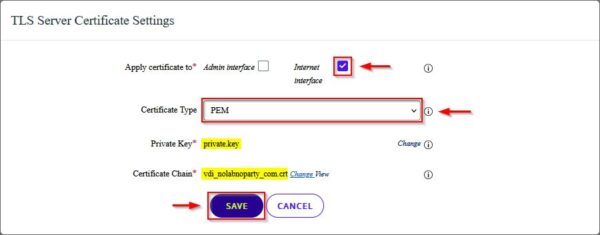
Select Internet interface, select the Certificate Type (PEM in the example) then specify the Private Key and the Certificate Chain if PEM was selected. Click Save to import the certificate.
The certificate has been imported successfully.
The Omnissa Unified Access Gateway appliance is now upgraded to the 2503 version.
Upgrade the other UAGs
If other appliances are configurated in your Horizon infrastructure, you must repeat the same procedure to the other UAGs to complete the upgrade procedure.
When all the installed appliances have been upgraded to the new version, the UAGs are fully working and ready to be used for production.
The Horizon infrastructure upgrade process is nearly complete. The final step is to upgrade the Dynamic Environment Manager tool if installed and used for VDI management.