To upgrade App Volumes Manager to the latest version, follow the correct procedure to avoid potential issues and service disruptions.
After upgrading the Horizon Client, proceed with upgrading App Volumes Manager as the next component in the recommended upgrade sequence.

Blog series
Omnissa Horizon 2503 upgrade guide: App Volumes Manager - pt.1
Omnissa Horizon 2503 upgrade guide: Connection Server - pt.2
Omnissa Horizon 2503 upgrade guide: UAG - pt.3
Omnissa Horizon 2503 upgrade guide: DEM and Templates - pt.4
Before upgrading
If the installed App Volumes Manager is a version earlier than 2.18, you must first upgrade to version 2.18 before proceed.
Retrieve SQL Server and database in use
Take a note of the server name and database used by App Volumes Manager. Access the Windows Administrative Tools in your server and click ODBC Data Sources.
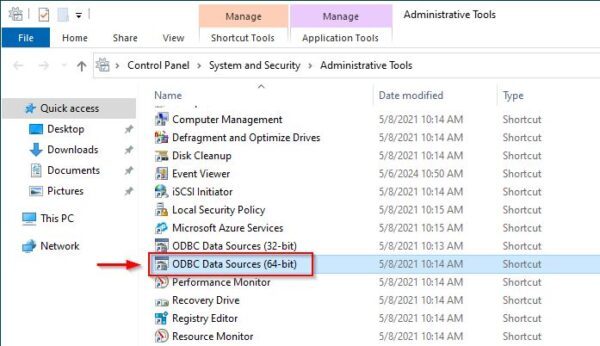
Go to System DNS and select the System Data Source to analyze then click Configure.

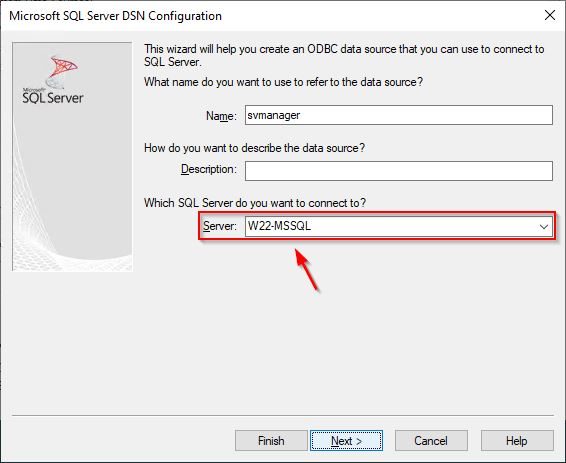
Write down the SQL Server used and click Next.
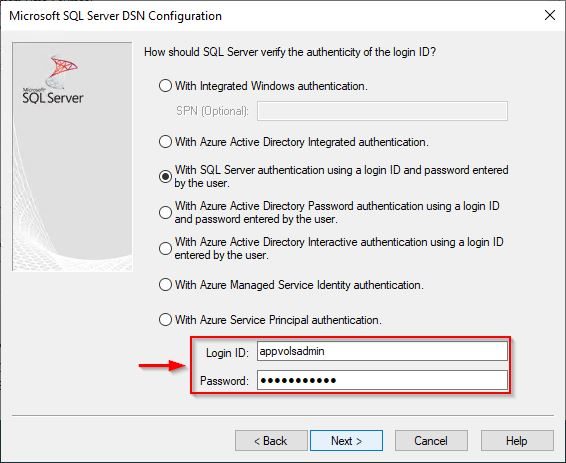
Enter the Login ID and Password to access the SQL Server and click Next.
Write down the configured default database then click Cancel to exit the window.

Backup and snapshot the server
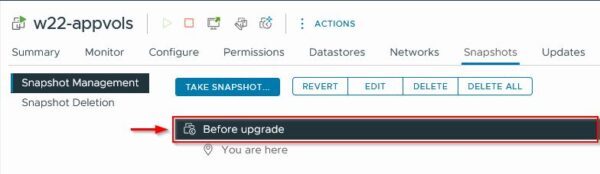
Make sure to have a valid backup of App Volumes Manager and the database. From your vSphere Client, take a snapshot of the Server.
Upgrade the App Volumes Manager
From Omnissa website download version 2503 of App Volumes Manager and copy the ISO file to the Server where the application to upgrade is installed.
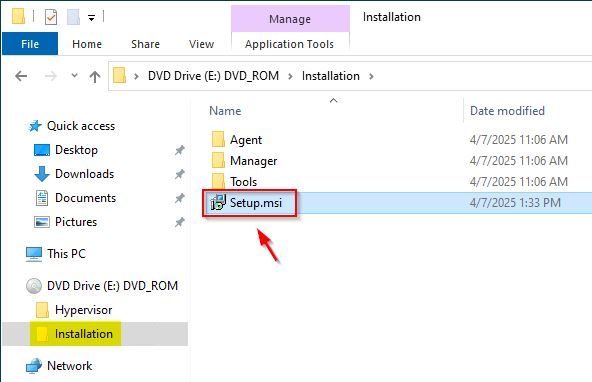
Mount the ISO file and go to the Installation folder. Double click the Setup.msi file to run the upgrade.
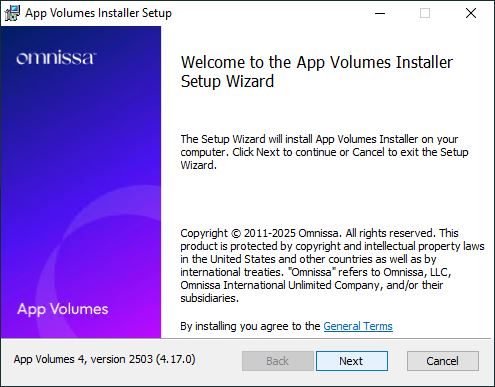
Click Next.
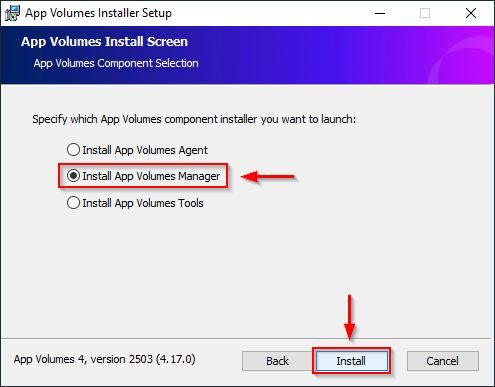
Select Install App Volumes Manager option and click Install.
When the Setup Wizard is displayed, click Next to proceed.
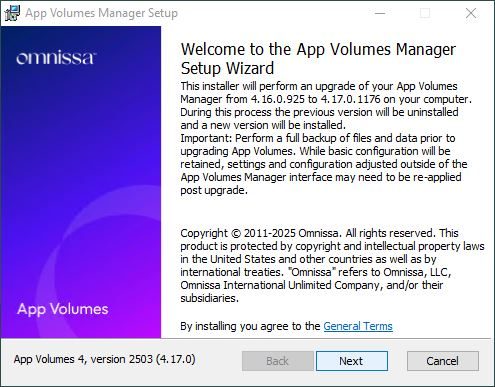
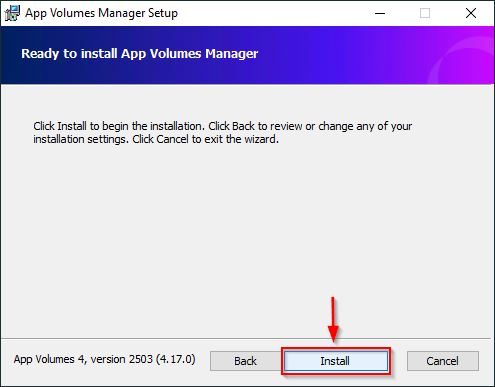
Click Install.
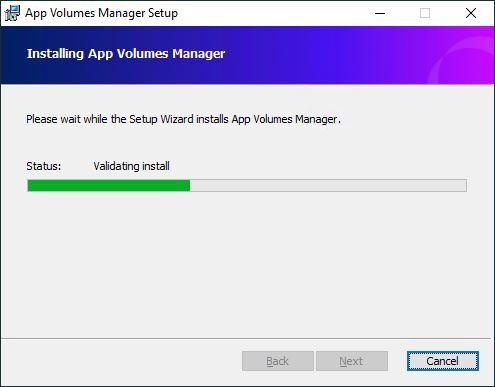
The installation is being executed. The upgrade takes about 5/10 minutes to complete.
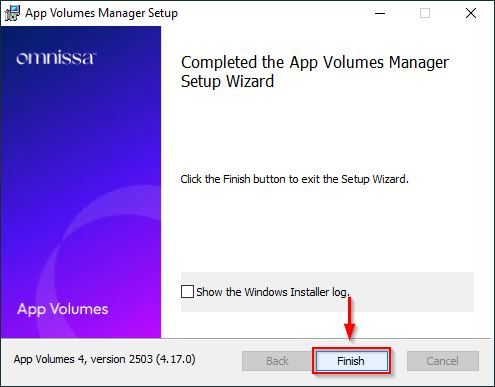
When the upgrade operation is completed successfully, click Finish to exit the wizard. Keep in mind that previously configured certificates are retained.
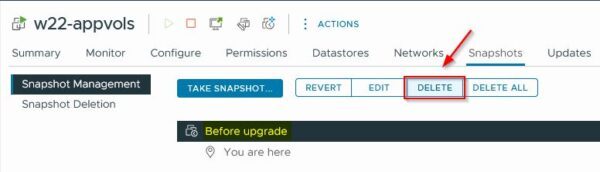
Remove the snapshot from the server.
Open your preferred browser and type the address https://<AppVols_Server_IP> to access the the new App Volume Manager.
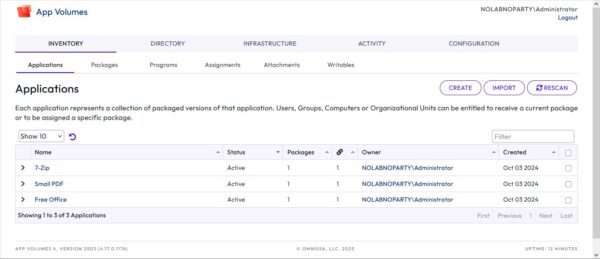
Upgrade the App Volumes Agent
Once the server has been upgraded, next step involves the upgrade of the agent installed in the Golden Images.
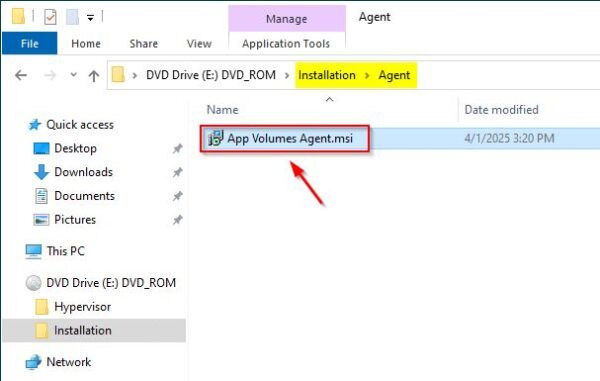
From Installation > Agent folder, copy the App Volumes Agent.msi file to the Golden Image used to distribute your VDI machines.
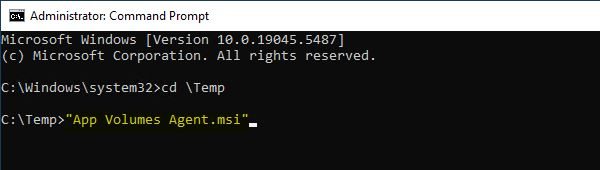
Open the Command Prompt as Administrator and run the agent installer.
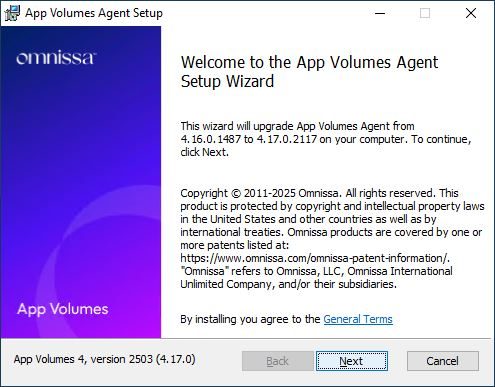
Click Next.
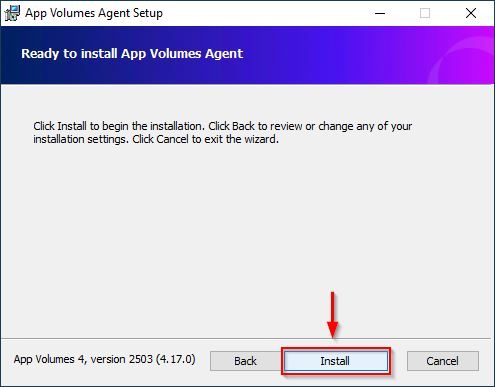
Click Install to begin the installation.
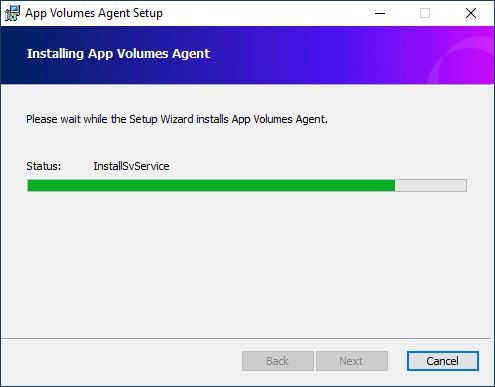
The upgrade is being applied.
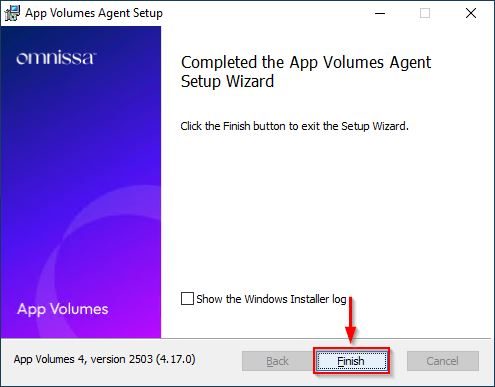
When the installation is completed successfully, click Finish to exit the wizard.
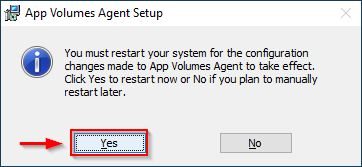
Click Yes to restart the system.
Upgrade the App Volumes templates
Open your preferred browser and type the address https://<AppVols_Server_IP> to access the the new App Volume Manager.
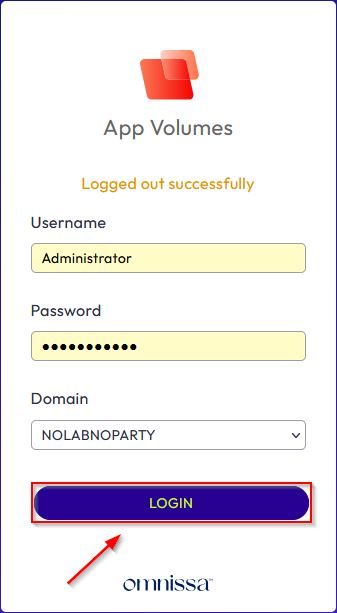
Enter the correct credentials and click Login.
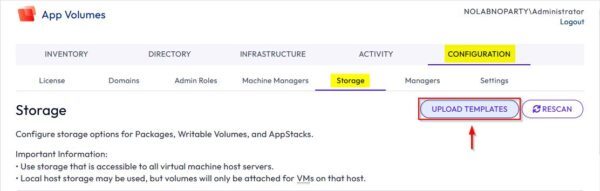
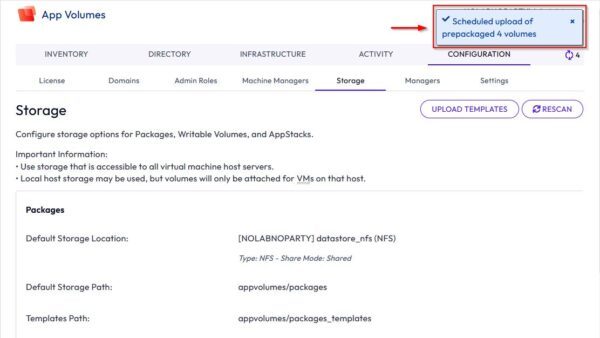
Go to Configuration > Storage and click Upload Templates.
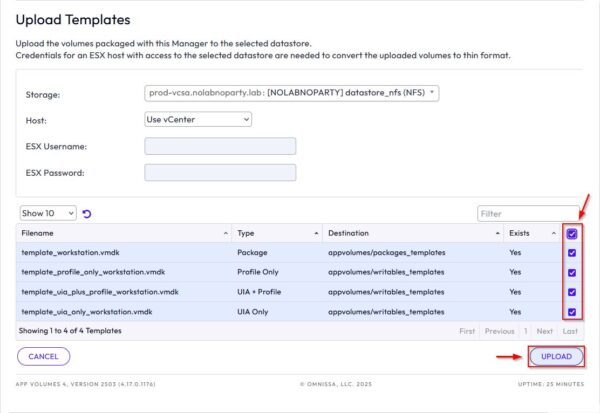
Select the templates to upload and click Upload.
Click Upload.
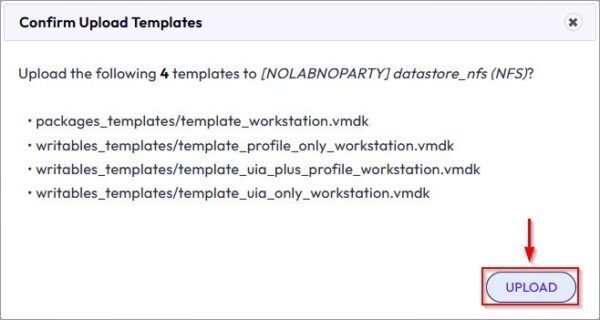
The selected templates are uploaded to the system.
The App Volumes Manager upgrade to version 2503 is now complete. VDIs can now take benefit of the new features provided.