Scaling Omnissa App Volumes Manager is essential for maintaining high availability and consistent performance in large VDI environments.
Since App Volumes is now the standard under the Omnissa brand, using a robust load balancer like Kemp LoadMaster ensures that user logins and application attachments don't become a bottleneck.
To scale your infrastructure, you must deploy additional servers, install the App Volumes Manager role on each, and point these instances to a shared SQL database.
To leverage this redundant architecture, you can load balance the instances in two primary ways:
- Using a Lod Balancer, such as Kemp LoadMaster.
- Configuring the App Volumes Agent.
In this example, the existing VDI environment utilizes a single App Volumes Manager running on an obsolete Windows OS. The business requires high availability to ensure service continuity in the event of a server failure.
Under this scenario, once the new redundant configuration is complete, the legacy server will be decommissioned and removed from the App Volumes Manager cluster.
Prerequisites
Before scaling your Omnissa App Volumes Manager infrastructure, ensure you meet the following requirements:
- A working Omnissa App Volumes deployment must be in place.
- A dedicated remote SQL Server instance. App Volumes does not support scaling with an embedded/local database.
- At least two new Windows Server VMs joined to the domain to host the additional App Volumes Manager roles.
- A Load Balancer - a solution like Kemp LoadMaster is the industry standard for enterprise environments. Alternatively, you may configure the App Volumes Agent to recognize multiple managers, though this provides less granular control than a dedicated load balancer.
Scaling Omnissa App Volumes Manager
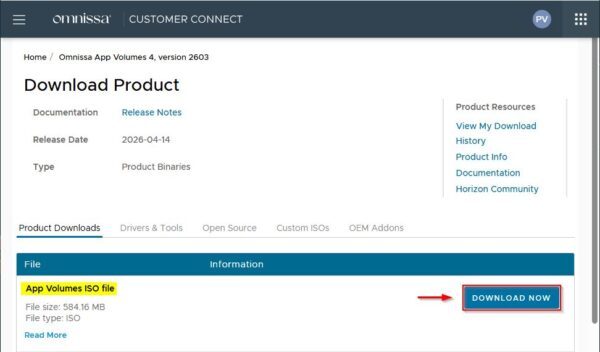
Once the new Windows Servers have been deployed, download the App Volumes ISO file from the Omnissa Connect portal.
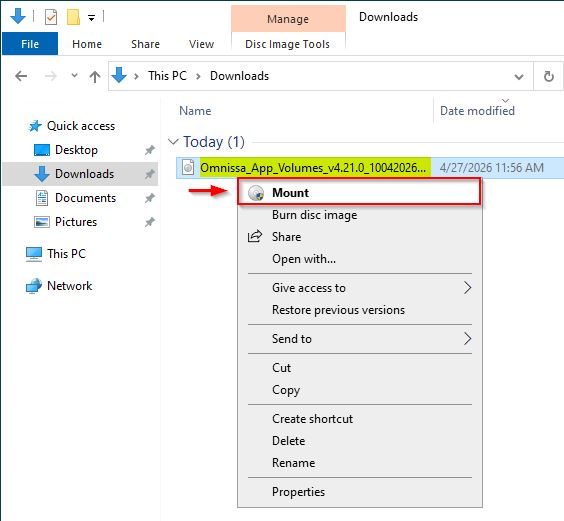
In Windows, right click the downloaded .ISO file and select Mount.
Install a new App Volumes Manager Server
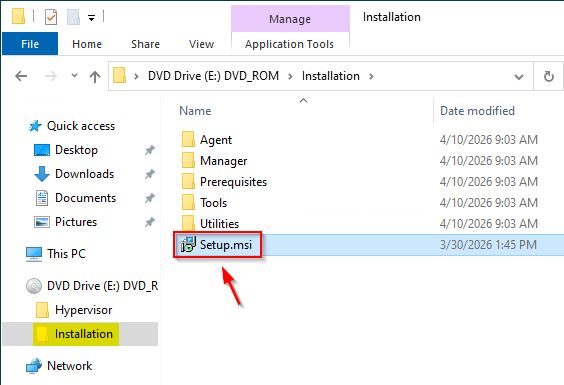
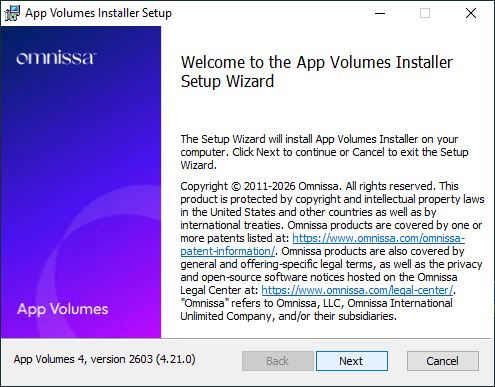
Double click the Setup.msi file to begin the installation.
Click Next to continue.
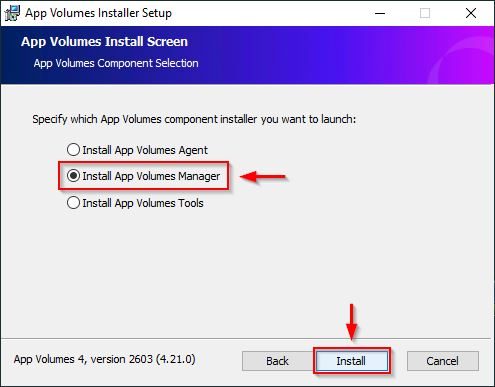
Select Install App Volumes Manager and click Install.
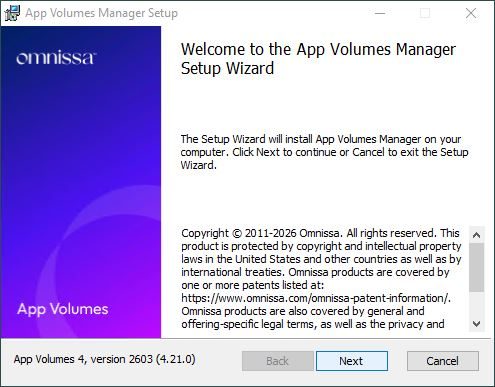
Click Next.
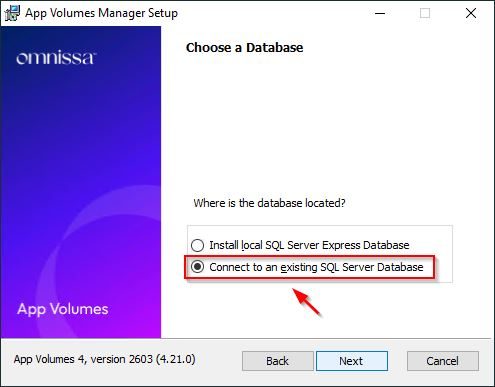
Since App Volumes scaling does not support an embedded database and an existing instance was already configured, select Connect to an existing SQL Server Database then click Next.
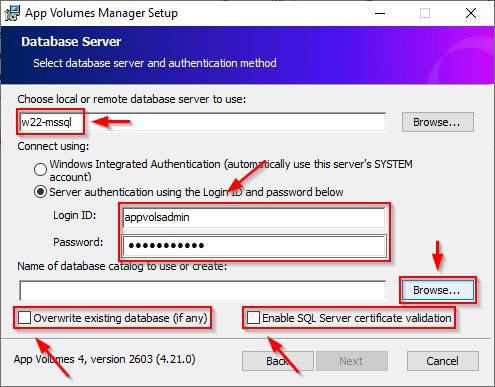
Specify the Remote database to use and the Login ID e Password used for the server authentication. Ensure the Enable SQL certificate validation option is not selected and ensure Overwrite exist database (if any) is also unchecked. Click Browse to select the database to use.
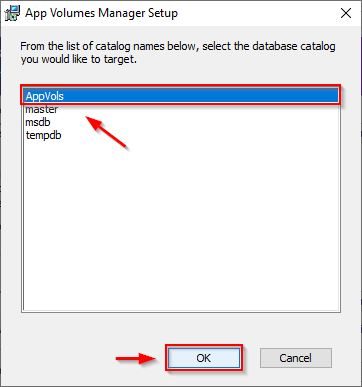
Select the correct database and click OK to confirm.
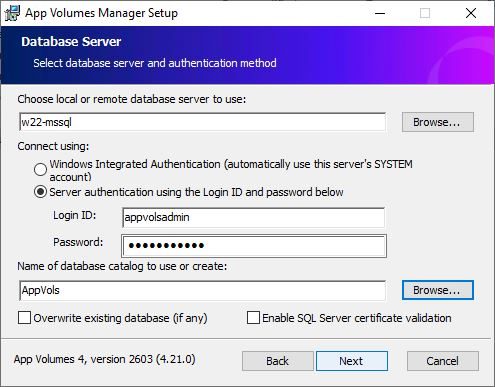
Click Next.
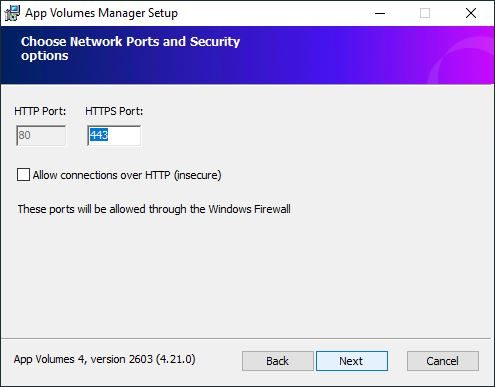
Click Next.
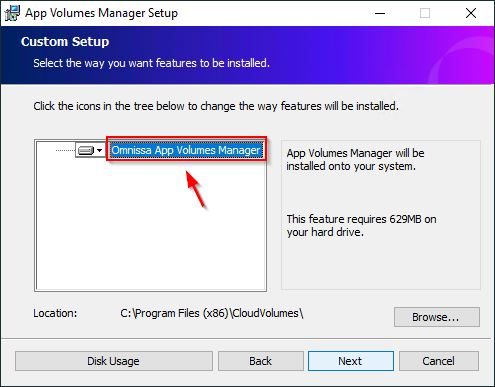
The Omnissa App Volumes Manager will be installed. Click Next.
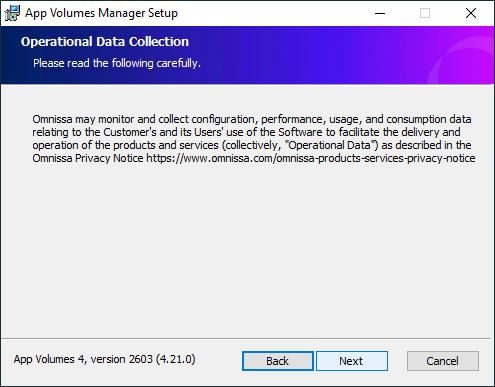
Click Next once more.
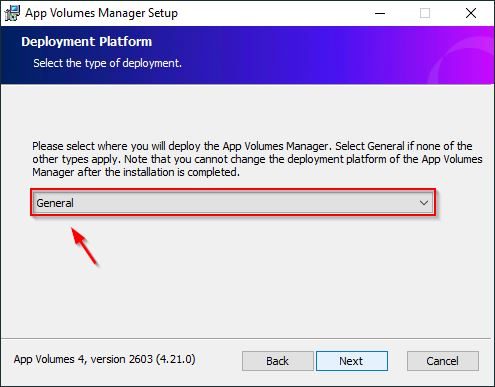
Select General as the deployment type and click Next.
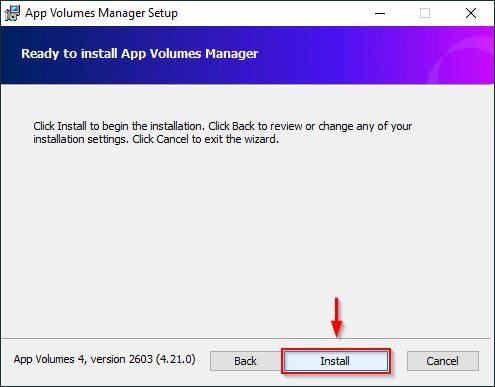
 Click Install.
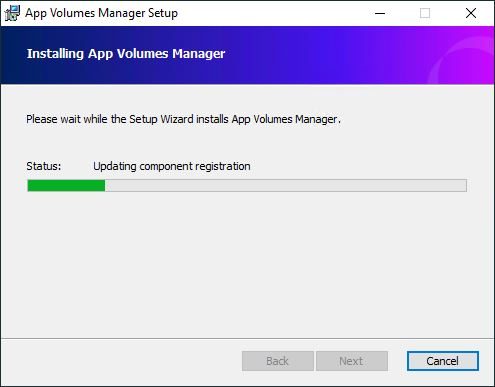
The App Volumes Manager is being installed.
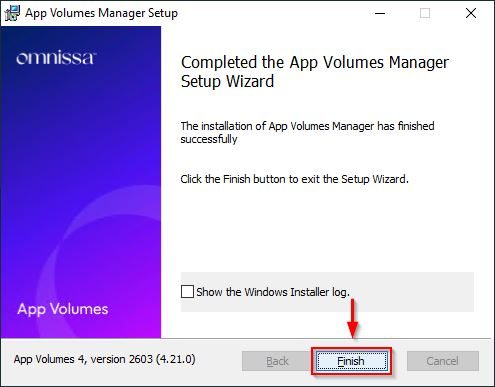
Once the installation is completed, click Finish to exit the wizard.
Register the App Volumes Manager
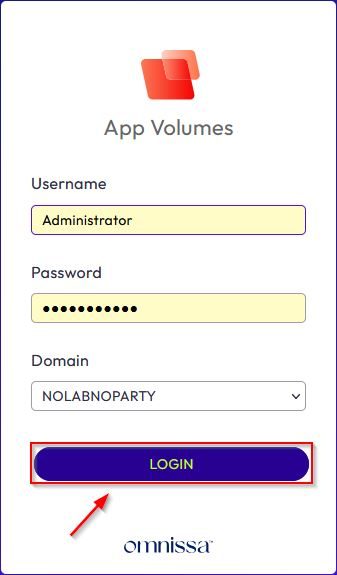
Using your preferred browser, enter the URL of the production App Volumes Manager https://<IP_Address> and click Login.
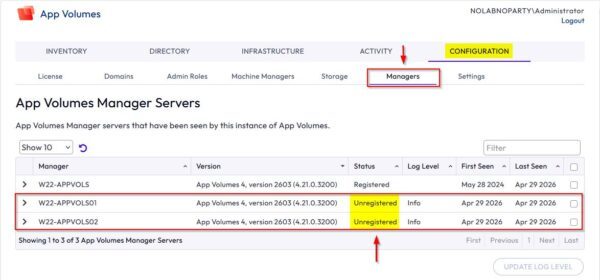
The newly installed App Volumes Manager Server must be registered in the existing cluster to function properly.
Register the new Server
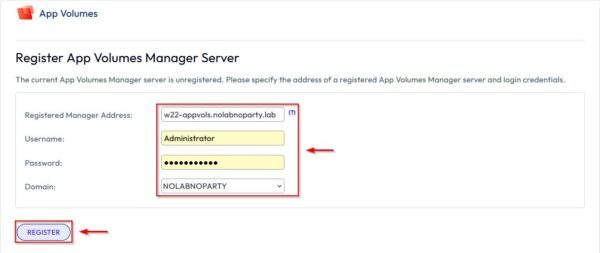
Using your preferred browser, enter the URL of the newly installed App Volumes Manager https://<IP_Address> and click Login. Specify the Registered Manager Address and the Username and Password to use for the connection. Select the correct Domain and click Register.
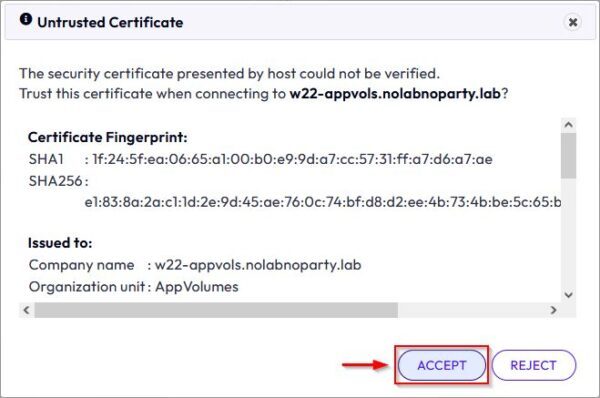
Click Accept to accept the certificate.
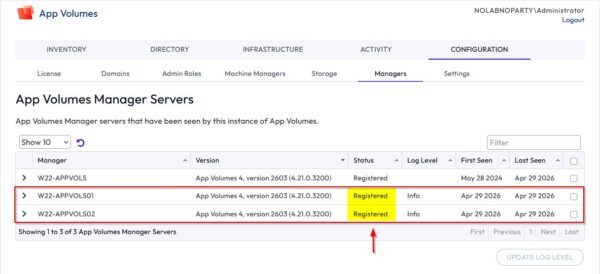
Repeat this operation to register the second Server. When both new servers have been registered, the Status will be reported as Registered in the App Volumes Manager console.
Configure the Kemp Load Balancer
Once the new servers are registered in the App Volumes Manager, you need to load balance them to provide redundancy in case of a server failure.
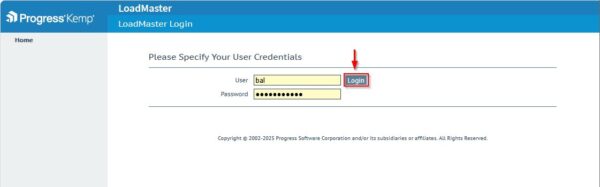
Access the Kemp LoadMaster console, enter the credentials and click Login.
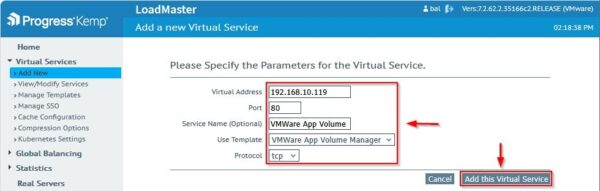
Navigate to Virtual Services > Add New and enter the Virtual Address. Select VMware App Volume Manager from the Use Template drop-down menu and ensure the Port is set to 443. Click on Add this Virtual Server.
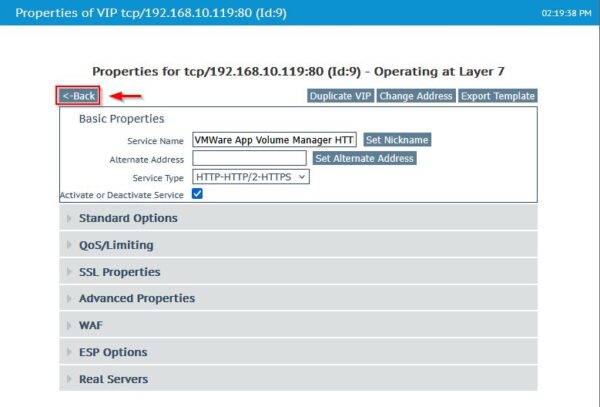
For the Properties of VIP tcp/IP_VIP:80, leave the default values and click Back.
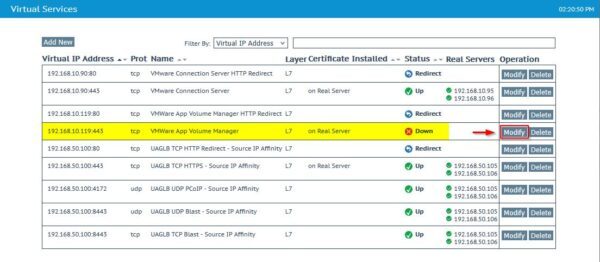
Port TCP 80 is set as Redirect. For port TCP 443 click the corresponding Modify button to specify the new servers to balance.
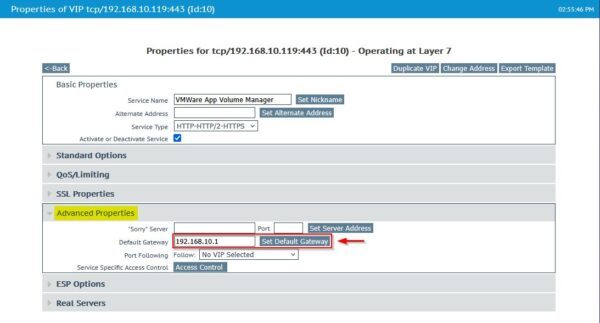
In Advanced Properties, specify the Default Gateway to use.
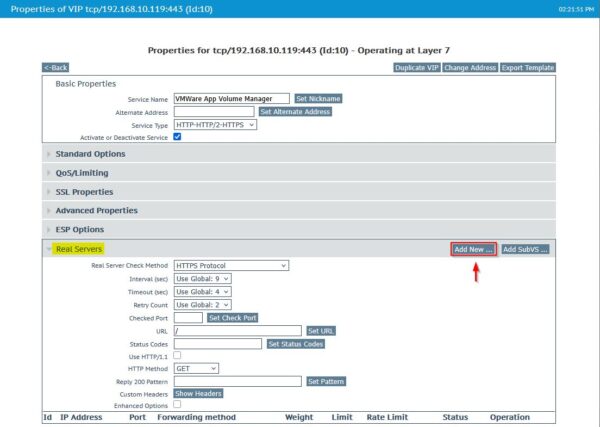
In the Real Servers section, click Add new.
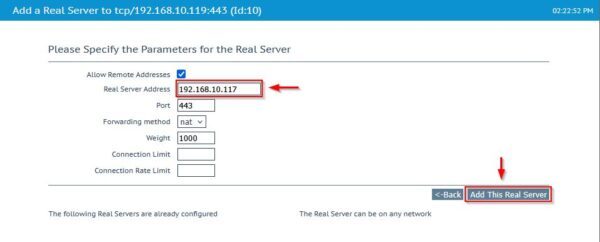
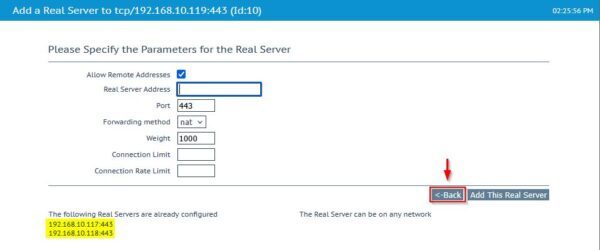
Enter the Real Server Address of the first App Volumes Manager Server installed and click Add This Real Server.
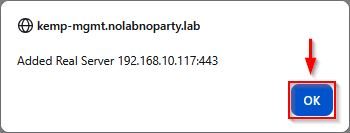
Click OK to confirm.
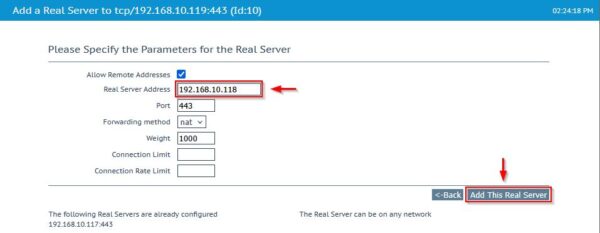
Now enter the Real Server Address of the second App Volumes Manager Server installed and click Add This Real Server.
Click OK to confirm.
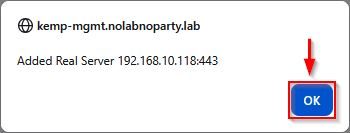
Once both servers are added, click Back.
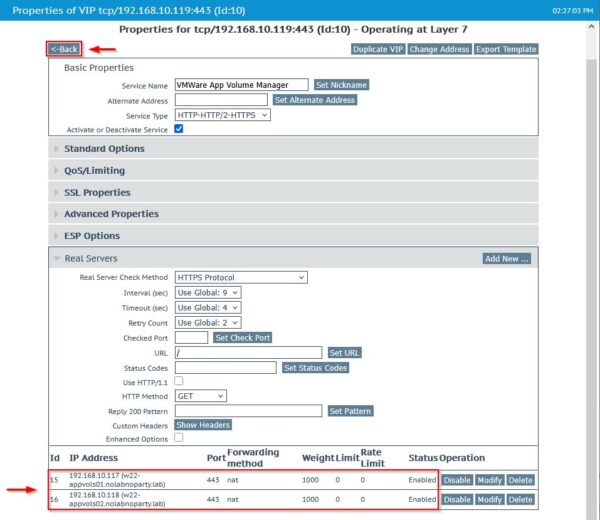
The servers are now listed in the Real Servers section.
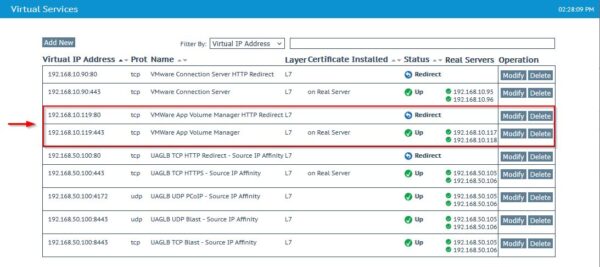
If configured correctly, the Virtual IP Address of the App Volumes Manager will report both servers as reachable with a green check mark.
Add VIP to DNS Server
Configure the VIP in the DNS Server for use by App Volumes Agents.
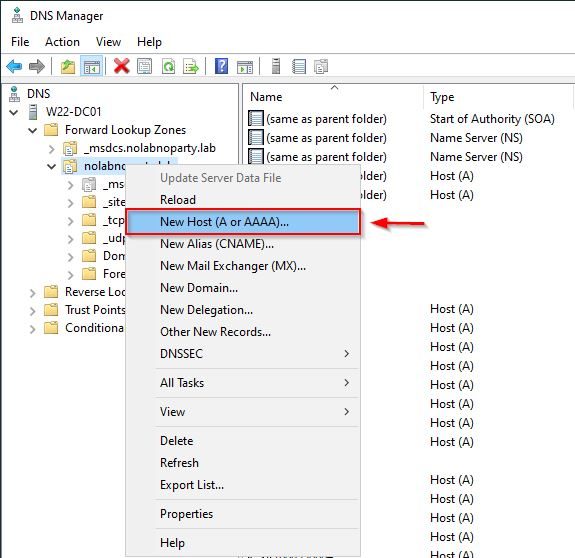
Access the DNS Manager, right click the appropriated zone and select New Host (A or AAA).
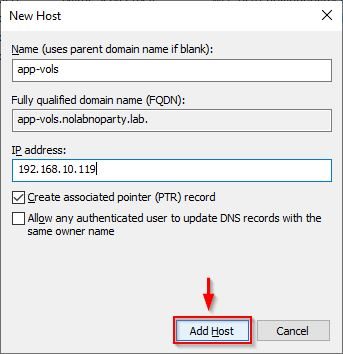
Specify the Name and the IP_address. Click Add Host.
Test the Load Balancer
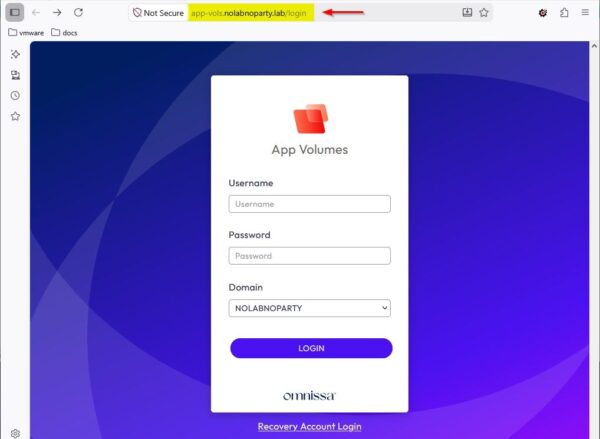
Using your preferred browser, enter the address https://DNS_Name_VIP to verify that the App Volumes Manager login page is reachable.
Remove the old Server
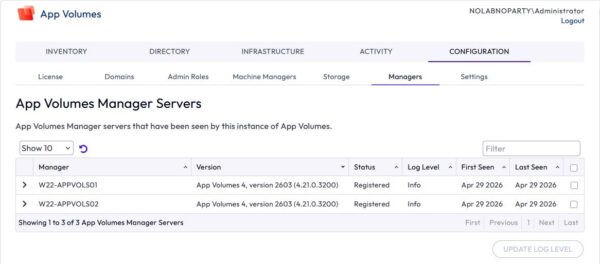
After logging in, navigate to Configuration > Managers to remove the old server. Select the manager you wish to remove and click Remove.
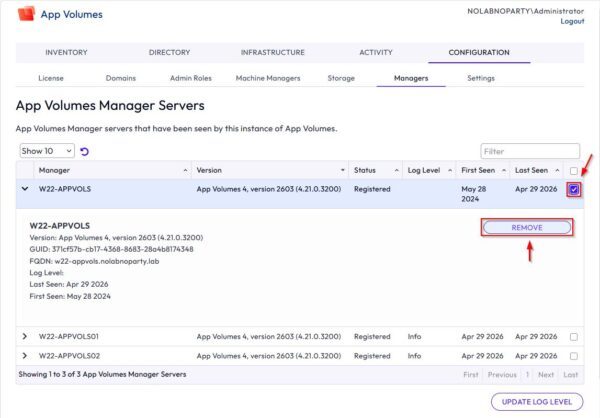
The server has been removed successfully.
Configure the App Volumes Agent
The App Volumes Agent installed in the Golden Image must be configured to point to the new load balanced Servers.
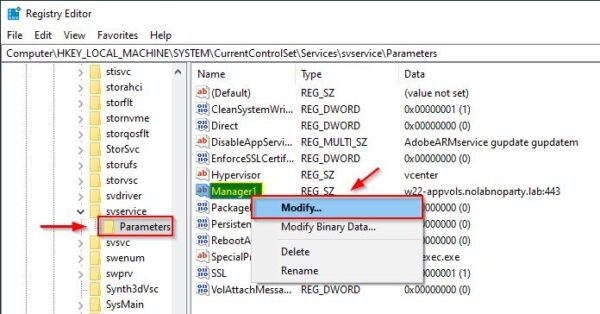
Open the Registry Editor in the Golden Image and navigate to:
Computer\HKEY_LOCAL_MACHINE\SYSTEM\CurrentControlSet\Services\svservice\Parameters
Right click the Manager1 key and select Modify.
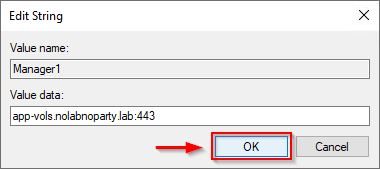
Type the newly configured DNS record in the Value data and click OK.
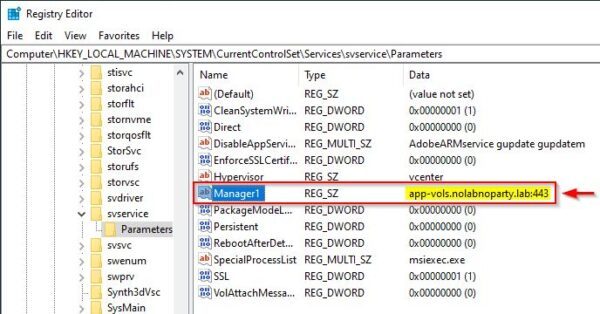
The App Volumes Agent will now point to the VIP of the balanced servers.
The final step is to distribute the updated Golden Image in Omnissa Horizon to leverage the new App Volumes Manager configuration.