If a core Proxmox server fails taking its Ceph OSDs with it, the Proxmox node replacement doesn't have to be a nightmare.
To fix this issue you must cleanly decommission the failed server and correctly perform the Proxmox node replacement to ensure your Ceph data remains resilient.
The Ceph cluster should have the status reported as healthy to ensure the correct functionality and data availability.

What if a node fails? It's clear that a node replacement must be performed as soon as possible, especially if a hyperconverged system like a Ceph cluster is in use since the node failure takes out not only vCPUs and RAM but also storage. In the example, the node proxmox03 has failed and need to be replaced.

Proxmox node replacement procedure
First step for the Proxmox node replacement procedure is to check the nodes available in the cluster.
# pvecm nodes

Remove OSDs
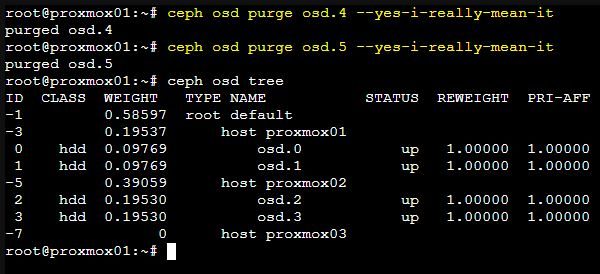
Check the OSDs to identify which disks are in a down status. In the example disks 4 and 5 must be removed from the Ceph cluster.
# ceph osd tree

Remove the OSDs that belong to the failed node.
# ceph osd purge osd.4 --yes-i-really-mean-it
# ceph osd purge osd.5 --yes-i-really-mean-it
Remove the failed node from the crush map.
# ceph osd crush remove proxmox03

Remove mon
Remove the failed monitor from the Ceph cluster.
# ceph mon remove proxmox03

Edit the /etc/pve/ceph.conf file and remove the mon references from mon_host and the further entry below.
mon_host= 10.10.201.30
[mon.proxmox03]
public_addr = 10.10.201.30
# vi /etc/pve/ceph.conf

Once the failed mon references have been removed, exit and save the /etc/pve/ceph.conf file.

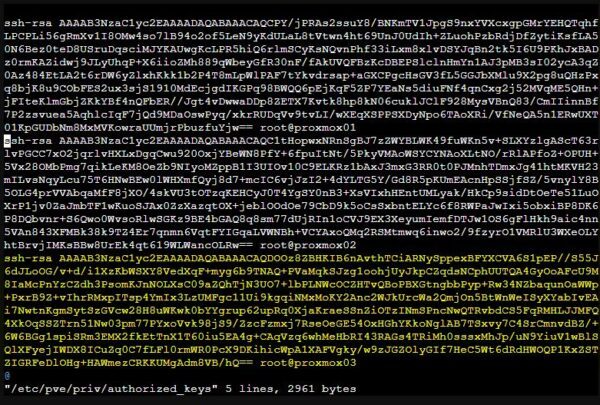
Edit the /etc/pve/priv/authorized_keys file and remove the key related to the failed node.
# vi /etc/pve/priv/authorized_keys
Move orphaned VMs to another host
If some VMs not protected with HA were running on the failed node, they must be moved to another working host to allow the correct Proxmox node replacement operation.

Identify the VM to remove (145 in the example) and move the VM to another host in the cluster.
# cd /etc/pve/nodes/proxmox03/qemu-server
# ls
# mv 145.conf /etc/pve/nodes/proxmox02/qemu-server/

The VM has been properly moved to a working node of the cluster.

Remove the failed node from the cluster
When all VMs are moved away from the failed node, the node can be removed from the Proxmox cluster.
# pvecm delnode proxmox03

The node has been successfully removed from the cluster.

Also the Ceph Monitor and Manager configured on the failed node have been removed.
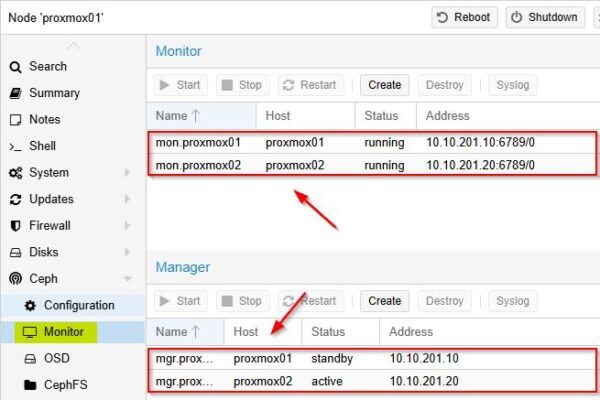
The Ceph cluster is still working but of course runs in a degraded state due to the missing node.
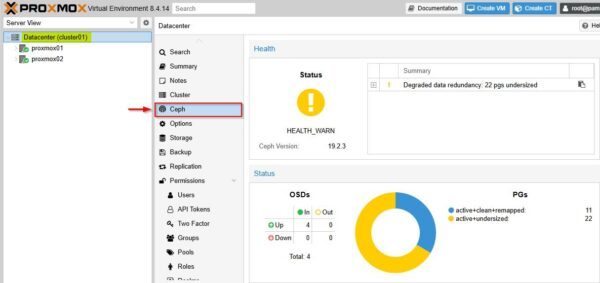
Add the new node
To proceed with the Proxmox node replacement, you need to deploy a new server with the same configuration as the existing hosts member of the Proxmox cluster.
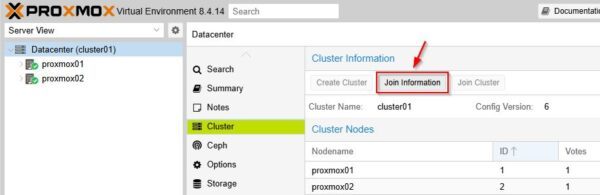
From the Proxom cluster, select Datacenter > Cluster and click Join Information.
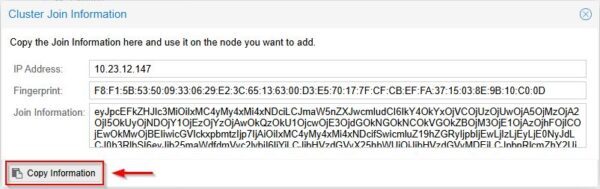
Click Copy Information to copy the information required to join the cluster.
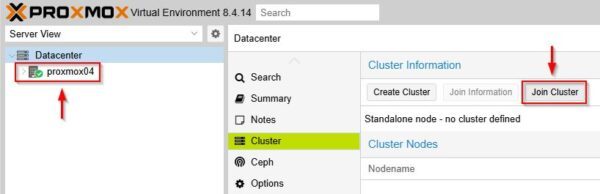
Go to the new Proxmox server to add, select the node and go to the Cluster section. Click Join Cluster.
Enter the Password of the root account and click Join 'cluster_name'.
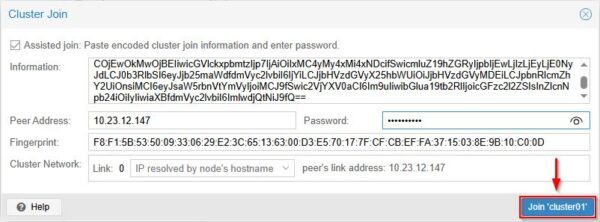
The node is being added to the Proxmox cluster.

The new node has been added successfully.
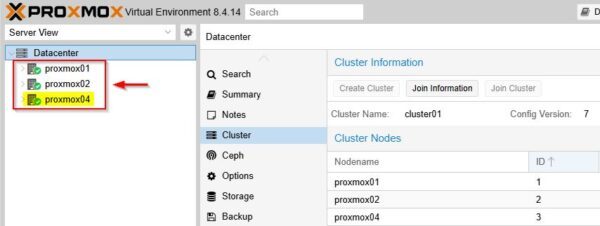
Check the cluster status.
# pvecm status

Install Ceph
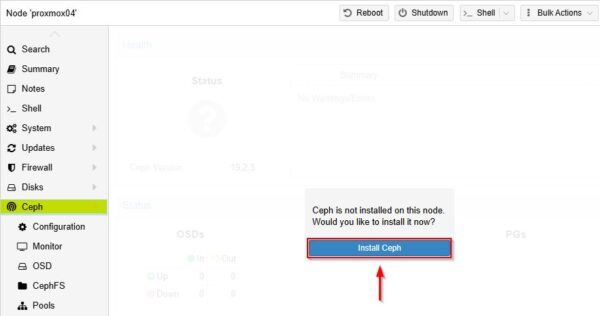
Since the new node will be part also of the Ceph cluster, select the new node and go to Ceph section. Click Install Ceph.
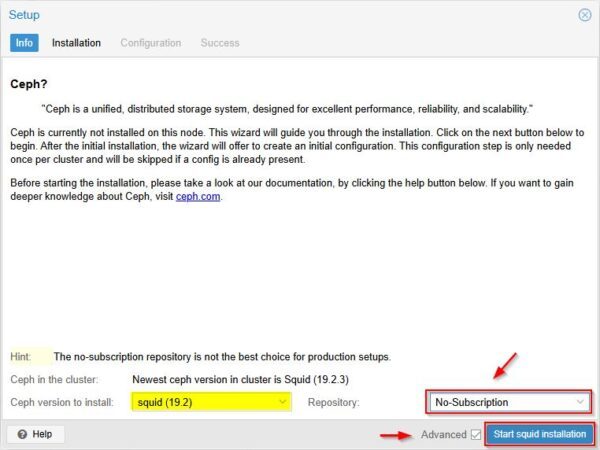
Select the Repository type and make sure you are installing squid (19.2) as Ceph version. Click Start squid installation.
Type Y to proceed with the installation.
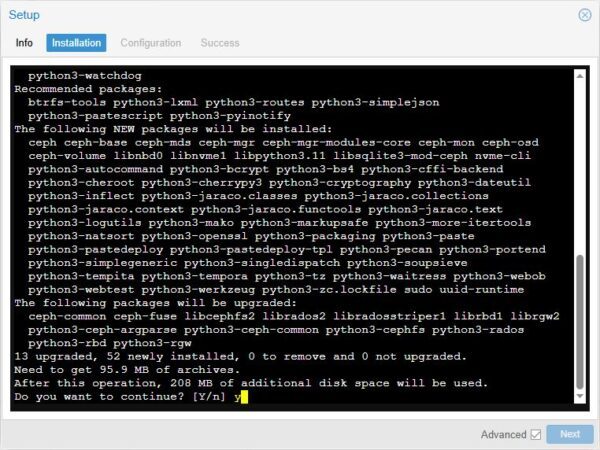
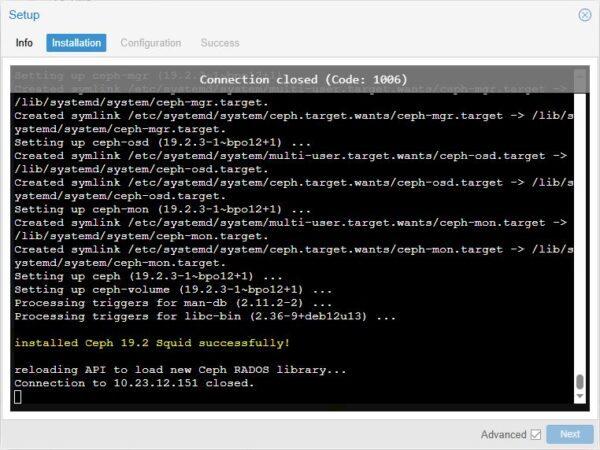
When the installation is complete, click Next.
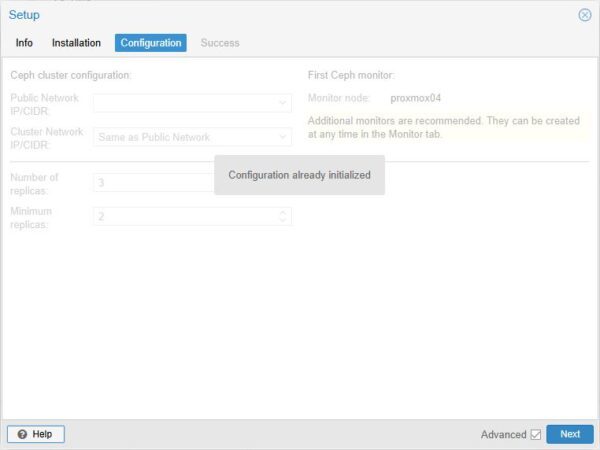
Because the Ceph cluster already exist, no need to configure anything. Click Next.
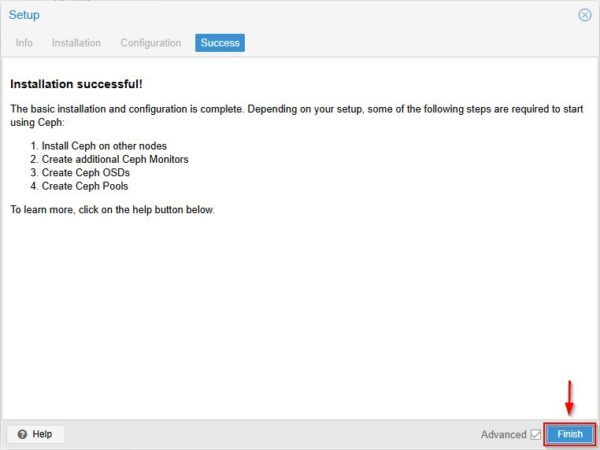
Click Finish to exit the wizard.
Create OSDs
Once the node is added, you need to create the OSD to add storage to the Ceph cluster. Click Create OSD.

Select the first Disk to add and click Create.
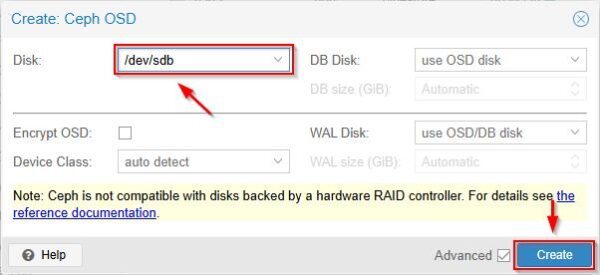
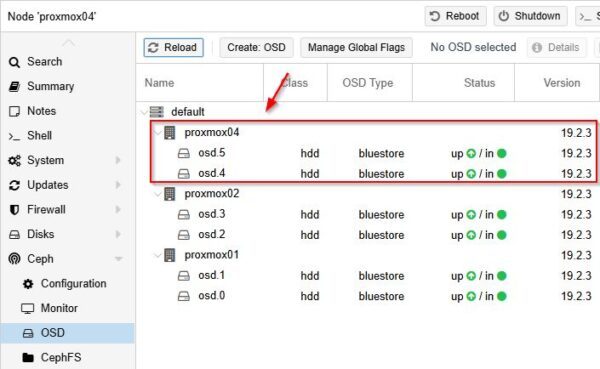
The OSD is created.

Repeat the same operation for all available disks.
Create Monitor and Manager
Go to the Monitor area and click Create in the Monitor section to create the monitor related to the new node.
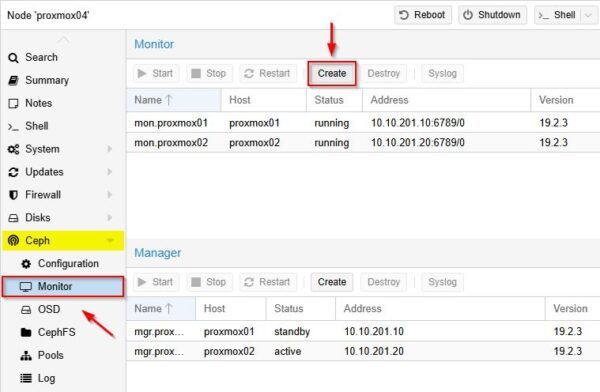
Select the new Host and click Create.

Do the same operation also for the Manager component.

Check the Ceph cluster
When all the required activities have been completed, check the cluster status from the Cluster area of the GUI.

The Ceph cluster status is healthy and the Proxmox node replacement operation has been completed successfully.