

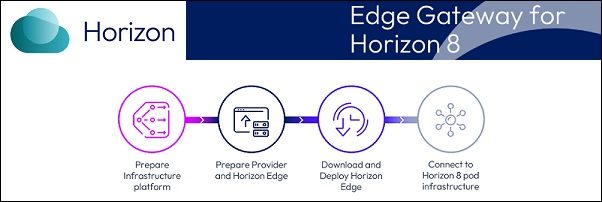
Due to license type changes and new services, the Omnissa Edge Gateway must be installed for the Horizon infrastructure to function properly.
Omnissa Edge Gateway is not only used for distributing the licenses for the configured POD (you can manage more PODs) but also it provides an overview of the infrastructure status.
Access the Omnissa Connect
To begin with the Edge Gateway configuration, using your preferred browser, type the URL https://connect.omnissa.com. To access the website you need to receive an email from Omnissa that confirm that licenses have been assigned to your account.
Enter the Email address used to register with Omnissa and click Login with Omnissa Account.

Enter the Password and click Sign in.

If configured, the MFA is requested. Click Sign in.

Once the login is complete, the main dashboard displays the licensed services.

From this dashboard it is also possible to check the Tenants assigned to the current account. Click on the account name then click on View Organization.
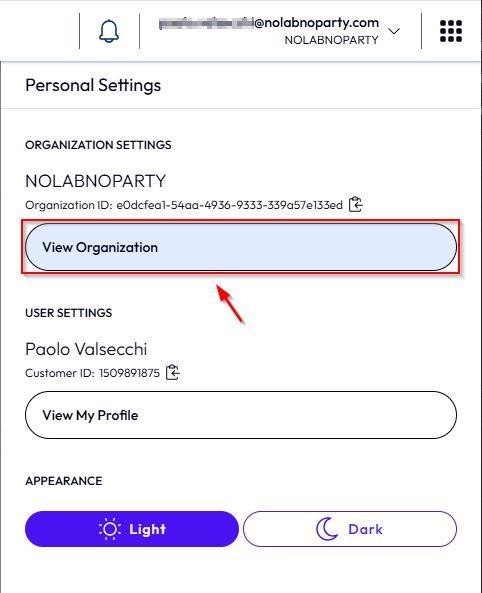
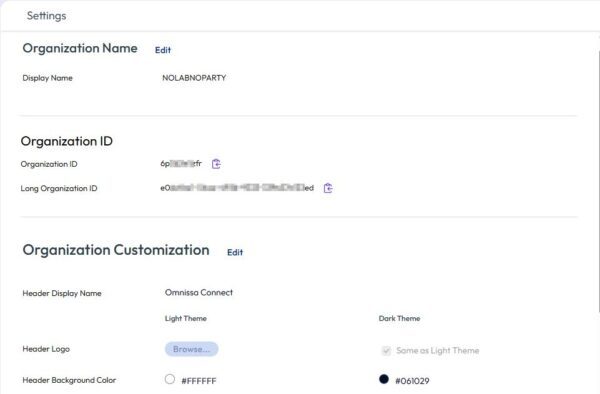
In this example only one Tenant is assigned to the logged account.
Deploy the Omnissa Edge Gateway
To configure the Omnissa Edge Gateway, click on Horizon Cloud to access the dedicated area.
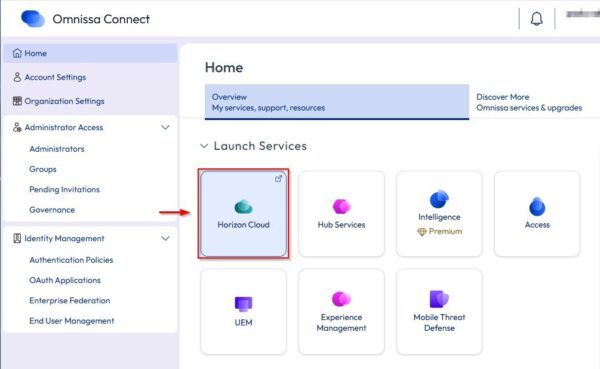
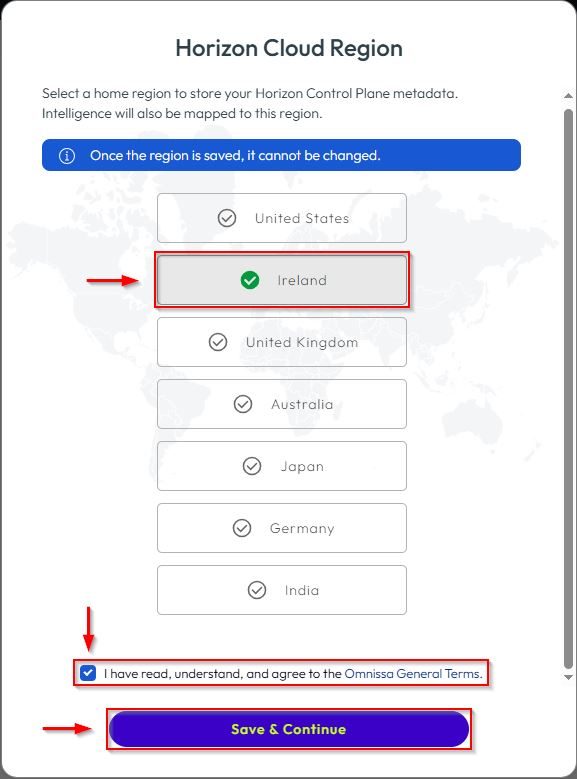
The first time you access this area, you must specify the Horizon Cloud Region to use. Accept the EULA and click Save & Continue.
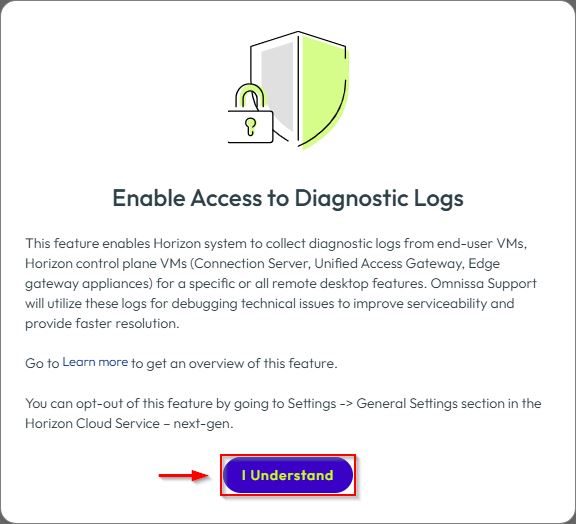
Click I understand to acknowledge this feature.
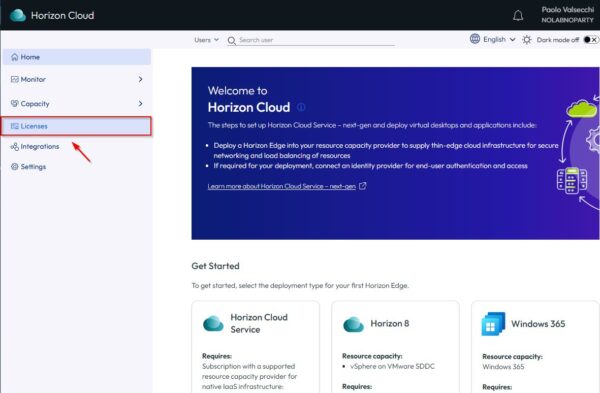
Click Licenses.
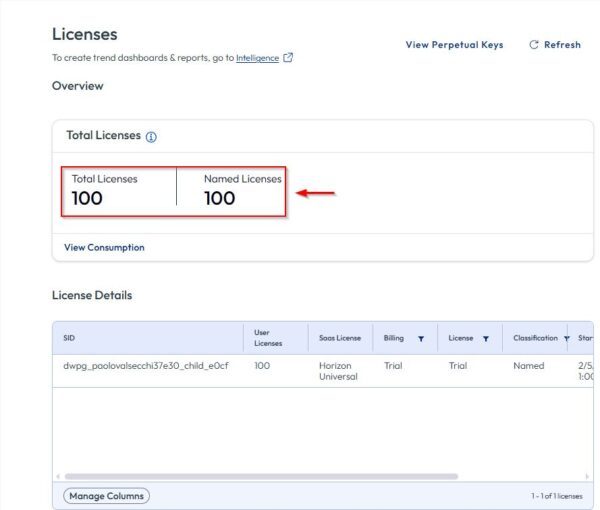
The Licenses page shows the number of available licenses you can use in your infrastructure.
Configure the Omnissa Edge Gateway
The configuration of the appliance is a eight steps procedure you must fill to download the appliance for your infrastructure.
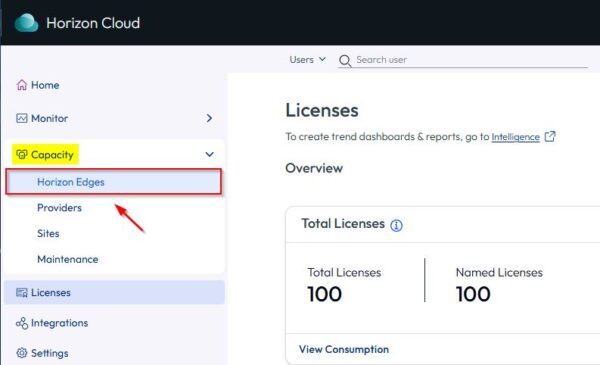
Select Capacity > Horizon Edges.
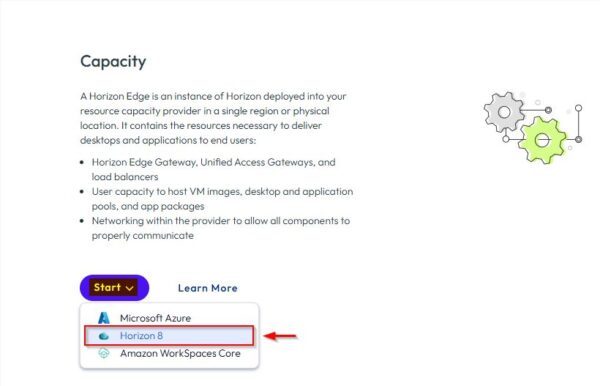
Click Start and select the resource capacity provider to use (Horizon 8 in the example).
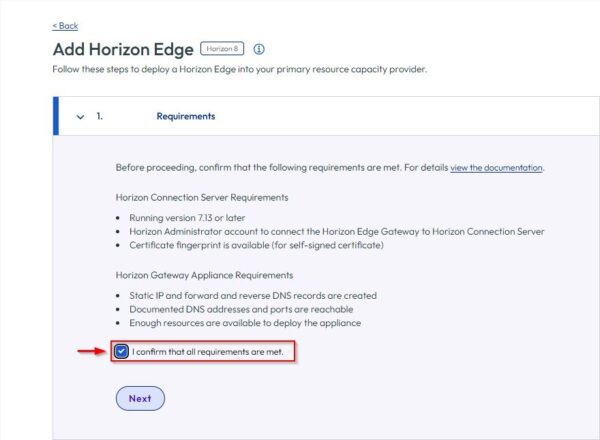
Confirm the requirements are met by checking the I confirm that all requirements are met checkbox then click Next.
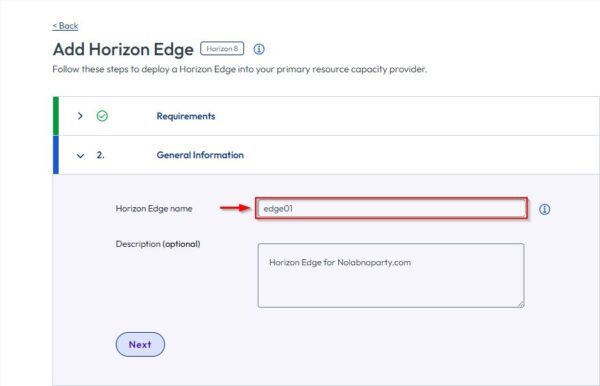
Enter the Horizon Edge name and an optional Description. Click Next.
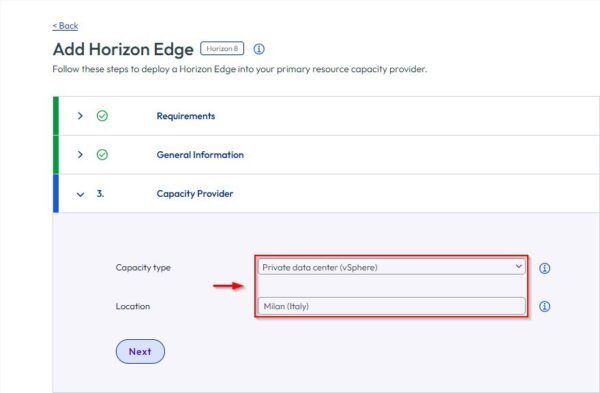
Specify the Capacity type from the dropdown menu. In the example, the Horizon infrastructures is a Private data center (vSphere). Click Next.
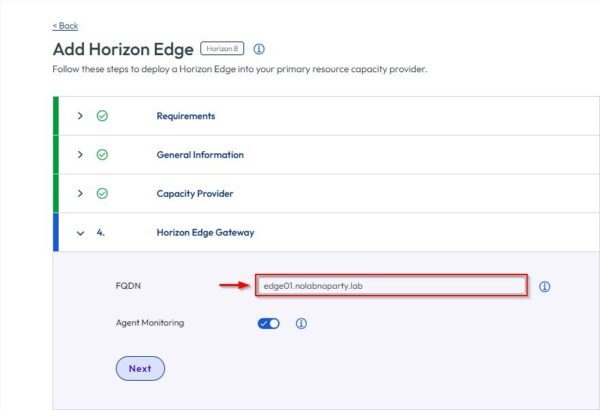
Enter the FQDN of the appliance and click Next.
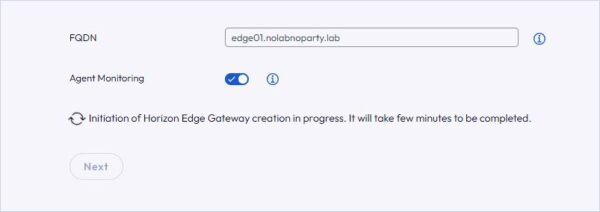
The appliance is being created by the system.
After few seconds the Edge Gateway appliance is created.
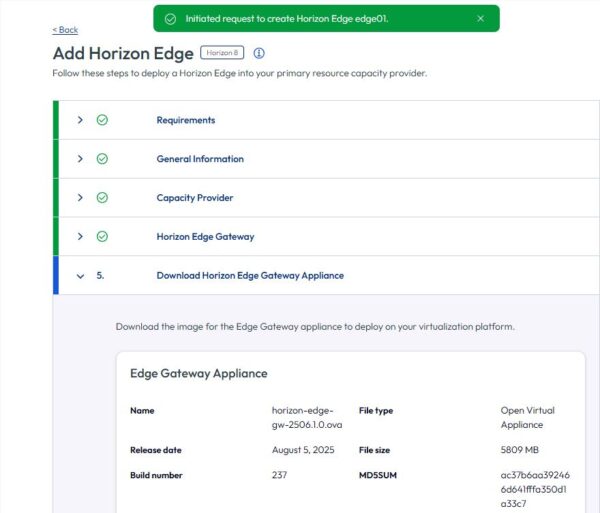
Click Download to download the OVA file in your computer.
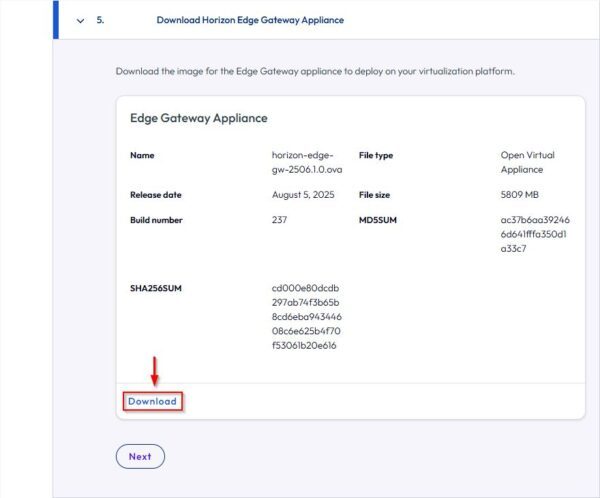
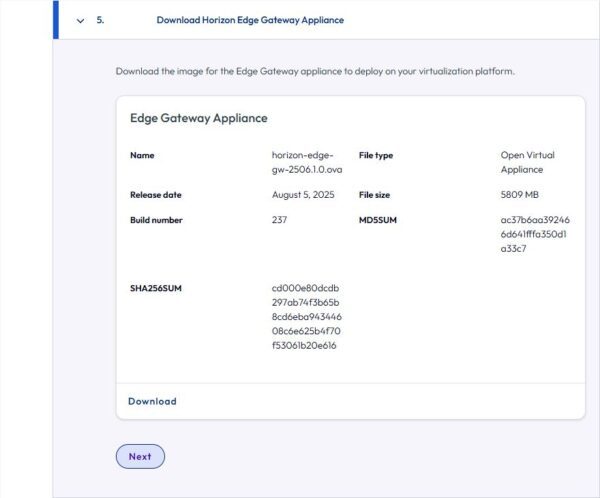
When the appliance has been downloaded, click Next to continue.
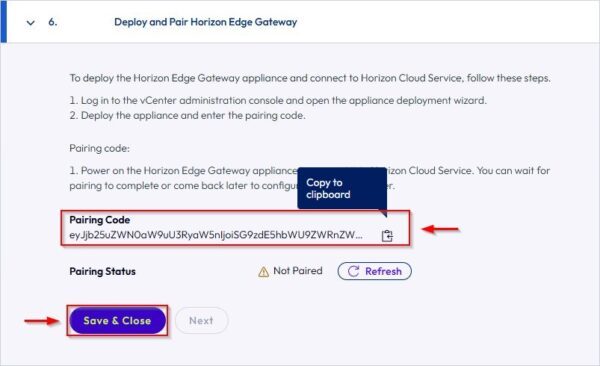
Write down the Pairing Code used to match the appliance with the system because it will be requested during the deploying of the appliance in the vCenter. Click Save & Close.
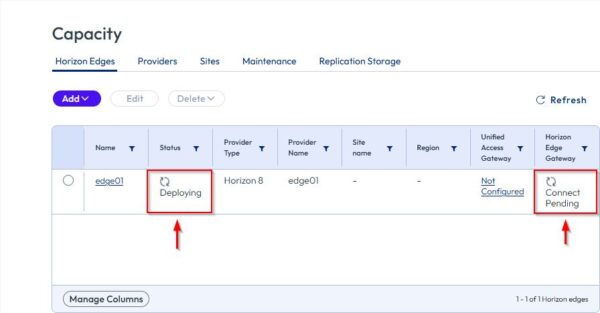
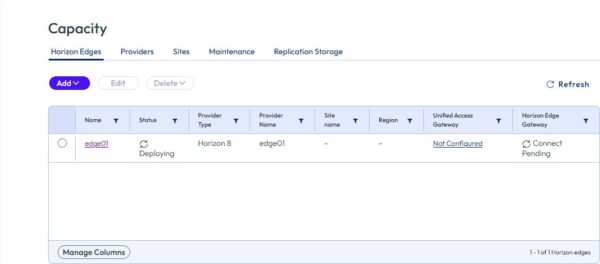
The Capacity windows displays the status of the appliance deployment.
Deploy the Edge Gateway in the vCenter
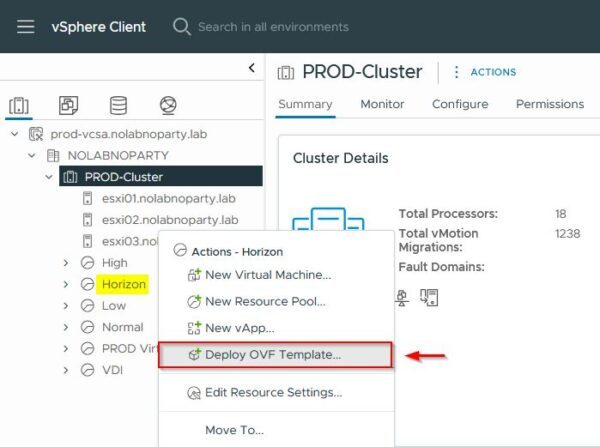
In the vCenter Server right click the vSphere object where the appliance will be installed and select Deploy OVF Template.
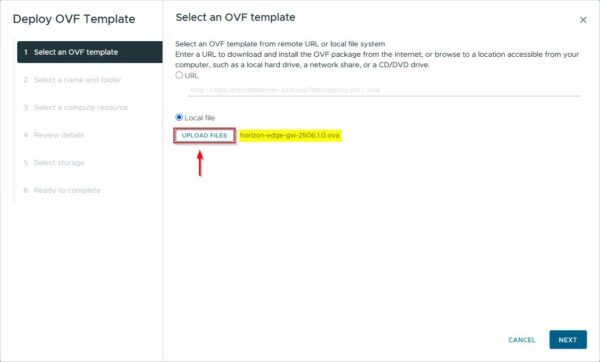
Click Upload Files and select the OVA file downloaded earlier. Click Next.
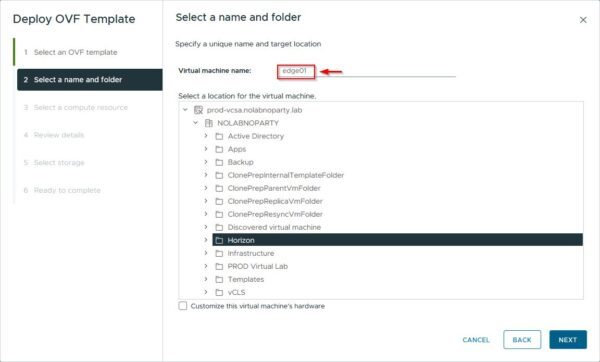
Enter the Virtual machine name and the location. Click Next.
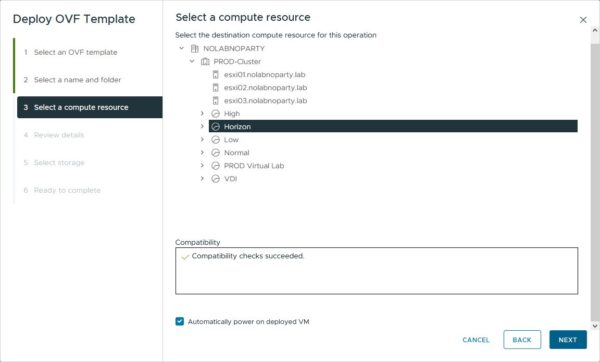
Select the computer resource and click Next.
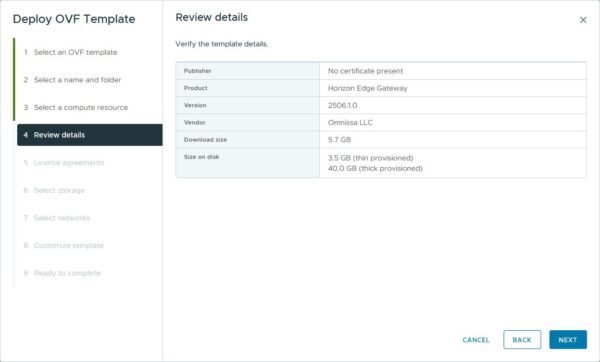
Click Next.
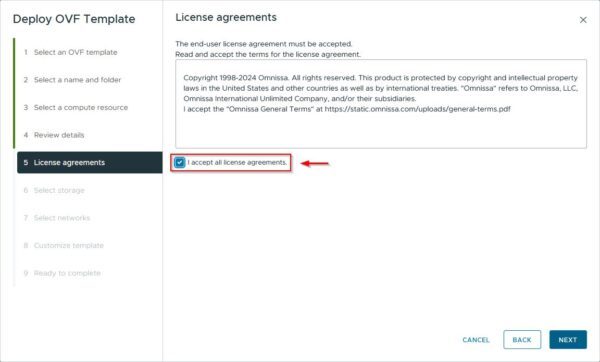
Accept the EULA and click Next.
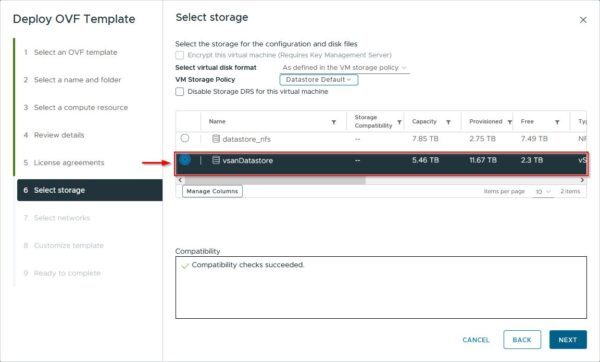
Select the datastore to use and click Next.
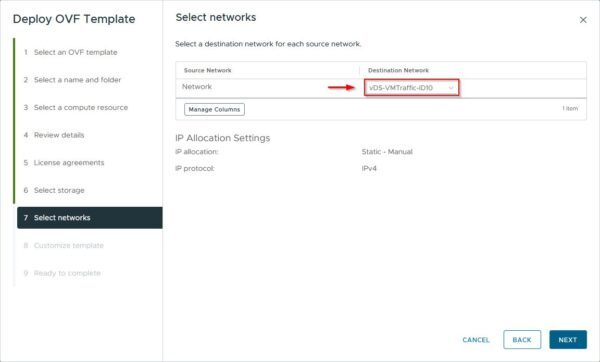
Select the Network to assign to the Omnissa Edge Gateway and click Next.
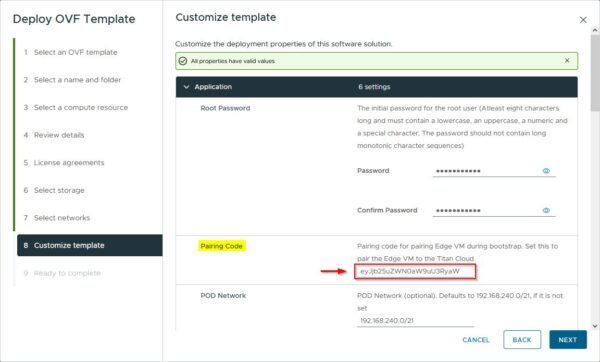
Enter all the required settings. Pay attention to the Pairing Code that must match the value copied earlier from the Omnissa Cloud website. Click Next.
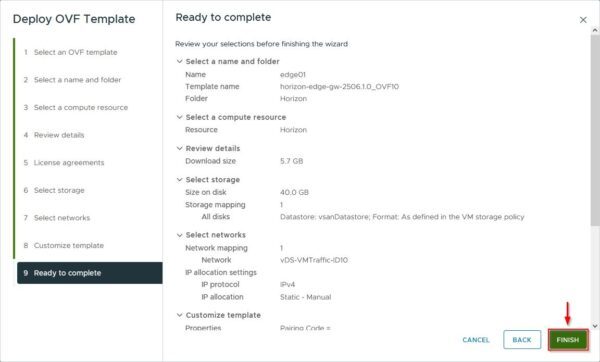
Click Finish to begin the installation.
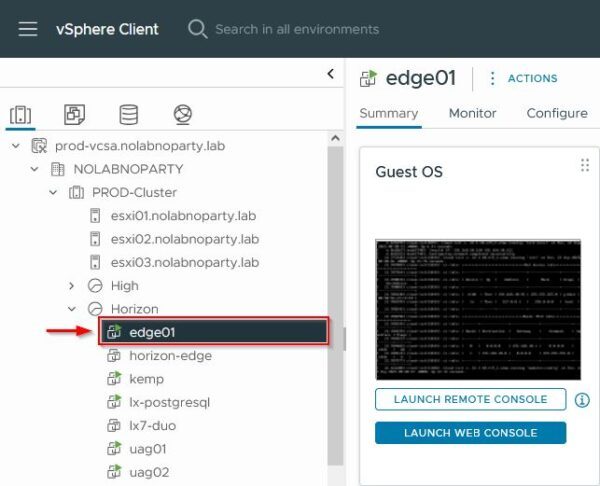
When the deployment is complete, the appliance powers on.
In the Capacity area, the Horizon Edges section has a Deploying Status.
Go back to the Omnissa Connect configuration dashboard and click Refresh.
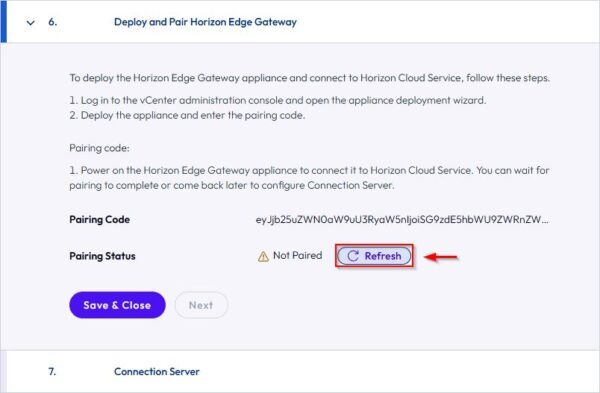
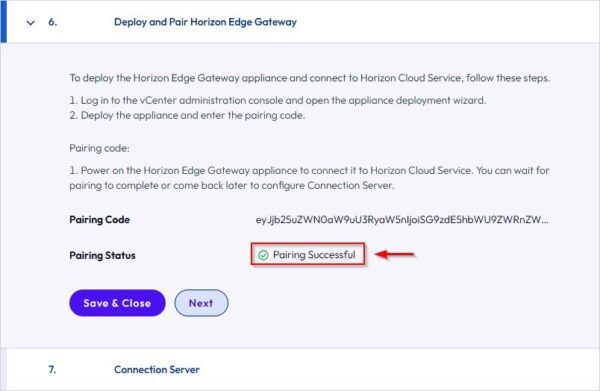
After some seconds the Pairing Status is reported as Paring Successful. The Edge Gateway is now connected. Click Next.
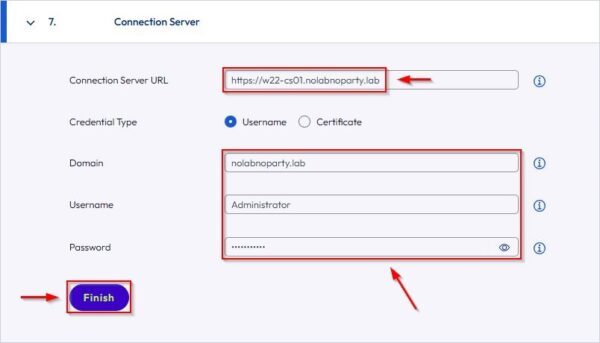
Now enter the Connection Server settings and click Finish.
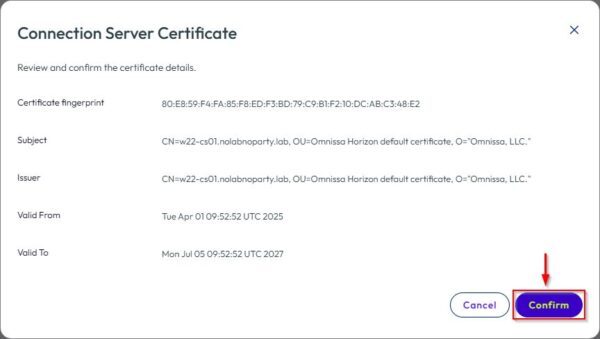
Click Confirm to accept the proposed certificate.
The Horizon Edge is now connected to the Connection Server.
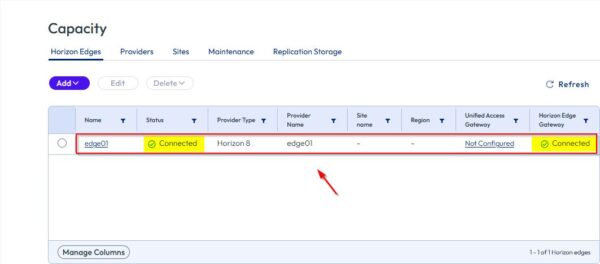
The final step is to activate the subscription license from the Connection Server Console.
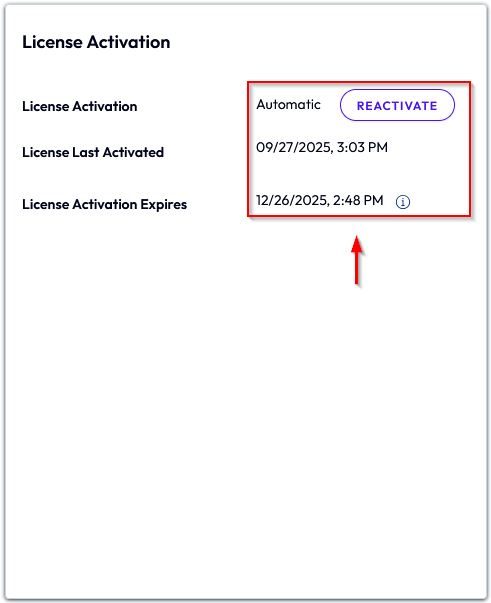
Installing the Omnissa Edge Gateway enables you to manage your licensing and licensed services and gives you the capability to monitor your infrastructure.


