PernixData FVP is a product to accelerate reads and writes to shared storage. PernixData FVP installation requires each hosts to be equipped with one SSD or PCIe device.
PernixData FVP is a solution embedded in the hypervisor that provide I/O performance enhancements to unmodified VMs on an existing SAN. So far only FC/FCoE/iSCSI are supported but NFS support has been already announced and it is going to be released.
Blog series
- PernixData FVP installation – part 1
- PernixData FVP configuration – part 2
- PernixData FVP testing – part 3
- PernixData FVP uninstall – part 4
Requirements
To run FVP, some hardware and software components need to be installed in the system. The diagram shows the components used by PernixData solution.
Hardware
- One PCIe or SSD storage device on each ESXi host. In my LAB I’ve used a 256GB Transcend SSD SATA III HDD.
NOTE: types and capacities of flash devices across hosts can be different.
Software
Once you receive the credentials, login to the PernixData website and go to Documents and Downloads section.
Download the components that match your vSphere edition.
- PernixData FVP Host Extension software on ESXi host(s).
- PernixData FVP Management Server software on a Windows server (2008 or 2012).
- PernixData FVP UI Plugin – With vSphere 5.5 the UI Plugin will be available via the Web Client.
- Microsoft .Net 3.5 SP1.
Install PernixData FVP Host Extension
First install the flash devices (SSD or PCIe) in the ESXi hosts. PernixData FVP does not require VMFS formatted datastores on any flash device to be used. Please do not add VMFS volumes to any flash devices.
From ESXi console, enable SSH.
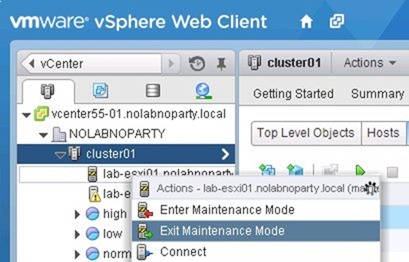
Put host in maintenance mode.
Using a tool like WinSCP, copy PernixData FVP Host Extension software on ESXi host.
Login to the host as SSH using the root account.
From the console, run the following command to install the host extension:
# esxcli software vib install -d /tmp/PernixData-host-extension-vSphere5.5.0_1.5.0.4-28301.zip
To commit changes immediately (default one hour) type the command:
# /sbin/auto-backup.sh
Exit maintenance mode.
Repeat same steps to install the FVP Host Extension on all ESXi hosts.
Install PernixData FVP Management Server
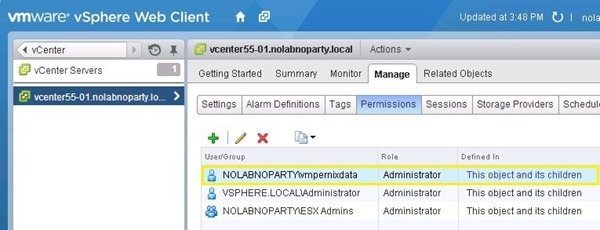
Create a dedicated Active Directory account to run FVP service and grant it Administrator permissions within all objects in vCenter. In addition grant the user Local Administrator permissions on the server as well.
Run the FVP Management Server installation.
Accept the EULA then click Next.
Leave default then click Next.
Select a setup type. Click Next to continue.
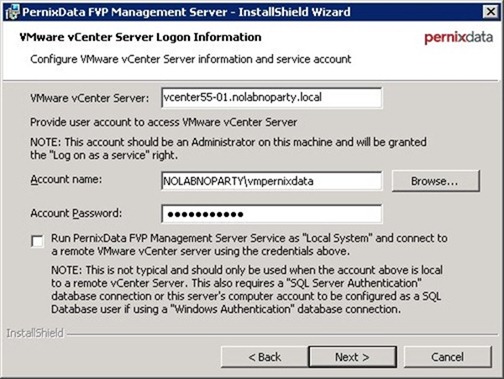
Run the service with the account previously created.
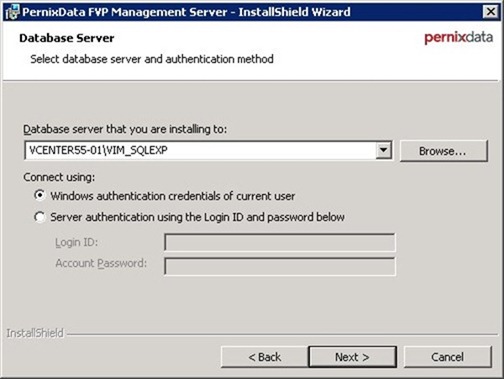
PernixData recommends installing Microsoft SQL Server 2008 R2 Express on the same machine as the FVP Management Server Service. Browse the instance to use and Windows authentication credentials of current user option then click Next.
Specify the Name or IP address of the FVP Management Server then click Next.
When ready to proceed click Install button.
Since FVP Management Server needs Java, click Yes to install the software.
Java is installed in the system.
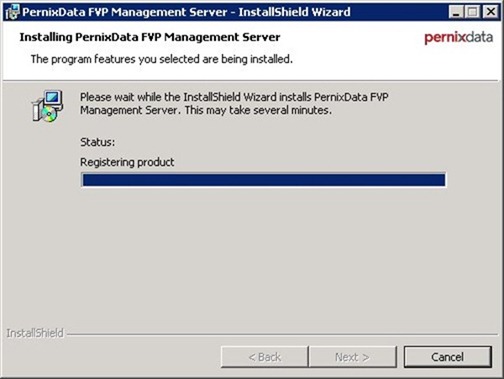
The status bar shows the ongoing installation process.
When the installation completes, click Finish to exit the wizard.
The PernixData setup creates the prnx SQL database in the instance specified during configuration.
The installation process is now complete. For vSphere Web Client 5.5 edition there are no further steps to perform. Login to the vSphere Web Client and check if PernixData FVP section appears in the list.
Install PernixData FVP UI Plugin in VMware vSphere Client
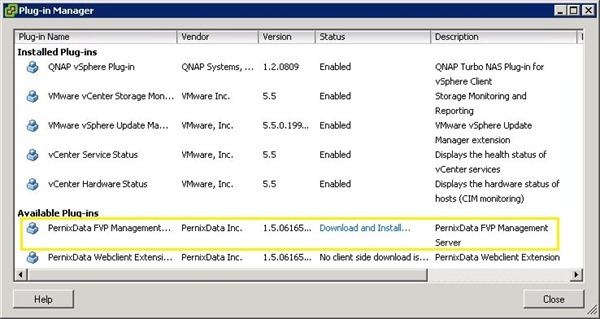
Open vSphere Client and from Plug-ins menu select Manage Plug-ins. In the Available Plug-ins, click PernixData FVP link Download and Install.
Click Next to start the installation.
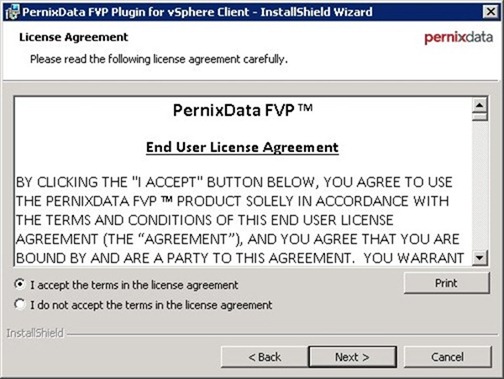
Accept the EULA then click Next.
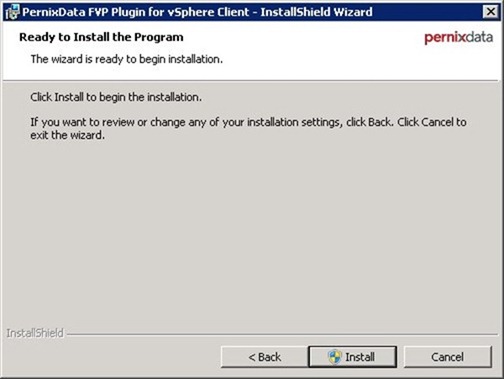
Click Install button to begin installation.
The plug-in is being installed in the system.
When installation completes, click Finish to exit the wizard.
The plug-in status is now Enabled.
The PernixData tab is now available in vSphere Client as well.
The overall installation process is complete. Next step is the configuration of PernixData FVP.


