To improve security in a virtual environment, VMware vSphere 6.5 provides the virtual machines encryption capability securing VMDK virtual disks, .vmx and swap files making stored data unreadable.
Only the virtual machine that manages the VMDK disks owns the key used to encrypt. If you try to access the encrypted VMDK from an unauthorized VM, you only get unreadable data.
No additional hardware is required to encrypt and decrypt a virtual machine and the used processor should support AES-NI instructions set, enabled in the BIOS, to improve performance since encryption is a CPU intensive process.
Blog series
vSphere VMs encryption: KMS Server installation - pt.1
vSphere VMs encryption: setup vCenter Server - pt.2
vSphere VMs encryption: encrypt virtual machines - pt.3
Required components
To encrypt virtual machines, the vCenter Server must be connected to a Key Management Server (KMS) to get the necessary keys to encrypt and decrypt the VMs using the KMIP protocol. KMS performs a certificate exchange to establish the connection with the vCenter Server.
Two components are required to perform virtual machines encryption:
- KMS Server - used to generate and store the keys passed to the vCenter Server. KMS instances added to the same KMS cluster configured in the vCenter Server must be from the same vendor (for example HyTrust, CloudLink, and IBM). You can use different vendors in different environments by creating a KMS cluster for each KMS specifying the default cluster (by default the first cluster added).
- vCenter Server - establishes a connection to the KMS Server to obtain the keys to be assigned to ESXi hosts keeping only the list of key IDs (no keys are stored in the vCenter Server).
Install the KMS Server
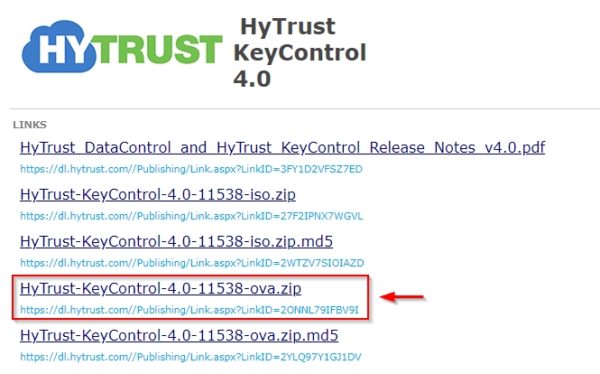
In this example, the KMS Server by HyTrust will be used. Download the KMS Server as .OVA file from the HyTrust website.
Open the vSphere Web Client, right click the cluster o resource pool to install the KMS Server and select Deploy OVF Template.
Click on Browse and select the downloaded file then click Next.
Type a Name and specify the deployment location. Click Next.
Select the resource to install the virtual machine then click Next.
In the Review Details a warning informs you about the Extra configuration added. Click Next.
Leave Recommended as Configuration value and click Next.
Specify the disk format and the datastore to use. Click Next to continue.
Specify the network to use by selecting the correct value from the Destination Network drop-down menu. Click Next.
Enter the request network parameters then click Next.
Click Finish to proceed with the deployment.
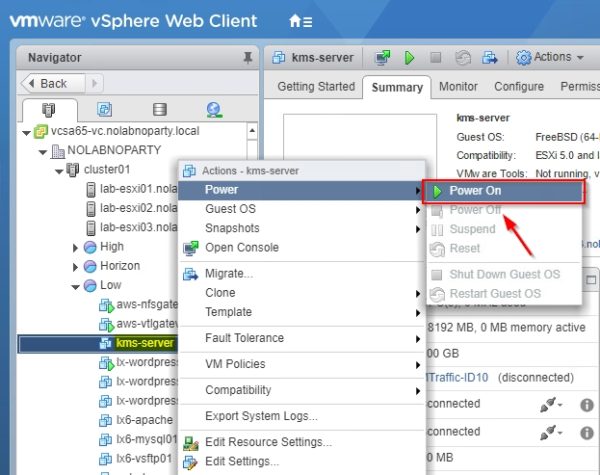
When the deployment process has completed, right click the virtual machine and select Power > Power on. When the virtual machine is up and running, access the console from the vCenter Server.
Configure the KMS Server
From the virtual machine's console, enter a new password and click OK.
Click No since this is the first KeyControl cluster.
The installation has been completed. To finalize the setup, you have to access the webGUI at the address specified. Click OK.
The KMS Server system configuration is displayed. No further actions are requested from the console then you can Log Out.
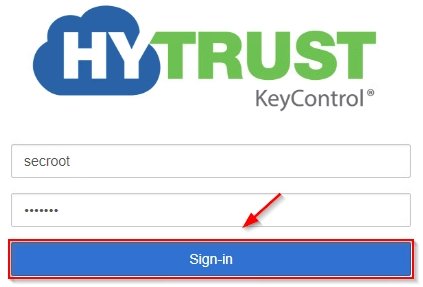
Open the preferred browser and type the address https://IP_address_KMS and enter the default credentials. Click Sign-in.
Username: secroot
Password: secroot
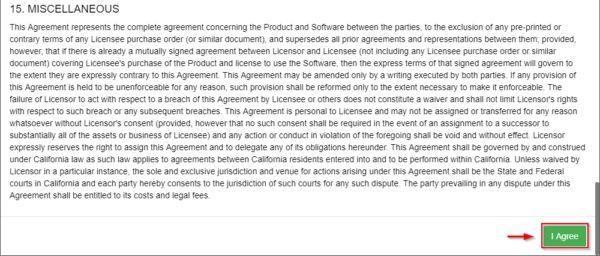
Accept the EULA by clicking on I agree button.
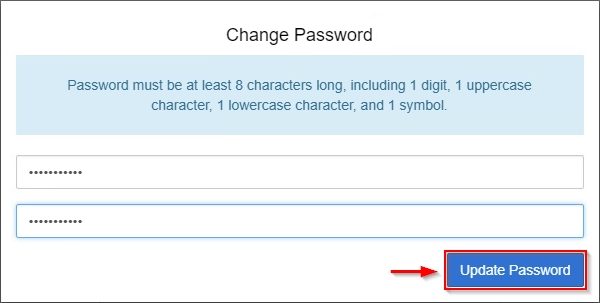
Enter a new password for the secroot account and click Update Password.
Optionally you can configure the email setting to receive the alerts or disable e-mail notifications.
The main dashboard is displayed. Click KMIP from the main menu.
The KMIP must be enabled. From the State drop-down menu select ENABLED and click Apply.
Select the Users tab then click on Action. Select Create User.
Specify the Username and Cert Expiration then click Create. Do not enter a password for the certificates. Due to a vSphere limitation, you cannot upload encrypted certificates.
The user has been created successfully.
Select the just created user and click on Action > Download Certificate.
The certificate in .ZIP format is downloaded to the local computer and contains a user certification/key file called username.pem (VCSA.pem in the example) and a server certification file called cacert.pem.
The KMS Server configuration is now complete and the certificate has been created. Part 2 will cover the configuration of the vCenter Server.









Excellent content and works exactly as described
Thanks!
Glad you found the article useful...