The procedure to perform the PernixData FVP 2.0 upgrade to 2.5 is pretty simple but the installation process requires a specific upgrade order.
FVP 2.5 introduces some new features that expand the application capabilities.
Before upgrading
Before upgrading PernixData FVP to new version, keep in mind the following key points:
- You cannot revert any component back to a previous version of the software.
- If installation cannot proceed for some reason, uninstall version 2.5 and reinstall the older version.
- Upgrading the Management Server first allows you to continue working with FVP while you upgrade the host extension module to version 2.5.
- Hosts running a previous version of FVP continue working if the Management Server has been upgraded to version 2.5 but new features won't be available until you upgrade host extension as well.
The upgrade process should follow the following order:
Transition VMs to Write Through mode
Before installing the new version of the host extension, all VMs must be in Write Through mode. This configuration is required only if the Host Extension Module has to be upgraded to version 2.5 while upgrading the Management Server can be performed at any time.
To modify the VMs' Write Policy, access PernixData FVP panel and go to Manage tab. Click on Datastores/VMs and select the VM with Write Back policy set.
Click Edit and select Write Through as Write Policy for the selected VM then click OK.
FVP sets the Write Policy to the new value.
When the Status reports Write Through, the VM transition is complete.
Once all VMs in Write Back mode have been transitioned to Write Through mode, the Host Extension Module can be upgraded to new version.
Upgrade the Management Server
Running the Management Server installer, the system detects a previous installed version. Click Yes to proceed with the upgrade.
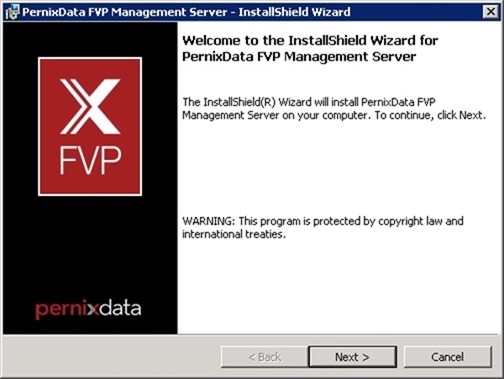
Click Next to start the Wizard.
Accept the EULA and click Next to continue.
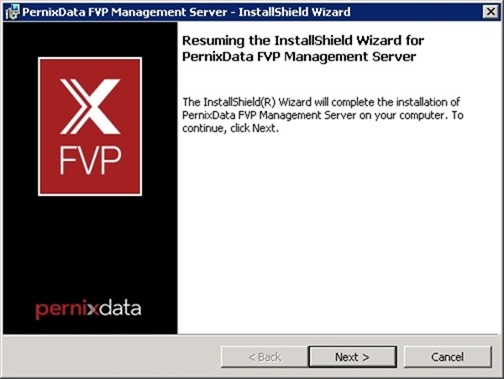
Click Next to proceed with installation.
FVP is being upgraded to new version.
When installation has completed, click Finish to exit the Wizard.
Upgrade Host Extension
Copy the new Host Extension Module to the hosts to upgrade.
To perform the host upgrade, the host must be in Maintenance Made. From vSphere Web Client right click the host to upgrade and select Enter Maintenance Mode option.
Uninstall previous Host Extension Module
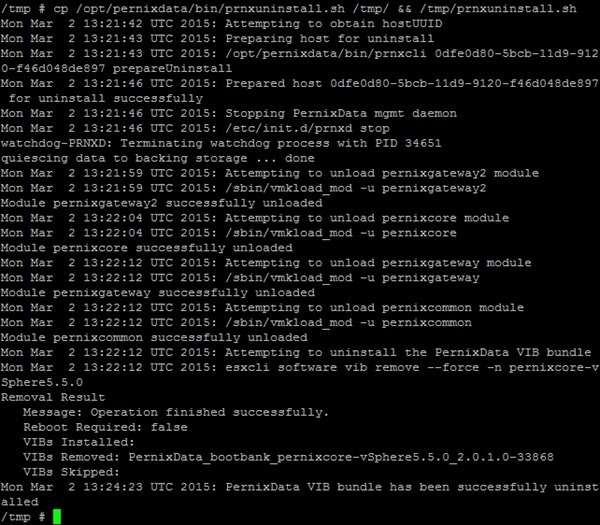
Before upgrading to new version 2.5, previous Host Extension Module version must be uninstalled from the host using the prnxuninstall.sh script.
Enable SSH in your host and login the ESXi using a tool like PuTTY. From the SSH console run the following command:
# cp /opt/pernixdata/bin/prnxuninstall.sh /tmp/ && /tmp/prnxuninstall.sh
Install new Host Extension Module
When the older version has be uninstalled successfully, the upgrade is performed using the esxcli command.
esxcli software vib install -d <zip_filename>
# esxcli software vib install -d /tmp/PernixData-host-extension-vSphere5.5.0_2.5.0.0-35945.zip
When the upgrade has completed, backup the ESXi configuration settings by running the following command:
# /sbin/auto-backup.sh
Remove the host from Maintenance Mode and disable the SSH connection.
Repeat this procedure for each host member of the FVP cluster.
Enable the vSphere Client plug-in
While in vSphere Web Client the new FVP version is already enabled, for vSphere Client the plug-in must be enabled instead.
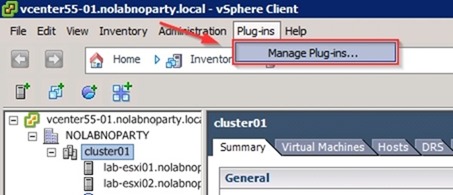
Close/Open the vSphere Client and go to menu Select Plug-ins > Manage Plug-ins.
Under Available Plug-ins section, locate the PernixData FVP vSphere Client Plugin then click Download and Install.
The system detects a previous version already installed in the system. Click Yes to perform the upgrade.
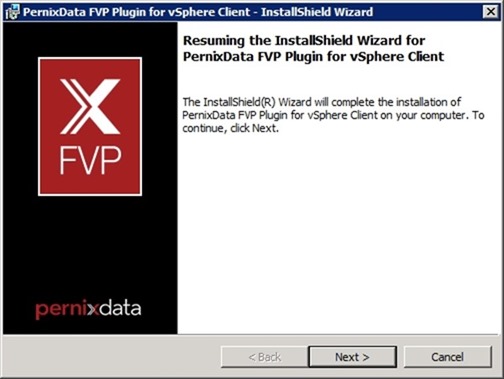
Click Next to start the Wizard.
Accept the EULA then click Next.
Click Next to install the upgrade.
Click OK to automatically close applications to upgrade.
The upgrade is being installed.
When the process has completed, click Finish to exit the Wizard.
The PernixData FVP plug-in has been upgraded successfully. Click Close to close the window.
From vSphere Web Client, access the PernixData FVP section.
After the overall upgrade process has been completed, VMs previously set in Write Back mode can be transitioned again to the correct Write Policy.
The VMs are transitioned to Write Back mode again.
PernixData FVP is now working with the capabilities provided in the new version 2.5.


