StarWind Cloud VTL for AWS and Veeam adds the cloud storage tier to the backup infrastructure ensuring the compliance with 3-2-1 backup rule.
Designed for SMB and Enterprise, StarWind Cloud VTL is a solution that allows to get rid of physical tapes accelerating the backup process and adding an extra level of protection.
Blog Series
StarWind Cloud VTL deployment - pt.1
StarWind Cloud VTL setup AWS and replication - pt.2
StarWind Cloud VTL configure Tape Job in Veeam - pt.3
Deploy StarWind Cloud VTL
Depending on the infrastructure requirements, a typical StarWind Cloud VTL deployment is shown in the picture.
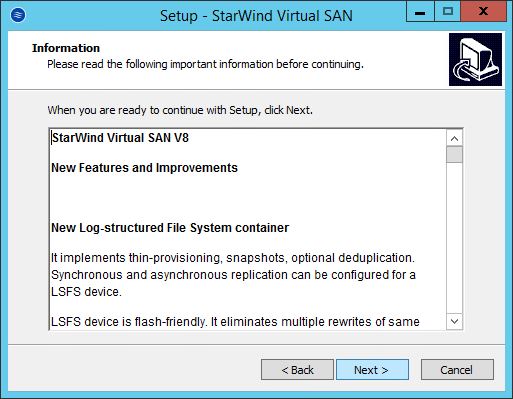
From StarWind website, download the application and run the installer. Accept the EULA and click Next.
Click Next.
The application can be installed in the same server along with StarWind Virtual SAN. In the installation wizard selecet Cloud Replication for VTL option and click Next.
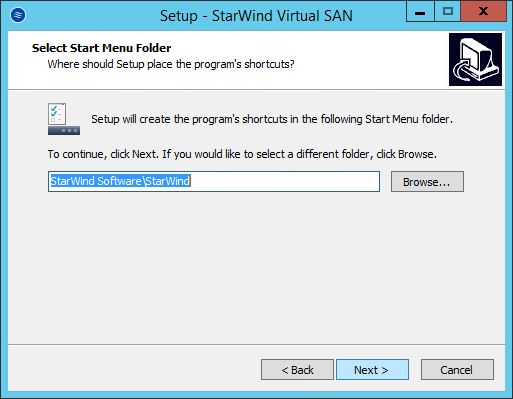
Leave default folder and click Next.
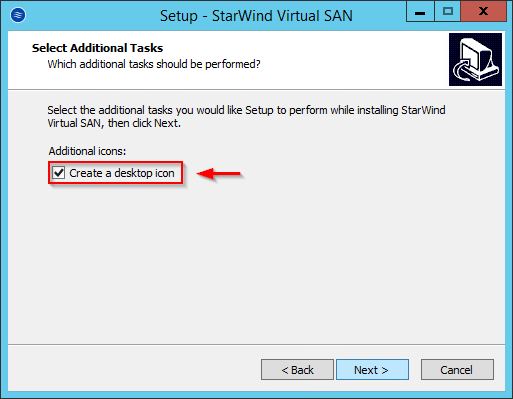
Optionally enable Create desktop icon and click Next.
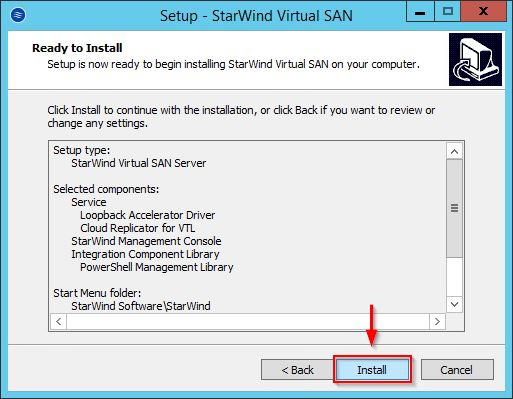
Click Install to begin the installation.
Required for loopback connections, click OK to start Microsoft iSCSI initiator service.
Software is being installed.
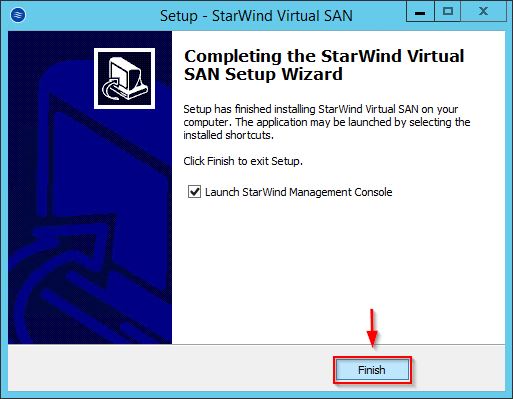
When the installation completes, click Finish to exit the wizard.
When the deployment process has been completed, the StarWind Management Console opens automatically (you need to leave previous Launch StarWind Management Console option enabled).
First time you connect the server you have to specify the default storage pool to be used. Check out StarWind VSAN installation article for additional information.
Select the StarWind Server with Cloud VTL service installed then click Add VTL device option.
Select Create a New Virtual Tape Library option and specify the Name. Click Next.
Select the Device Model to emulate from the drop down menu. You can also enable the Fill Storage Slots with empty tapes after Create option to fill all slots with empty tapes in the newly created library. Click Next to continue.
You can specify a custom Target Alias. Leave default VTL value then click Next.
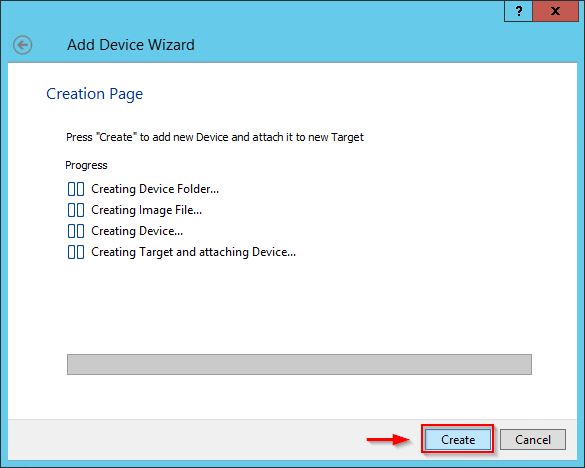
Click Create to add the new Device.
The new Device has been created. Click Close to exit the wizard.
The VTL device appears in the selected server.
Create the tape
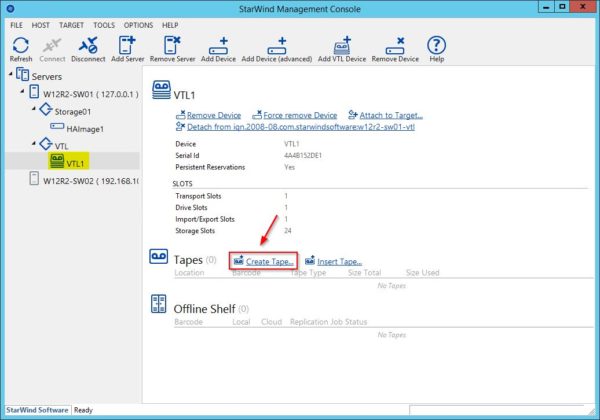
Next step is the creation of the tape. Select the VTL device and click Create Tape in the Tapes section.
If requested, you can specify a custom path to store tape files. Click Next.
Specify the Number of Tapes to create, Tape Type and the Custom Tape Size if any then click Create.
The tape is created in the Slot 1 of the VTL device under Tapes.
Mounting VTL on the backup host
To use the VTL device along with Veeam Backup and Replication Server and StarWind VTL, we need to mount the corresponding VTL iSCSI target first.
From the Windows Server open the Microsoft iSCSI Initiator and select Discovery tab. Click Discover Portal button and enter the value 127.0.0.1 in the IP address field then click Advanced.
Specify Microsoft iSCSI Inititator as Local Adapter then click OK.
Select the Targets tab and select the iSCSI target related to StarWind VTL device. Click Connect.
Select Enable multi-path option and click on Advanced button.
Specify Microsoft iSCSI Initiator as Local adapter and 127.0.0.1 / 3260 as Target portal IP. Click OK when done.
The VTL iSCSI target is now shown as Connected.
Install the tape library drivers
StarWind recommends to install the latest update driver from HP on the host where StarWind VTL device is mounted via iSCSI.
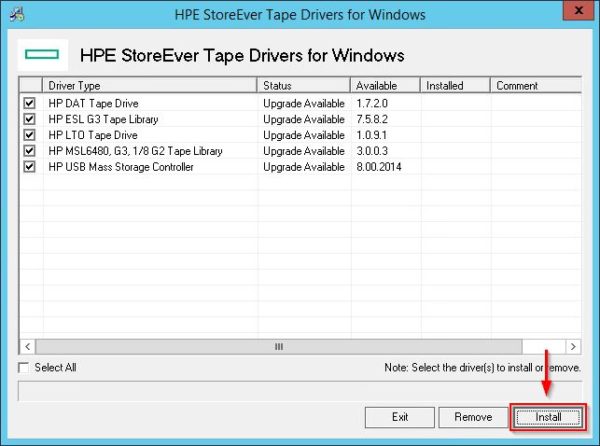
Download the HPE StoreEver Tape Drivers file and run the installer. Select all drivers and click Install.
When the drivers are installed, in Windows Device Manager you can see Hewlett Packard MSL G3 Series library (x64 based) under Medium Changer devices.
The system is now configured for adding the tape library to an external backup application like Veeam. Part 2 will cover the setup of AWS environment and the configuration of the VTL replication.


