To upgrade StarWind Virtual SAN to a newer version, a specific upgrade sequence and procedure must be followed to avoid service disruption.
StarWind Virtual SAN is a VM storage solution mirrored between configured cluster nodes and treated just as local storage by both hypervisors and clustered applications eliminating any need in physical shared storage.
Upgrade StarWind Virtual SAN
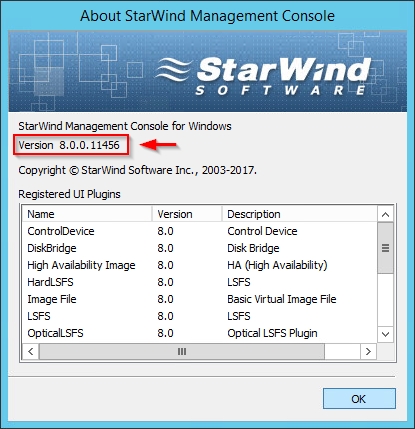
In order to proceed with the upgrade procedure, login to the First Node of the cluster and through the Management Console verify the current installed version by selecting in the main menu the option Help > About StarWind Management Console.
When released, newest Virtual SAN build can be downloaded directly from the StarWind website.
In the First Node, close the StarWind Management Console and make sure also to Exit the console from the icon in the taskbar.
Run the StarWind installer in the First Node by double clicking the downloaded file. Accept the EULA and click Next.
Click Next to continue.
Select the components to update then click Next.
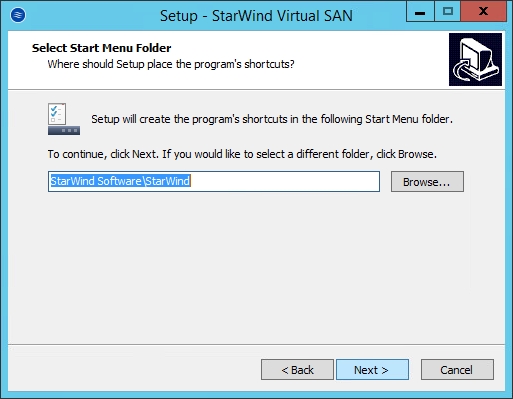
Leave default location and click Next.
Leave Create a desktop icon option flagged then click Next.
Click Install to proceed with the installation.
The application is being updated.
Looking at the VMware vSphere Client, the upgrade of Virtual SAN takes place without any service downtime.
When the installation has completed successfully, leave the Launch StarWind Management Console flagged and click Finish to exit the wizard.
Open the StarWind Management Console and wait until the StarWind service starts and the synchronization process begins. When the synchronization process is over, you can start the upgrade for the Second Node repeating same procedure.
During the upgrade of the Second Node, the Management Console loses temporarily the connection with the processed node. No panic, it's absolutely normal.
When the upgrade of the Second Node is over, wait until the synchronization process has completed.
Check from the Management Console the installed version to verify the upgrade was successfull.
By following the correct procedure, the StarWind Virtual SAN upgrade procedure runs smoothly allowing the virtual infrastructure to provide the storage capability without any service downtime.


