RDS Farms provide Windows-based applications to users through the Horizon Client in the same way as Virtual Desktops using Blast Extreme or PCoIP protocols.
Applications are published and provided to users by installing on a Microsoft Remote Desktop Session (RDS) host the desired applications. One or more RDS Server can be bundled to make a Farm where application pools can be created in a similar way as desktop pools.
End users can access published applications instead of leveraging remote desktops. Applications can be added, removed, updated and entitled to users making them available on any device or network simplifying the overall management.
Install the RDS role
Deploy a Windows Server 2016/2019 to your vSphere infrastructure and join the server to the AD domain.
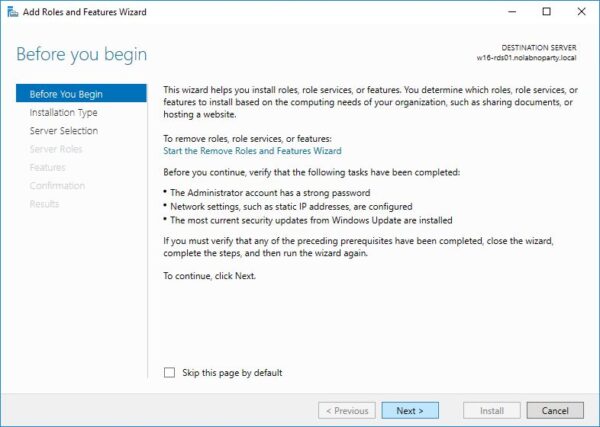
Login to the Windows Server and access the Server Manager Dashboard. Click on Add roles and features link.
Click Next.
Select Role-based or feature-based installation option then click Next.
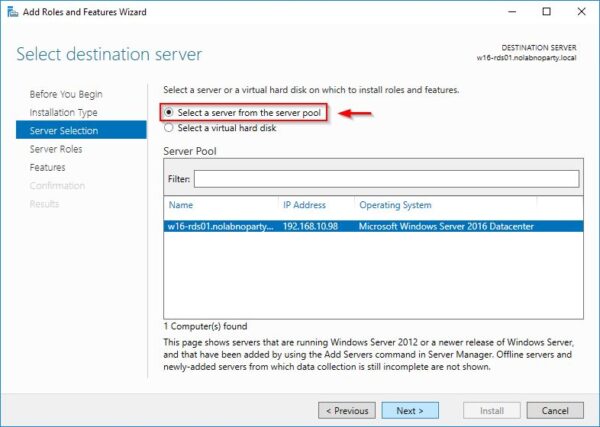
Leave default Select a server from the server pool option and click Next.
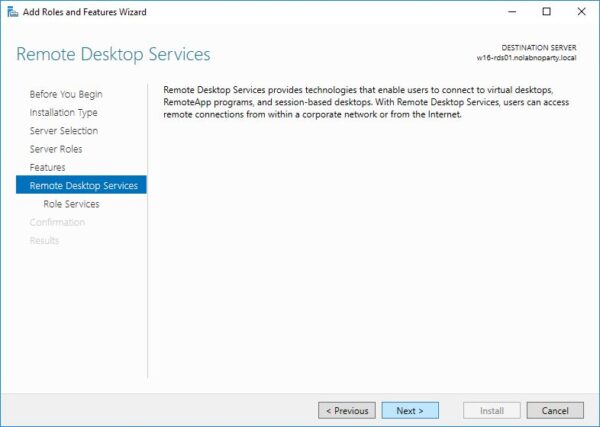
Select the Remote Desktop Services role and click Next.
Nothing to select here. Click Next.
Click Next.
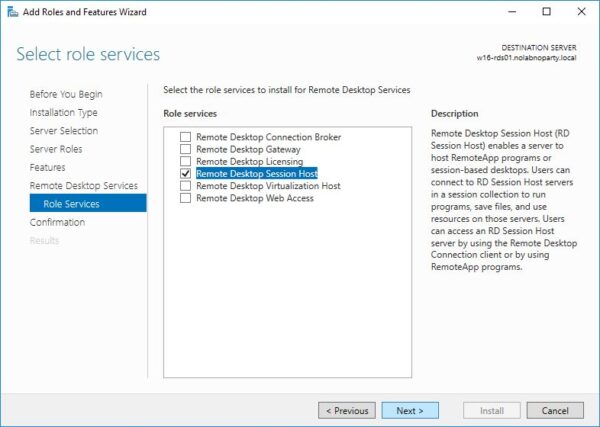
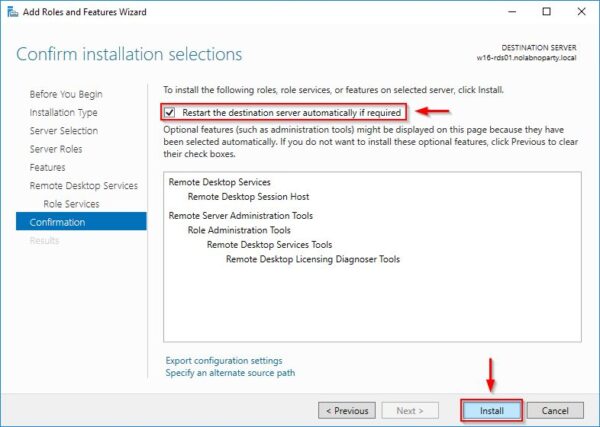
Select Remote Desktop Session Host option. Additional features need to be installed.
Click Next to continue.
Enable Restart the destination server automatically if required and click Install.
The role is being installed on the server. The server will reboot automatically.
Click Close when the installation has been completed.
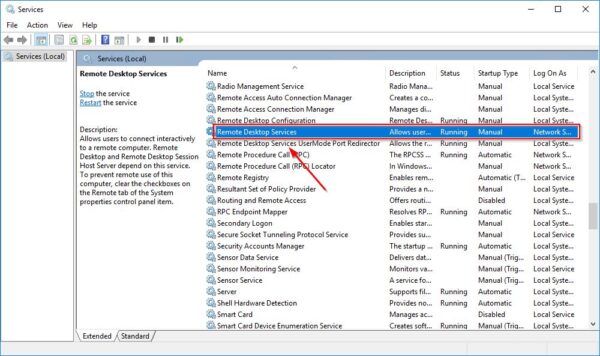
Make sure the Remote Desktop Services service is running.
Enable remote access
To allow Horizon users to remote access the RDS Server, open the System Properties of the server and go to the Remote tab. Enable Allow remote connection to this computer option. Click Select Users.
Click Add and select from Active Directory the correct Horizon Users or Groups. Click OK when done.
Click OK to save the configuration.
Install the Horizon Agent
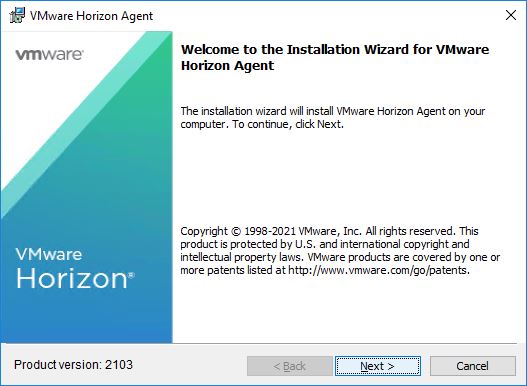
Download from VMware website the Horizon Agent and run the installer.
Click Next to begin the Agent installation.
Accept the EULA and click Next.
Specify the protocol to use then click Next.
Select additional features if required then click Next.
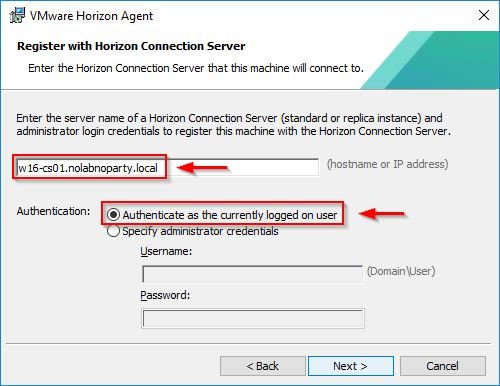
Enter the Connection Server hostname or IP address then select the preferred Authentication method. Click Next.
Click Install to proceed with the installation.
The Horizon Agent is being installed.
When the installation has been completed successfully, click Finish to exit the wizard.
Click Yes to restart the server.
Configure RDS Farms
Access the Horizon management console and enter the credentials of an account member of the Horizon Administrators group then click Login.
Access the Inventory > Farms area and click Add.
Select Manual Farm option to manually add all the required VMs. VMs are not Instant Clones but are cloned manually in vCenter. Make sure the added VMs to the Farm are all identical since Horizon performs a load balance across the servers.
Enter the Farm ID and optionally a Description. Check out other available options and set values accordingly. Click Next.
Load Balancing Settings page allows to specify metrics used to distribute users across the Farm. By default, only Include Session Count option is enabled and considered. Click Next.
Select the available RDS Server to add to the Farm and click Next. Only servers with the Horizon Agent installed are visible.
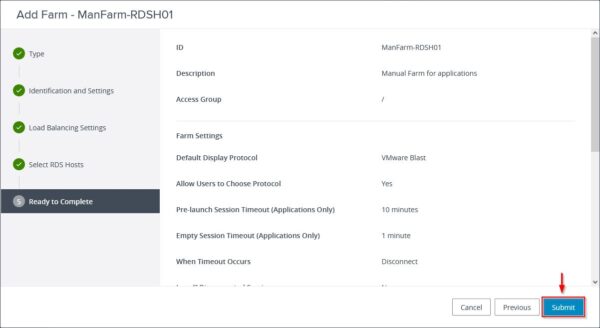
Click Submit to create the Farm.
The configured Farm.
In the Inventory > Farms area go to RDS Hosts to add additional RDS Servers. Click Add.
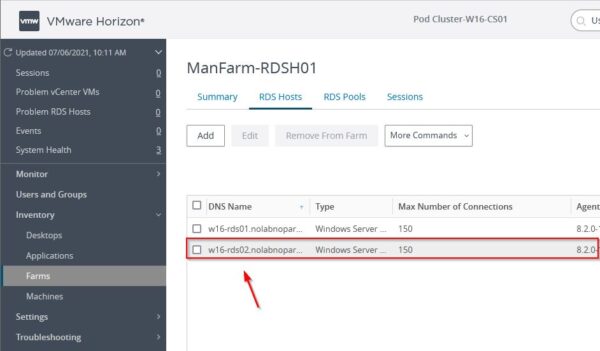
Select the new RDS Server to add and click OK. Again, make sure every host in the RDS Farm is identical.
The new added RDS Server.
Configure Application Pools
Now go to Inventory > Applications area to specify applications to deploy. Select Add from Installed Applications from the Add drop-down menu.
Select RDS Farm option and select the appropriate Farm from the list. From available applications, select the desired applications then click Next. Selected applications will be published from the RDS Farm to entitled users.
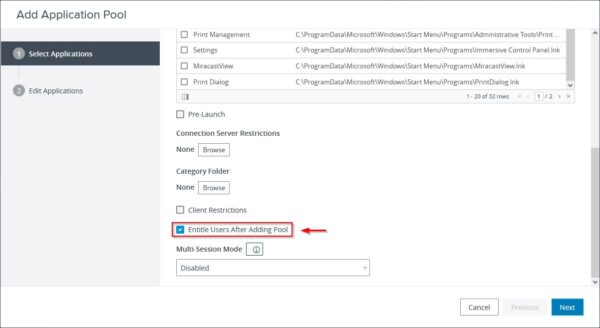
Enable Entitle Users After Adding Pool option and click Next.
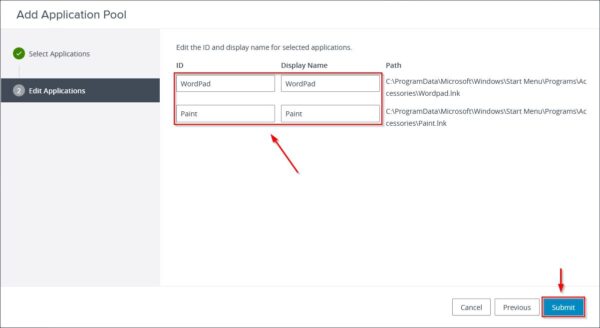
Click Submit to create Application Pool.
Entitle users
The Add Entitlements windows opens automatically. Click Add to add users or groups entitled to use the configured applications.
Enter part of the Name/User Name to filter the user or group to entitle and click Find. Select the desired user/group and click OK.
Click OK to entitle the selected user/group.
The new Application Pool has been created successfully.
Test published applications
Access your Horizon infrastructure with an entitled user. Click Login.
The configured applications are now available to the user in the Horizon Client. Just click on the application you need to work with and automatically the application is made available.
If you receive this error while accessing the application, make sure you configured the remote access in the RDS Servers.
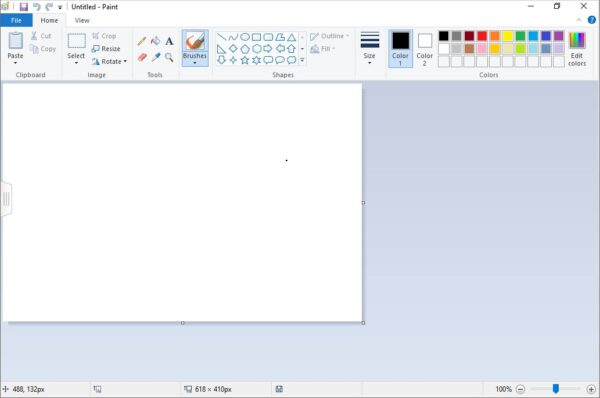
The published application is fully working.
To exit the application, just select File then click Exit.
Files created with the application can be saved on mapped network drives via GPO or in the user's profile area if DEM or Writable Volumes solutions have been configured.


