Directory Sync tool is an ADFS 3.0 component that provides directory synchronization between a Active Directory (On-Premise) and Office 365 (Windows Azure Active Directory).
Configuring DirSync and Active Directory Federation Services enable the single sign-on feature where users are signed in to Office 365 automatically and with no password required when they are already signed in to their domain-joined PC.
Blog series
ADFS 3.0 setup UPN suffix for Office 365 SSO - pt. 1
ADFS 3.0 SSL certificate signing request - pt. 2
ADFS 3.0 install ADFS Server - pt. 3
ADFS 3.0 install WAP Server - pt. 4
ADFS 3.0 federating Office 365 - pt. 5
ADFS 3.0 install Directory Sync tool - pt. 6
ADFS 3.0 deploy Office 365 - pt. 7
Prerequisites
- Microsoft Directory Sync tool
- .NET Framework 3.5.1
Activate AD synchronization
Before installing DirSync tool, Active Directory synchronization must be enabled in the Office 365 portal.
Login to Office 365 portal as admin, go to USERS > Active Users and click on Set up link in the Active Directory synchronization row.
Go to point three and click on Activate button.
Click Activate again to confirm.
When you get the Active Directory synchronization is activated message, synchronization is enabled and users can be edited only in your on-premises Active Directory.
Go to point five and click Download button to download the 64-bit only Directory Sync tool.
The tool requires .NET Framework 3.5.1 installed in the server to run. Add the required feature before running the DirSync installer.
Install Directory Sync tool
Run the Directory Sync tool installer and click Next in the Welcome window.
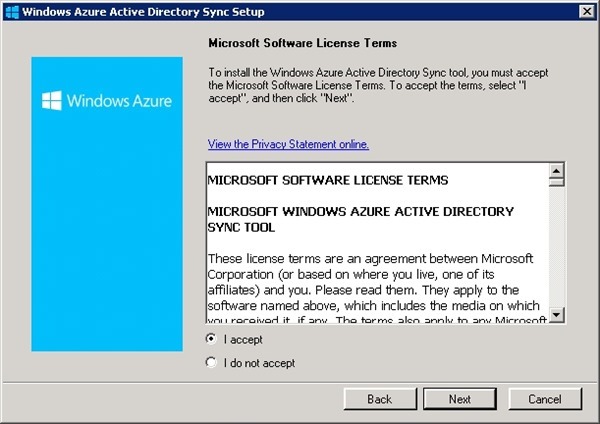
Accept the EULA then click Next.
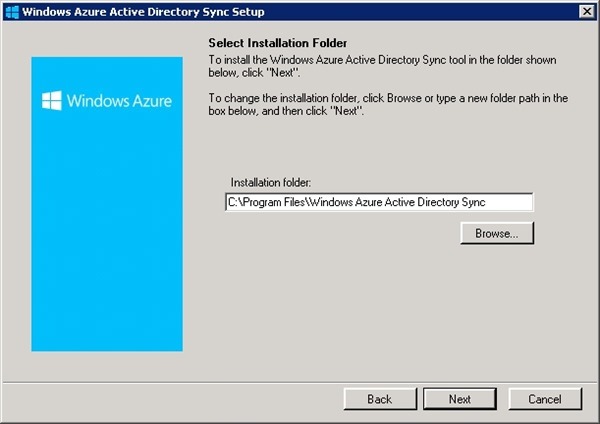
Leave default installation folder and click Next.
The tool is being installed in the system.
When the installation has been completed, click Next.
Enable Start Configuration Wizard now option then click Finish to exit the Wizard.
The configuration Wizard begins showing the Welcome page. Click Next to proceed.
Enter the User name and Password of the Office 365 Administrator then click Next.
Enter User name and Password of the Active Directory Enterprise Administrator then click Next.
Thick the Enable Hybrid Deployment option to grant Windows Azure Active Directory Sync tool write access to local directory. Click Next to continue.
Thick Enable Password Sync option to synchronize user passwords from on-premises Directory then click Next.
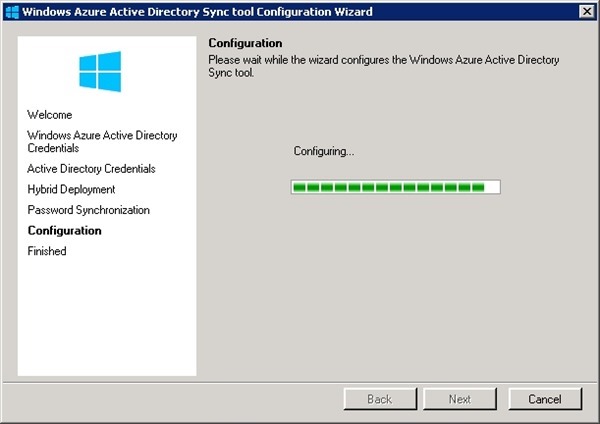
The tool is being configured.
When the configuration has been completed, click Next.
DON'T enable Synchronize your directories now option to avoid full organization's on-premises AD synchronization. Click Finish to exit the Wizard.
Set OUs to synchronize
To synchronize only specific OUs with Windows Azure, the system has to be configured to include only the OUs requested.
Run the Synchronization Service Manager located in "C:\Program Files\Windows Azure Active Directory Sync\SYNCBUS\Synchronization Service\UIShell\miisclient.exe and select the Management Agents tab. Right click the Active Directory Connector agent and select Properties.
Select Configure Directory Partitions property and click on Containers button.
Enter the Active Directory Administrator credentials then click OK.
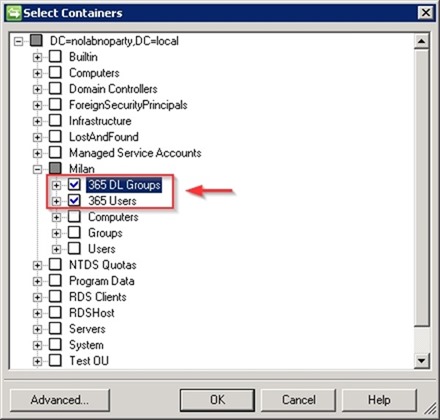
Select the OUs to synchronize (in the example 365 DL Groups and 365 Users) then click OK.
Click on Refresh button to show updated directory partitions.
The updated partitions show up in the right pane. Click OK to save the configuration.
Click OK to commit changes to the server.
When the configuration has been saved click Close.
In the Configure Attribute Flow property you can see the synchronization flow. Click OK to close the window.
Force synchronization using PowerShell
To force a full synchronization, open the PowerShell shell and import the DirSync module.
If you receive the error:
"Import Module: File … cannot be loaded because the execution of scripts is disabled on this system."
you need to run the command:
PS C:\> Set-ExecutionPolicy RemoteSigned
Now you can import the DirSync module and run the synchronization between your Active Directory and Office 365.
PS C:\> Import-Module DirSync
PS C:\> Start-OnlineCoexistenceSync -FULLSync
When the synchronization succeeded, the users' Status is displayed as Synced with Active Directory.
Last step of the configuration is covered in part 7 with the deployment of Office 365 to the clients.


