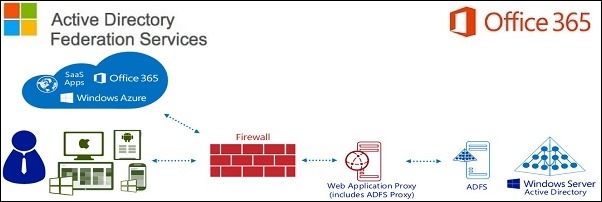
To perform SSO with Office 365 outside the LAN, we need to configure the ADFS 3.0 service adding a WAP server placed in the DMZ zone.
The Windows 2012 R2 with WAP role must be configured as standalone server and NOT joined to the domain.
Blog series
ADFS 3.0 setup UPN suffix for Office 365 SSO - pt. 1
ADFS 3.0 SSL certificate signing request - pt. 2
ADFS 3.0 install ADFS Server - pt. 3
ADFS 3.0 install WAP Server - pt. 4
ADFS 3.0 federating Office 365 - pt. 5
ADFS 3.0 install Directory Sync tool - pt. 6
ADFS 3.0 deploy Office 365 - pt. 7
Configure hosts file
Since the WAP server in the DMZ needs to communicate with the internal ADFS server to perform the authentication against Active Directory, a DNS entry must be configured in the hosts file of the server.
Open the hosts file located in C:\Windows\System32\drivers\etc and add a new entry specifying the IP address of the ADFS server and the given name of the service.
Ping from WAP server to ADFS server in order to verify the correct DNS resolution.
Install WAP role
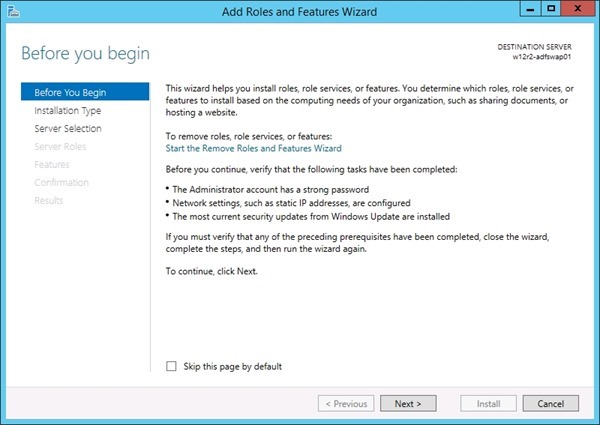
From the Server Manager click Add roles and features to add the WAP role in the server.
Click Next to start the role configuration.
Select Role-based or feature-based installation option then click Next.
Select the option Select a server from the server pool, highlight the server from the list and click Next.
Select Remote Access role and click Next.
No additional features to add, click Next.
Click Next to continue.
Select the Web Application Proxy role service.
Since the role requires additional tools to be installed, click on Add Features to proceed.
Once the additional features has been added and the Web Application Proxy role service is selected, click Next.
Thick Restart the destination server automatically if required option then click Yes to confirm.
Click Install to proceed with the role installation.
The role is being installed in the server.
Click Close to exit the Wizard.
Import the SSL certificate
Since an SSL certificate is required to establish the https connection to WAP server, same certificate installed in ADFS server can be used.
Open the Certificates snap-in console, right click Personal item and select All Tasks > Import options.
Click Next to continue.
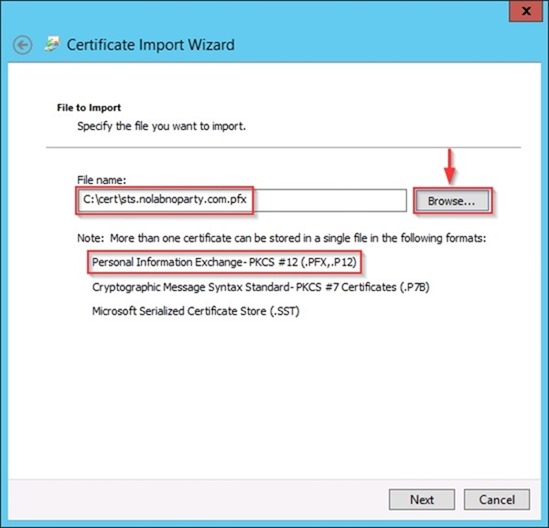
In the File name field select the SSL certificate previously exported (see part 2) through the Browse button then click Next.
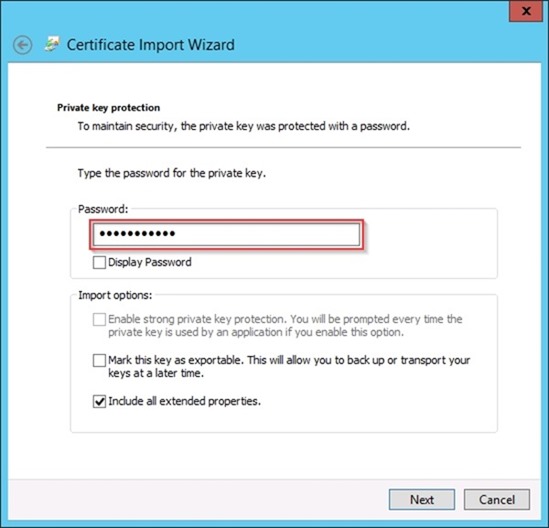
Type the Password for the private key, select option Include all extended properties then click Next.
Select Place all certificates in the following store option and use Personal as certificate store. Click Next to continue.
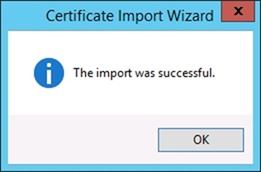
To complete the certificate import click on Finish button.
Click OK to close the confirmation window.
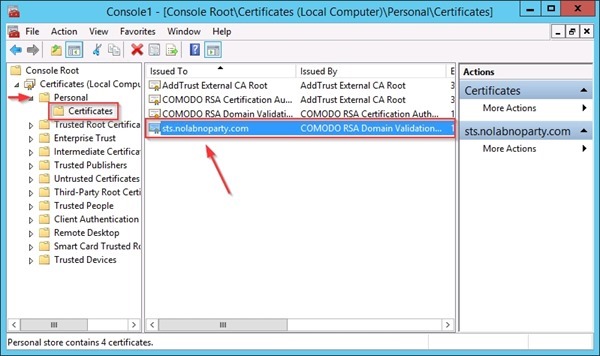
Select Certificates > Personal to verify the imported certificate.
Configure WAP
After installing the WAP role, the service has to be configured. Click on Open the Web Application Proxy Wizard to begin the setup.
Click Next when the WAP Configuration Wizard starts.
Type the configured name in the Federation service name field (i.e. sts.nolabnoparty.com) and enter the credential of a local administrator account of the server (remember the server is NOT joined to the domain). Click Next when done.
Select the imported SSL certificate to be used by the ADFS proxy.
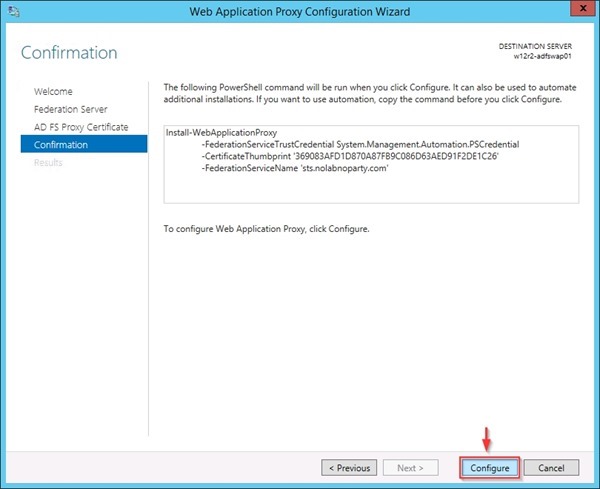
Click Configure to start the WAP configuration.
The service is being configured.
When the process has been completed, click Close to exit the Wizard.
When you click on Close, automatically the Remote Access Management Console opens.
Publish application
To enable WAP, the application must be published from the Remote Access Management Console. In the Tasks pane, click on Publish.
The Publish New Application Wizard window opens. Click Next to begin.
Select the Pass-through option then click Next.
Give a Name to the web application to be published. Type the External URL field, select the External certificate and specify the Backend server URL. Click Next when done.
To publish the web application click on Publish button.
When the application has been published successfully, click Close to exit the Wizard.
The web application shows up in the Published Web Applications list. Close the Remote Access Management Console.
Test the connection
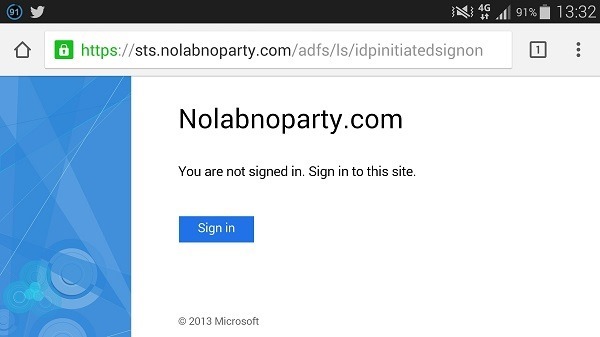
To test the authentication process, from a device outside the LAN type the following URL in the browser:
https://adfsname.domain.com/adfs/ls/IdpInitiatedSignon.aspx
In the example, the address https://sts.nolabnoparty.com/adfs/ls/IdpInitiatedSignon.aspx is used in the browser.
Click the Sign in button.
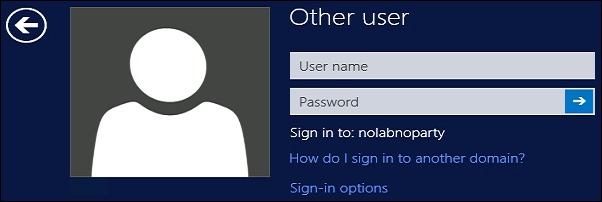
Enter the organizational account credentials and click Sign in button.
If the system shows the You are signed in message, the service is working as expected.
Part 5 will cover the federation process to connect the on-premises Active Directory with Office 365 platform.
















Thank you so much for this guide. There are many guides on the internet but I have not found one that is as thorough and complete as this one. It allowed me to solve an issue with certificate authentication that I was working on for quite some time.