Nakivo Backup to Tape is a feature provided by Nakivo Backup & Replication that allows archiving backups created by Backup Jobs to tape devices.
The Nakivo Backup to Tape operation can be done by performing a Backup Copy Job setting the tape device as destination. A direct backup to tape is currently not supported.
Deploy the Nakivo Transporter
Since the Tape Library must be connected to a server with the Nakivo Transporter component installed, you may need to deploy a new Transporter. Download the appropriated installation file and proceed with the installation.
Run the installation wizard and enter the Master password.
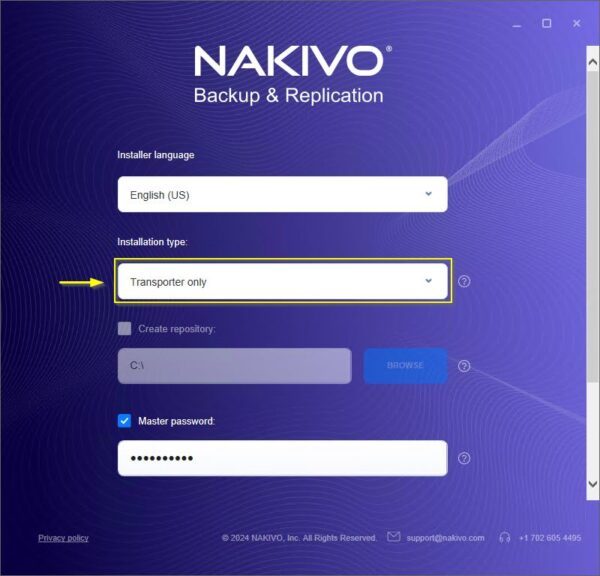
Expand More options to customize the installation if required. Accept the EULA and click Install.
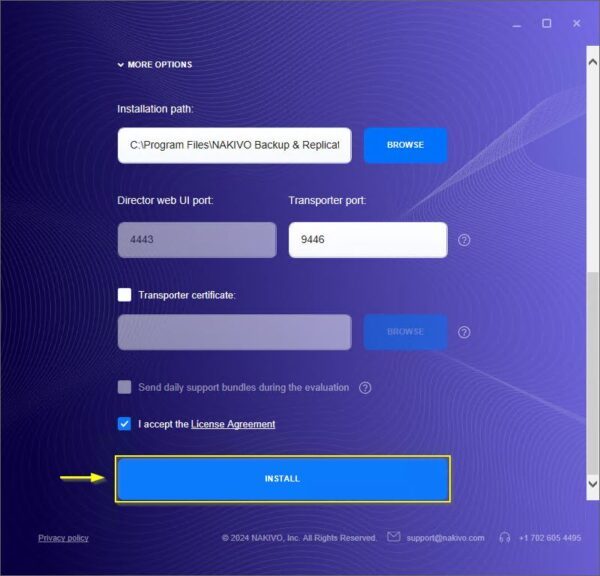
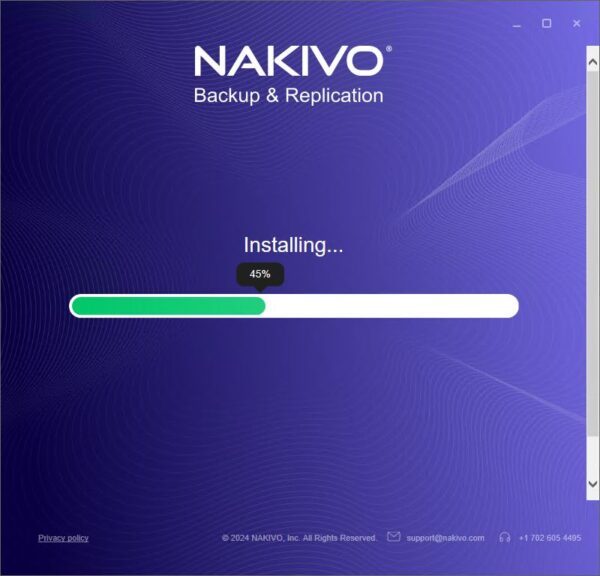
The Transporter is being installed.
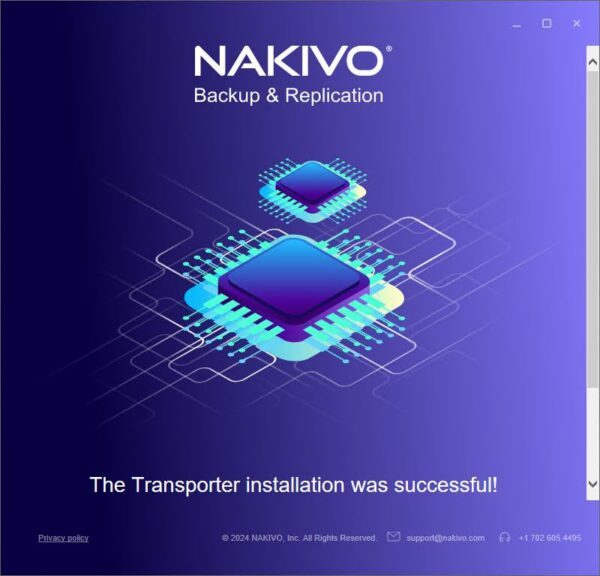
When the installation is completed, click Finish.
Add the Transporter to Nodes
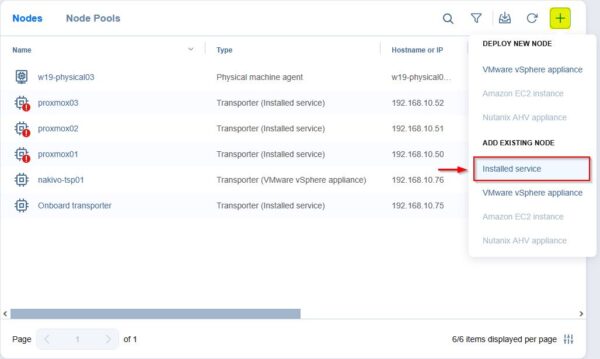
To leverage the capabilities of the new Transporter, it must be added to Nakivo's Nodes.
Go to Settings > Nodes and click the + (plus) icon. Select Installed service under Add Existing Node.
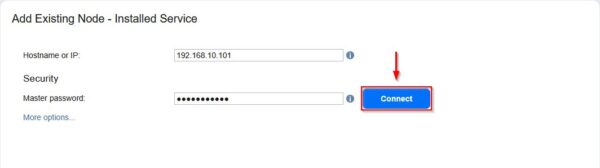
Enter the Hostname or IP and specify the Master password set during the Transporter installation. Click Connect.
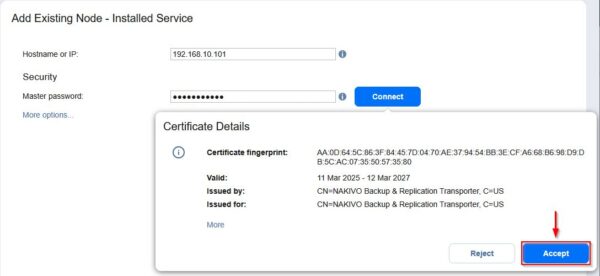
Click Accept to accept the certificate.
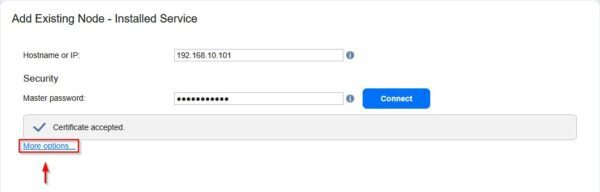
When the certificate is accepted, click More options.
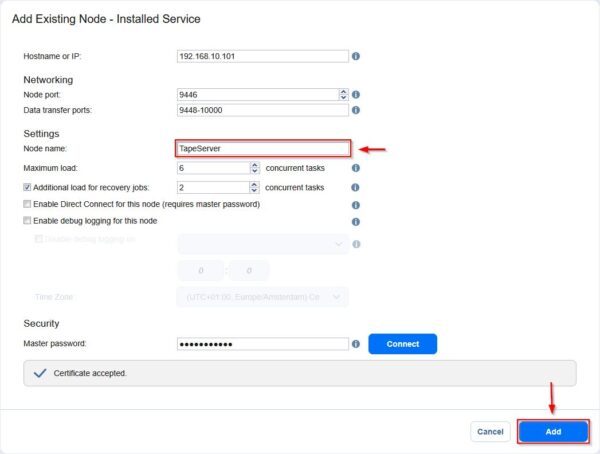
Assign the desired Node name and click Add.
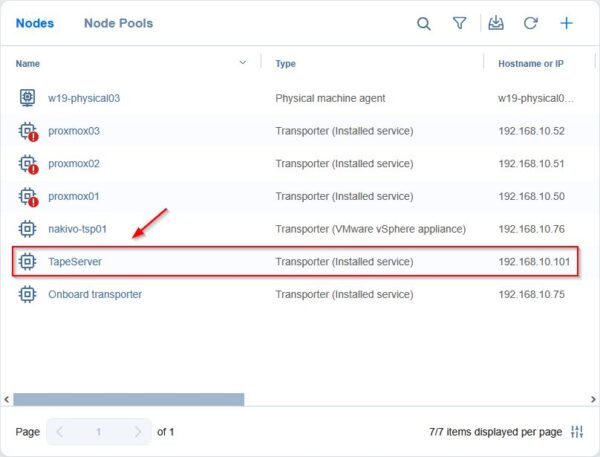
The new Transported has been successfully added in Nakivo Backup & Replication.
Configure the Tape Library
Go to Settings > Tape section and click the + (plus) icon in the Device tab. Select the type of Tape Library to install (Robotic tape library or VTL in the example).
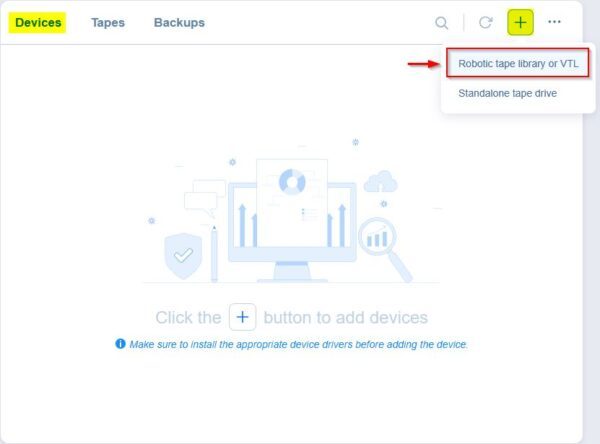
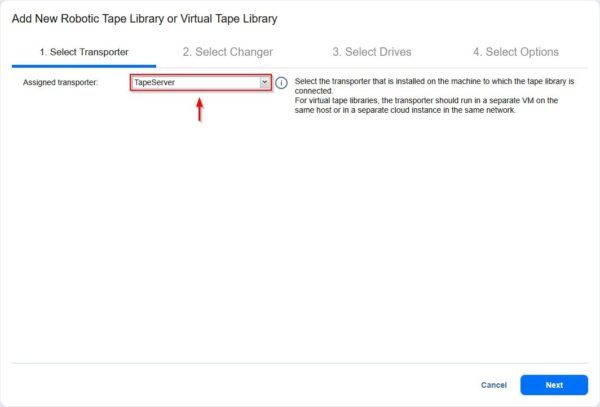
Select the previously added Transporter from the Assigned transporter drop-down list and click Next.
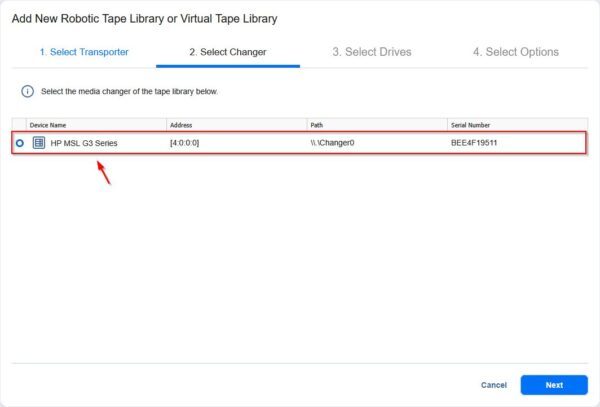
Select the Changer to use and click Next.
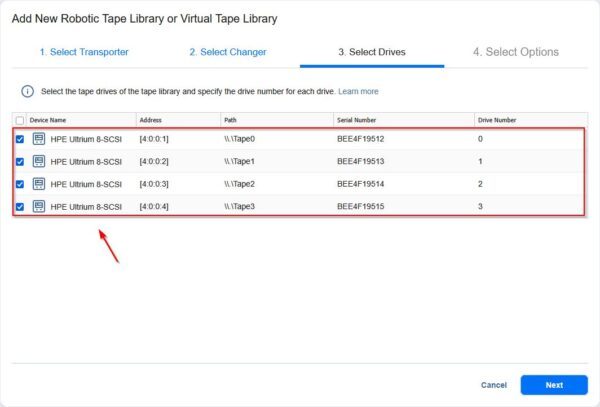
Select the tape drives to use and click Next.
Enter the Name of the Tape Library then click on the add media pool link.
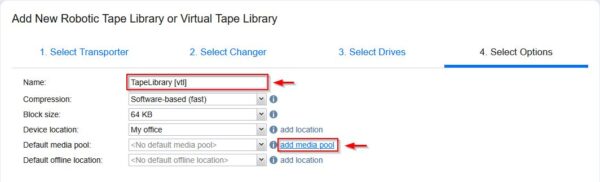
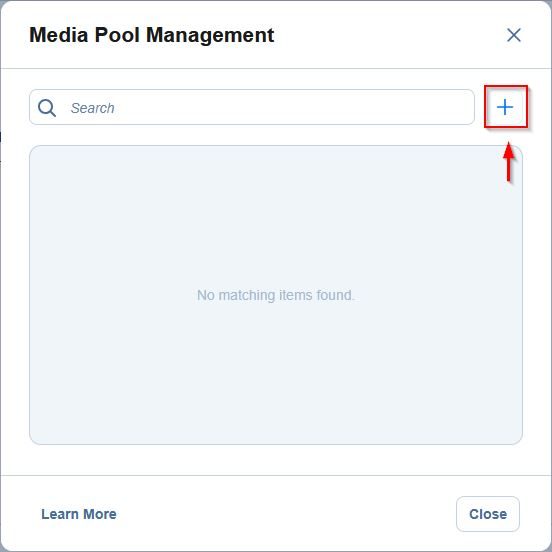
Click the + (plus) icon to create a new Media Pool.
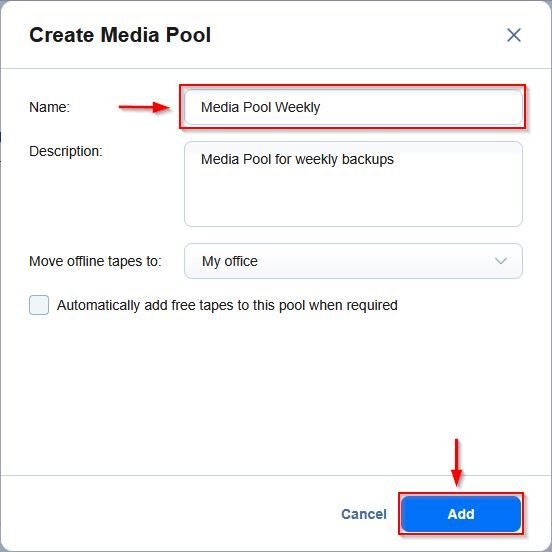
Enter a Name and optionally a Description. Click Add to create the new Media Pool.
The Media Pool is now created. Click Close to exit.

As Default media pool select the just created pool and click Finish to save the configuration.
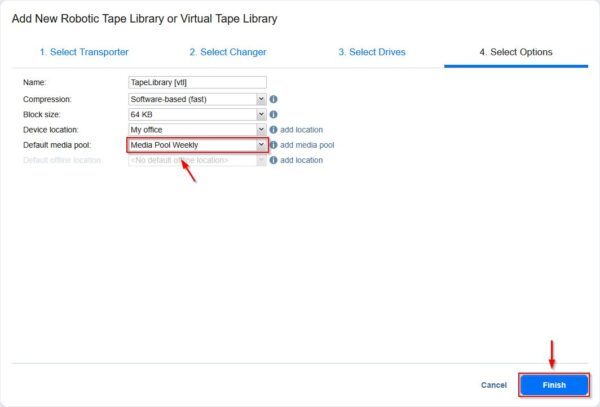
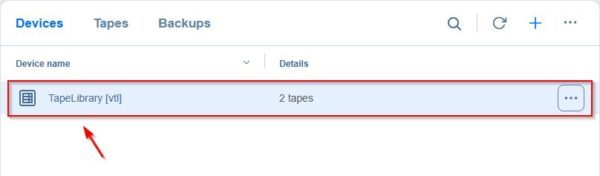
The Tape Library is added in Nakivo.
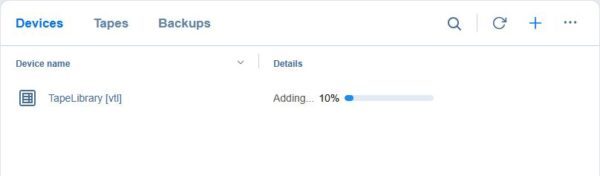
The added Tape Library.
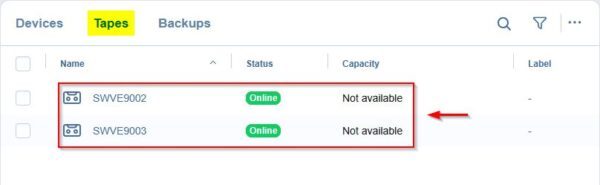
In the Tapes tab you can see the available tapes.
Create a Nakivo Backup to Tape job
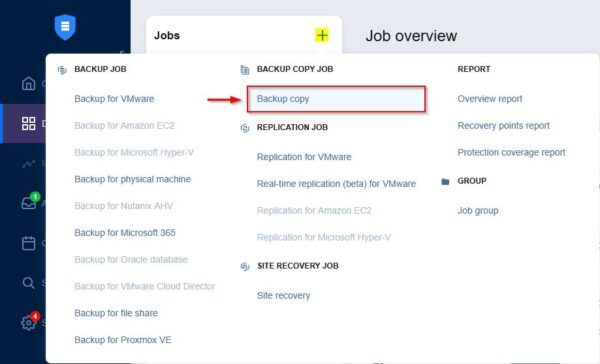
From Data Protection section, click the + (plus) icon and select Backup Copy.
Select the VMs you want to copy to tape and click Next.
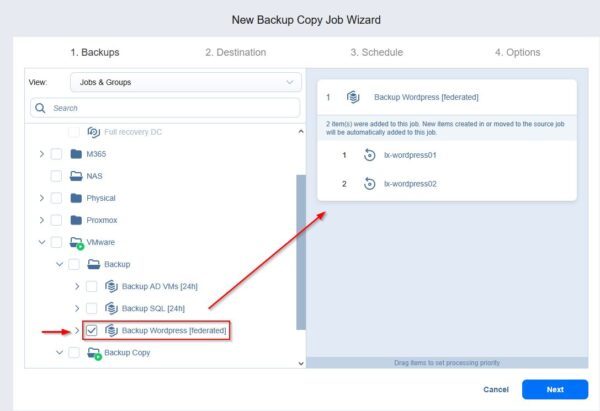
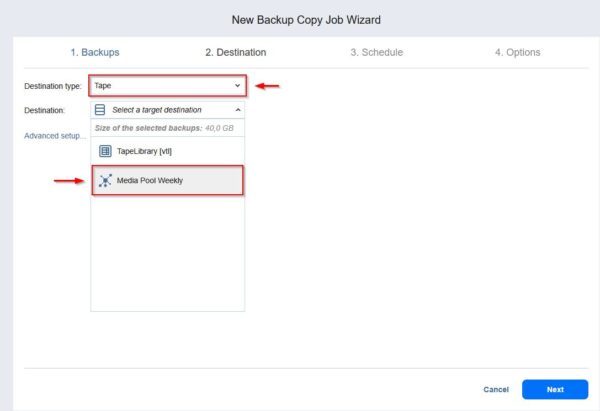
Select Tape as Destination type and select the desired Destination from the list (in the example, the previously created Media Pool is used). Click Next.
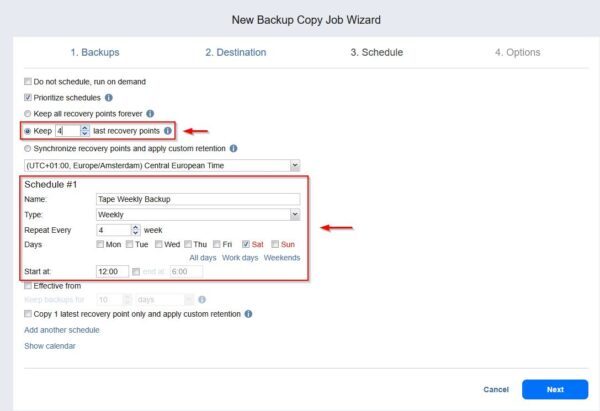
Specify the Schedule for the Nakivo Backup to Tape job and the recovery points to keep. Click Next.
Specify the Job name and the Backup encryption type then click Save to save the configuration.
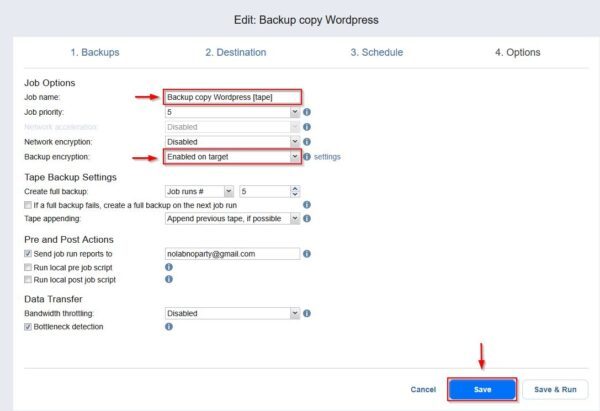
Test the backup job
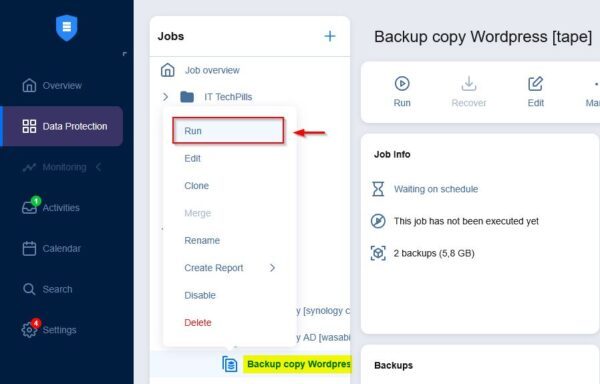
Right click the just created Tape Job and select Run.
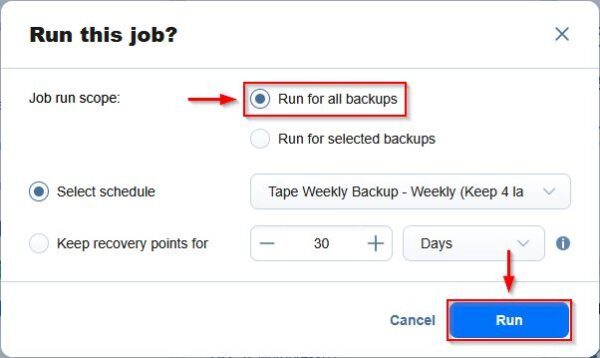
Select Run for all backups and click Run.
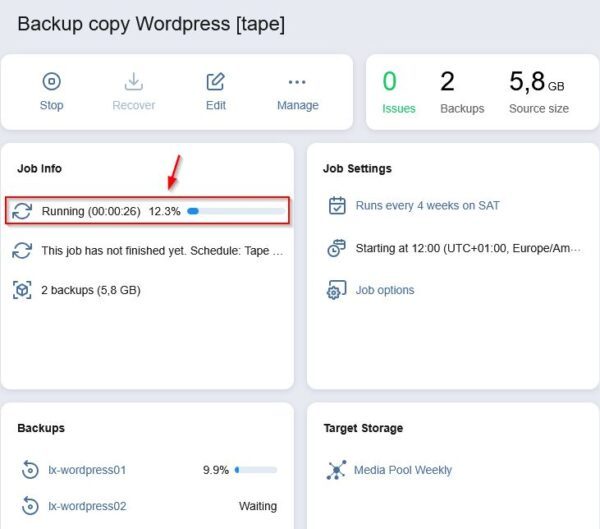
The backup operation is executed.
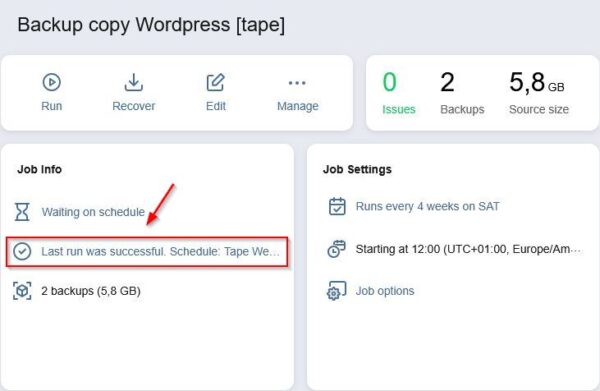
After a few minutes the Nakivo Backup to Tape job is completed successfully.
Restore backup from tape
The restore process is a two stages process:
- Restore the VM backup from tape to repository
- Restore the VM backup from repository to production
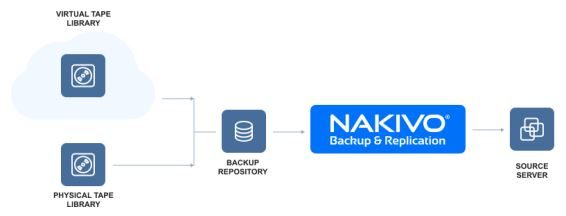
Stage 1: Restore the VM backup from tape to repository
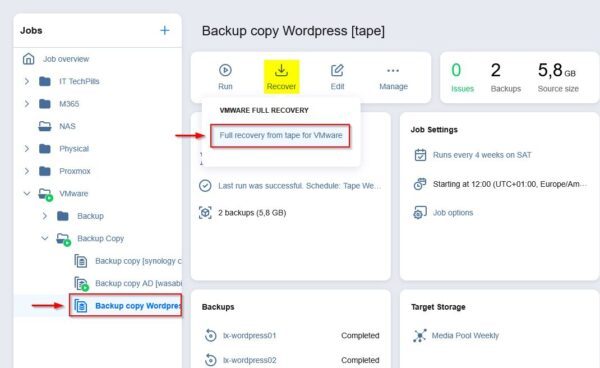
From Data Protection section, select the Backup to Tape job previously executed and click Recover > Full recovery from tape for VMware.
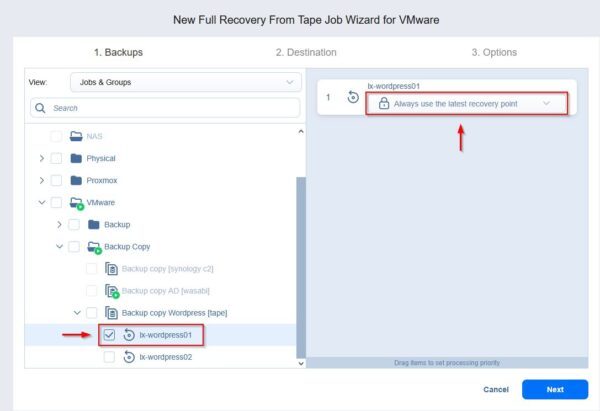
Select the VM to recover from the tape and the recovery point to use. Click Next.
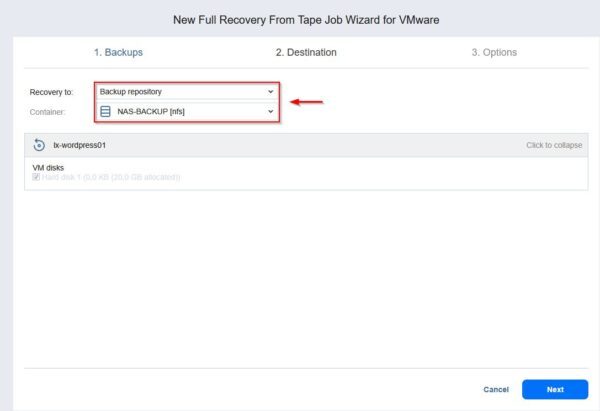
From the Recovery to drop-down list, select Backup Repository then select the Container to use. Click Next.
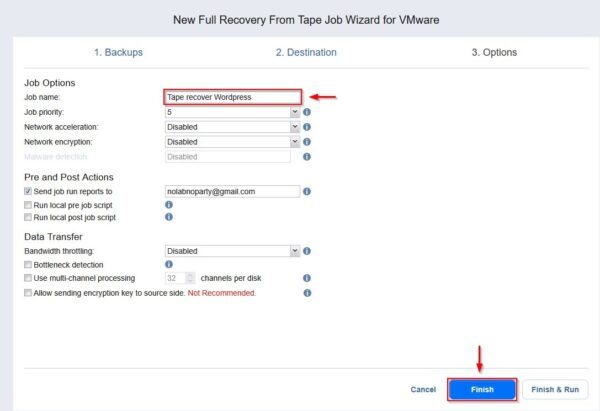
Enter the Job name and click Finish.
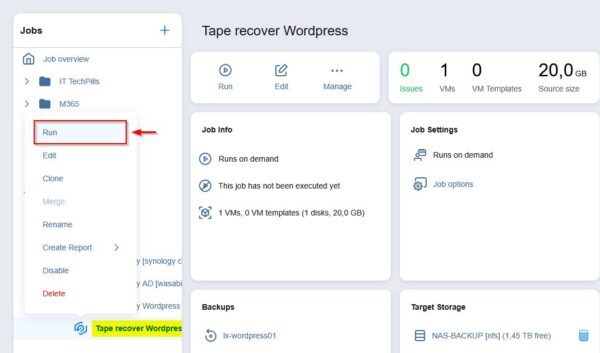
Right click the just created tape recovery job and select Run.
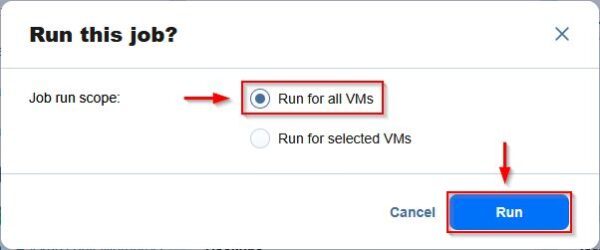
Select Run for all VMs and click Run.
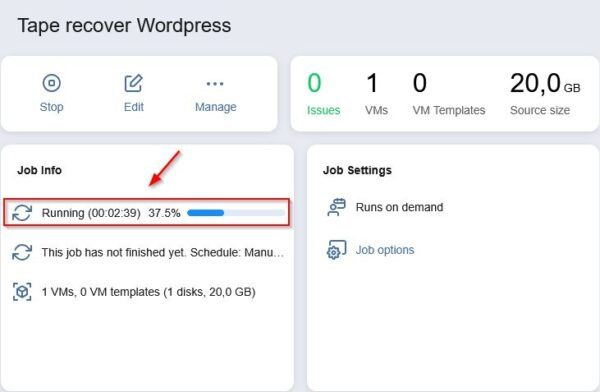
The restore from tape to the selected repository is being performed.
After few minutes the restore is completed successfully.
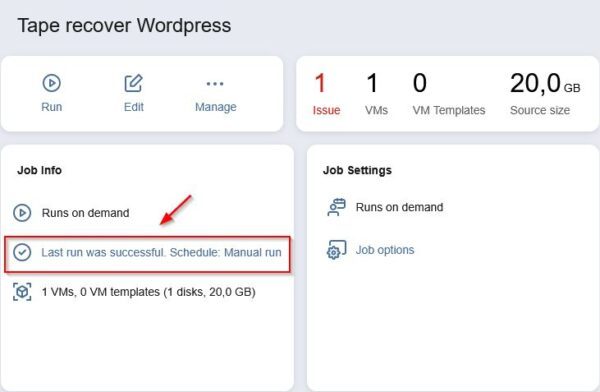
Stage 2: Restore the VM backup from repository to production
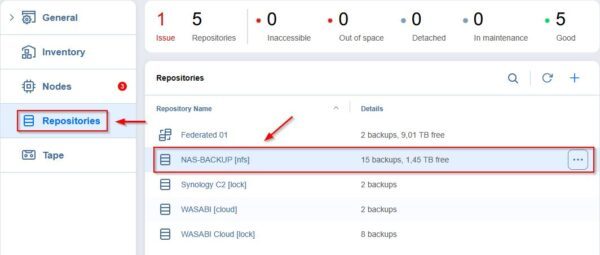
Go to Settings > Repositories and select the repository (NAS-BACKUP [nfs] in the example) where the VM backup has been recovered from the tape.
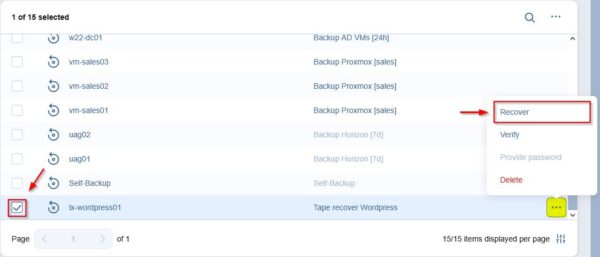
Select the VM, click the ... (three dots) then select Recover.
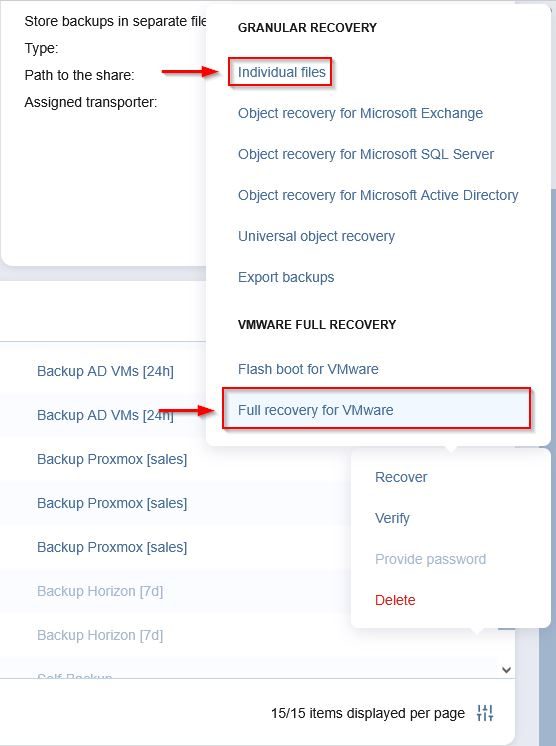
Select Full recovery for VMware to restore the entire VM or Individual files to perform FLR.
Nakivo Tape Backup capability allows you to store backups on tape devices, making it ideal for archiving long-retention backups and ensuring compliance with the 3-2-1 backup rule.
Nakivo Backup & Replication is available as 15-day trial.