The Omnissa Connection Server is the most critical component to upgrade, as any issues could significantly impact VDI functionality.
This upgrade requires careful planning and after upgrading the App Volumes Manager, the Connection Server should be the next Horizon component in the upgrade sequence.

Blog series
Omnissa Horizon 2503 upgrade guide: App Volumes Manager - pt.1
Omnissa Horizon 2503 upgrade guide: Connection Server - pt.2
Omnissa Horizon 2503 upgrade guide: UAG - pt.3
Omnissa Horizon 2503 upgrade guide: DEM and Templates - pt.4
Before the upgrade
Check your installed version to ensure you are in the supported upgrade path.

Before proceeding with the upgrade, ensure you have:
- A valid backup of your Horizon infrastructure.
- A valid license for the new version.
Additionally, take a snapshot of the server as a precaution. If you need to revert to this snapshot, follow Omnissa’s recommendations:
If you ever need to revert to this snapshot and if you have other Horizon Connection Server instances in a replicated group, you must uninstall those instances before you revert the golden image to the snapshot. After you revert, you can reinstall the replicated instances and point to the instance you reverted.

From the Horizon Console take a screenshot of the Global Settings, configured Desktop Pools and all the settings specific to this instance in case you need to restore.

Take a backup of the Horizon LDAP using the tool vdmexport.exe. Open the Command Prompt and type the commands:
C:\> cd "\Program Files\Omnissa\Horizon\Server\tools\bin"
C:\...> vdmexport.exe -f c:\temp\backupdb.ldf

The created backup file.

Upgrade the Connection Server
Download the application from Omnissa website and copy the installer file to the server to upgrade.
To upgrade a specific Connection Server, we need to disable it to prevent the system from using it during the upgrade process. Login to the administrative console and go to Settings > Servers and go to the Connection Servers tab. Select the Connection Server to upgrade and click Disable.

Click OK to confirm.

The server State is now reported as Disabled.

Double click the installer file to run the wizard.

Click Next to continue.

Click Next.
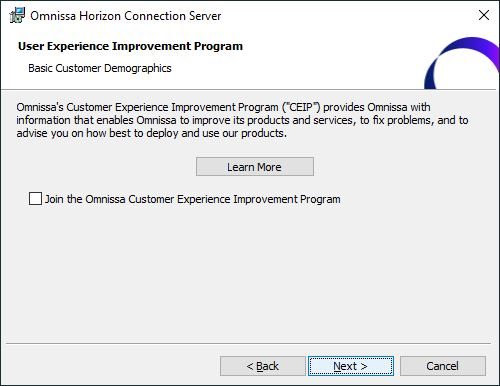
Click Next.

Click Install to begin the upgrade.
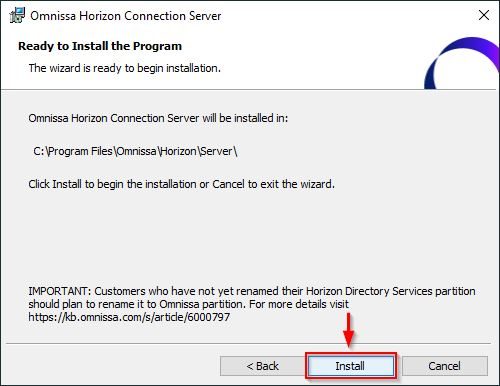
The upgrade is being executed.

When the installation is completed successfully, click Finish to exit the wizard.

Now go back to Settings > Servers and navigate to the Connection Servers tab. Select the just upgraded server and click Enable. Take note of the new Version number displayed.

Now select and Disable the second Connection Server and repeat the same upgrade procedure.

When all Connection Servers have been upgraded, the new version will be 8.15.0.

Remove the snapshot previously taken.

When you access the Connection Server Console login page, the new version will be displayed.

Upgrade the Enrollment Server
If your Horizon infrastructure uses the Enrollment Server for TrueSSO, you must also upgrade this component.
Follow the same procedure as outlined earlier.

When the installation is completed successfully, click Finish to exit the wizard.

The Enrollment Server has been upgraded successfully.
Upgrade the Horizon Agent
Also the Agent installed in the Golden Image must be upgraded. Double click the installer file to launch the Agent upgrade.
Click Next.

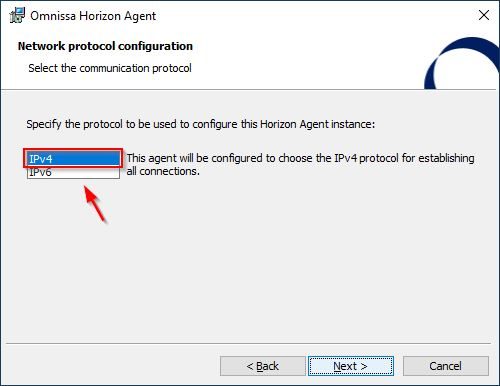
Leave default protocol IPv4 and click Next.
Select the additional features to install then click Next.

Click Install to proceed with the Agent upgrade.

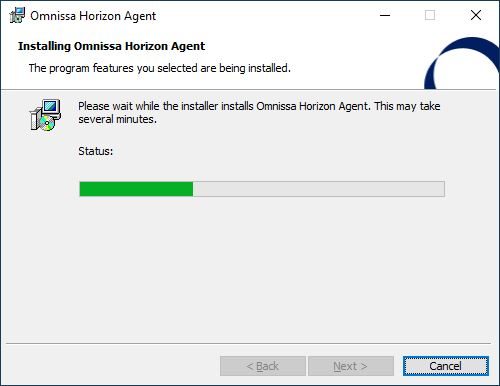
The Agent is being installed.
Click Finish to exit the wizard.

Click Yes to reboot the system.

Connection Server, Enrollment Server and Horizon Agent are now upgraded to version 2503.