Nakivo Instant Recovery (known as Flash Boot) is one of several key enhancements for Proxmox VE introduced in Nakivo Backup & Replication v11.2.
If a mission-critical VM with strict RTO requirements fails, the restore procedure must be performed as quick as possible. Since a standard Full Restore may require an unacceptable amount of processing time, the Instant Recovery capability is essential.Nakivo Backup & Replication v11.2 currently supports Instant Recovery (Flash Boot) for VMware vSphere, Microsoft Hyper-V and Proxmox VE virtual platforms.
How Nakivo Instant Recovery works
Flash Boot is a feature provided by Nakivo Backup & Replication that allows you to boot VMs directly from compressed and deduplicated backups.
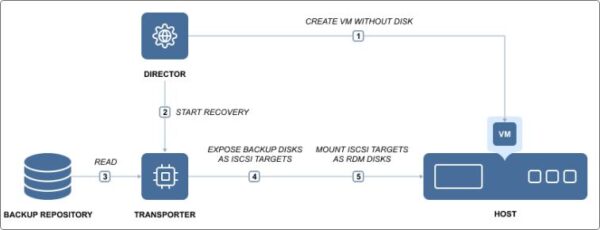
When you trigger a Flash Boot job, Nakivo Director automatically creates a diskless VM on your target host. Simultaneously, the Transporter exposes the VM disks within the Backup Repository as iSCSI targets, which the Director then mounts to the new VM.
This entire process is fully automated and finishes in seconds, allowing the OS to start booting immediately. Once the VM is live, you can seamlessly transition it to your production environment using your hypervisor’s native live migration tools.
How to perform an Instant Recovery with Flash Boot
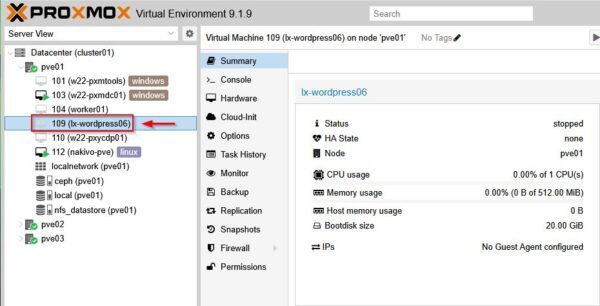
If you have a mission-critical VM (lx-wordpress06 in the example) that suddenly fails, it is crucial to restore the service quickly to limit downtime.
To proceed with the restore operation, ensure you have a working backup available for the VM you wish to recover.
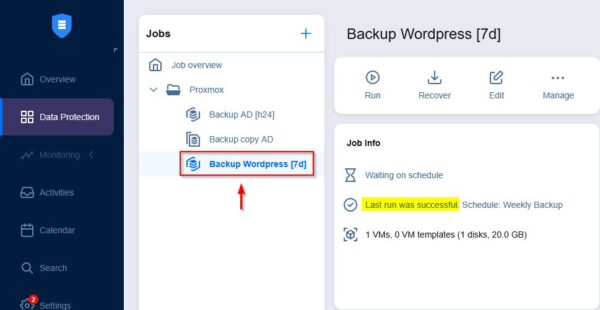
While a working backup allows administrators to recover the service, a full restore may exceed the expected RTO, impacting business operations. Fortunately by leveraging Nakivo's Flash Boot, the RTO is kept extremely low.
Configure the Flash Boot Job
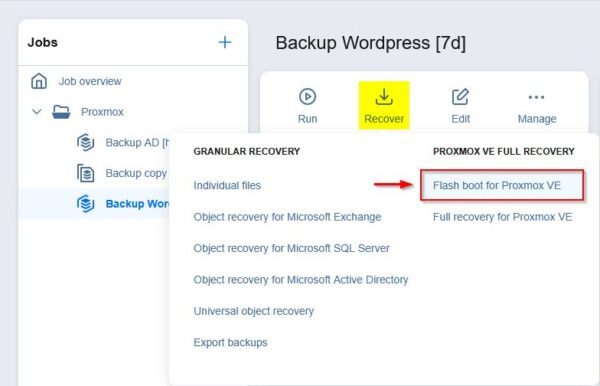
To run Nakivo Instant Recovery, select the Backup Job containing the VM then select Recover > Flash boot for Proxmox VE.
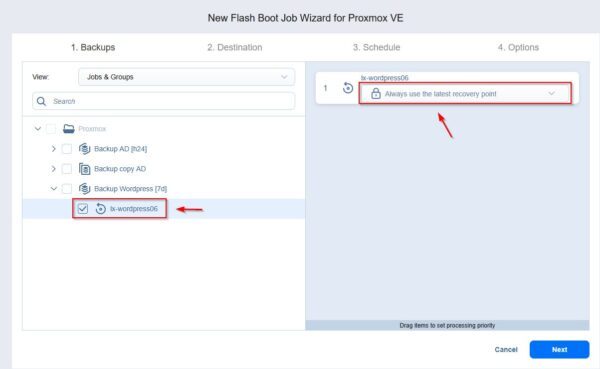
Select the VM to recover and the Recovery Point to use (the latest recovery point is selected by default). Click Next.
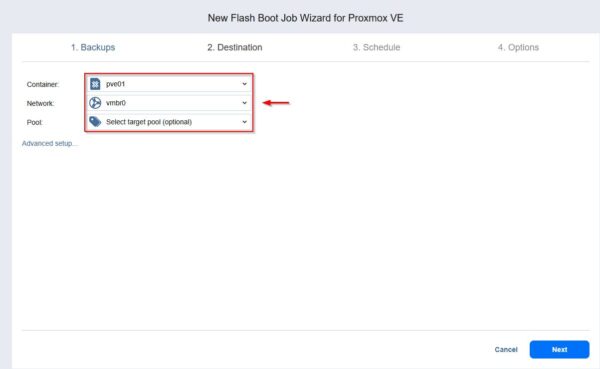
Specify the Container and the Network to assign to the VM, then click Next.
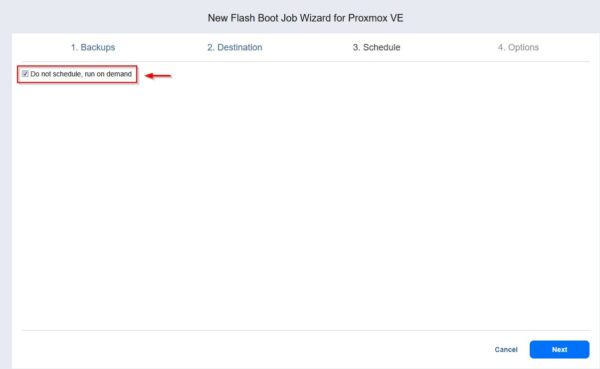
Since the Flash Boot in a DR scenario is tipically a one shoot operation rather than a recurring task, enable the Do not schedule, run on demand option and click Next.
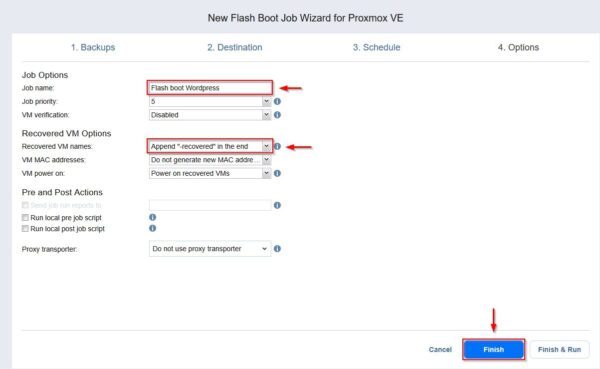
Specify a Job name and the Recovered VM names to avoid overwriting the existing VM in Production. Click Finish.
Run Flash Boot on Proxmox VE
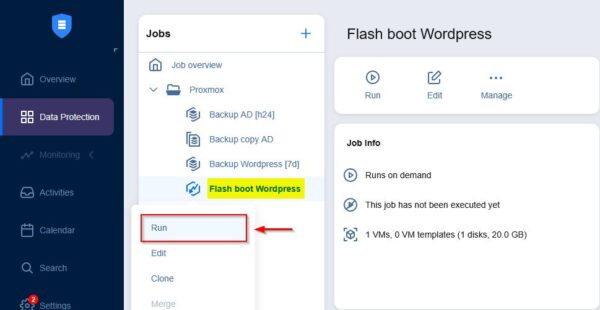
Right click the newly created Flash Boot Job and select Run.
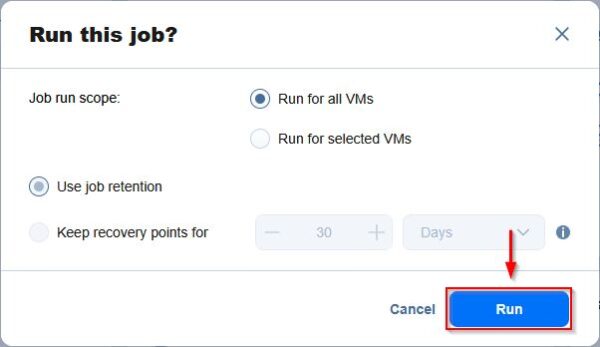
Click Run again to confirm.
The Flash Boot operation will begin.
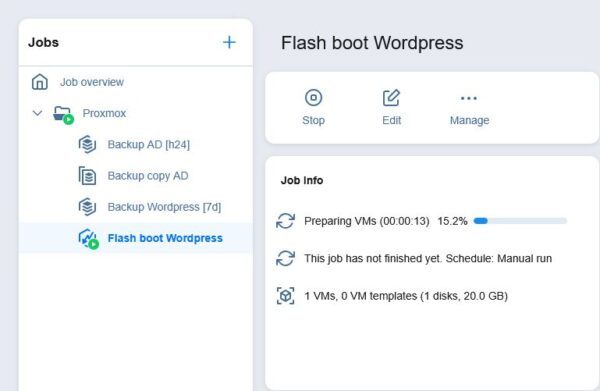
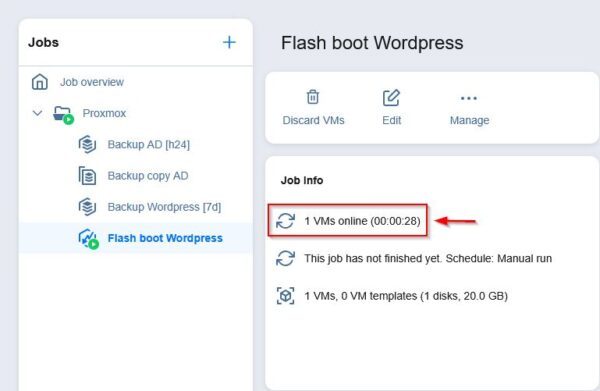
After a few seconds, the VM will be reported as online.
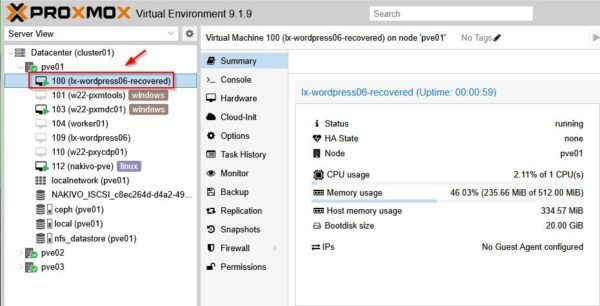
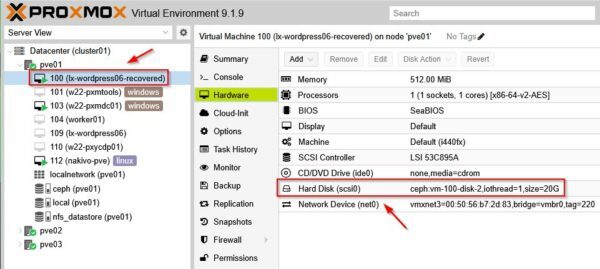
From the Proxmox VE GUI, you can see the recovered VM (lx-wordpress06-recovered in the example) up and running.
In this example, the failed VM provides access to a WordPress website. By navigating to the correct URL, you can verify the website is reachable and fully functional. Keep in mind that the VM is currently running directly from the Backup Repository.

Finalizing the Flash Boot operation
With Nakivo Instant Recovery, the VM and its services are restored in seconds. However, you must decide what to do with the data generated while the VM was running in Flash Boot mode. If the VM is simply powered off, changes are not retained.
You have two options to finalize the operation:
- Discard the VM - if changes do not need to be kept.
- Commit the changes - if new data must be retained for Production use.
Discard the recovered VM
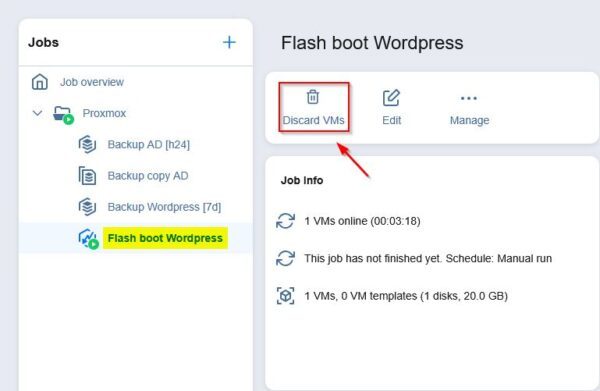
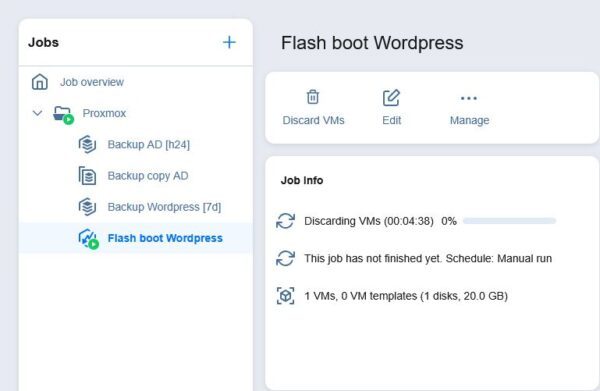
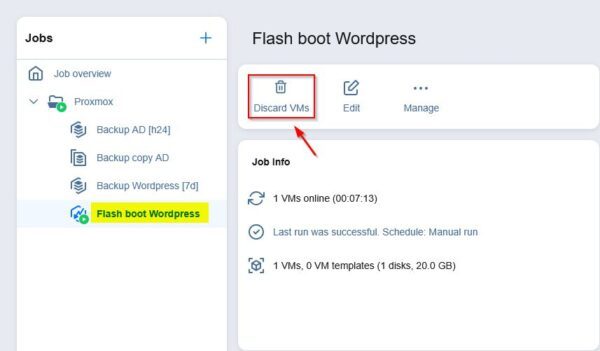
If you don't need to retain new data and simply want to stop the Flash Boot process, select the Flash Boot Job and click Discard VMs.
Click Discard to confirm.
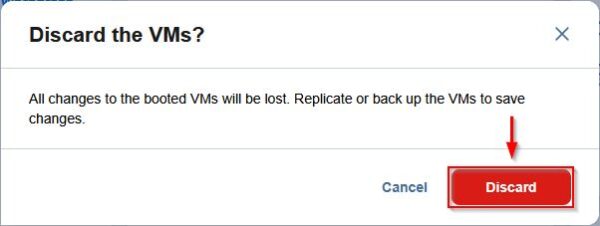
The machine is powered off and all changed are discarded.
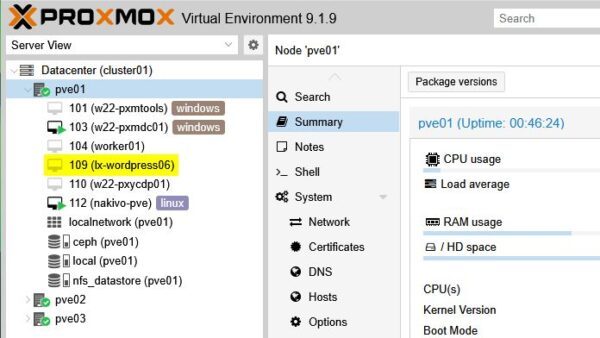
The VM with the _recovered extension is removed from Proxmox VE leaving the source VM unaltered.
Retain changes (commit to Production)
To ensure that changes made during the recovery period are not lost, you must move the data to production storage.
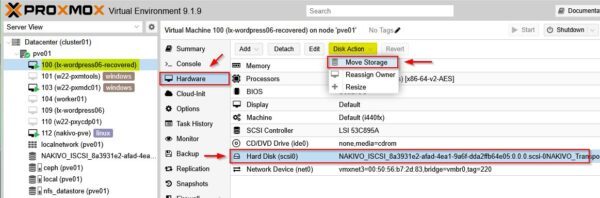
Select the recovered VM in proxmox VE, navigate to the Hardware section and select Hard Disk. Select Disk Action > Move Storage.
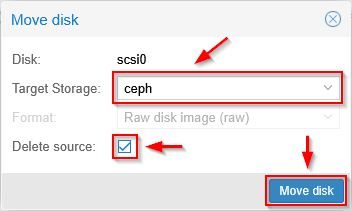
Specify the Target Storage, enable the Delete source checkbox and click Move disk.
The disk move operation will execute. Don't click Discard VMs during this process.
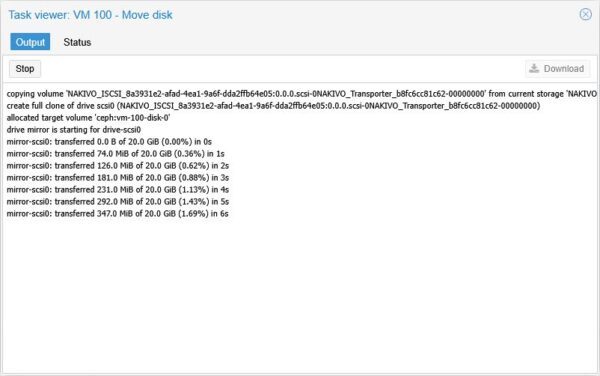
Depending on the VM size, after few minutes the move is completed.
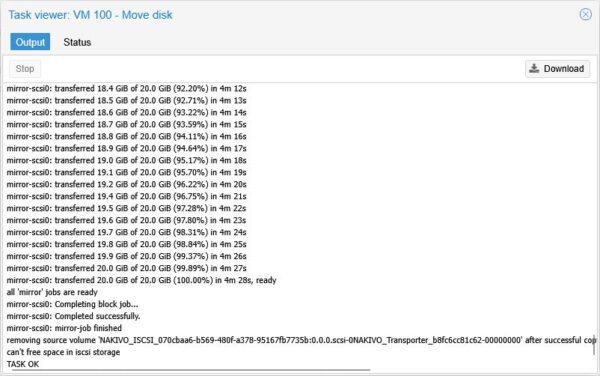
Once the move is complete, click Discard VMs in the Nakivo console.
The recovered VM will remain running in Proxmox VE, but its disk will now reside on the Production datastore retaining all changes made during the Flash Boot period.
By introducing Flash Boot support for the Proxmox VE platform, Nakivo Backup & Replication has taken a significant step forward. This extended feature set positions Nakivo as a top-tier backup solution for protecting workloads within Proxmox VE environments.