


If the OOTBI repository used for Veeam backups is out of space, you can expand Object First OOTBI cluster with a simple, secure, and seamless procedure.
The process of adding new nodes to your cluster is straightforward allowing you to go from a single node to a multi-node powerhouse in just a few simple steps.
In this example, an OOTBI VSA will be used but the procedure is the same for the physical appliance.
Rack the new appliance
The first step is to physically mount the new OOTBI appliance in your rack, then connect all the required network and power cables.

Power on the appliance.
Check available space in Veeam
A key feature of Object First OOTBI is its ability to present the cluster's total available storage space to Veeam Backup & Replication as a single, unified repository.
This eliminates the need to re-configure the repository whenever you add new nodes, ensuring a seamless expansion process. You can easily check the available space in the Object First repository directly from the Veeam console.
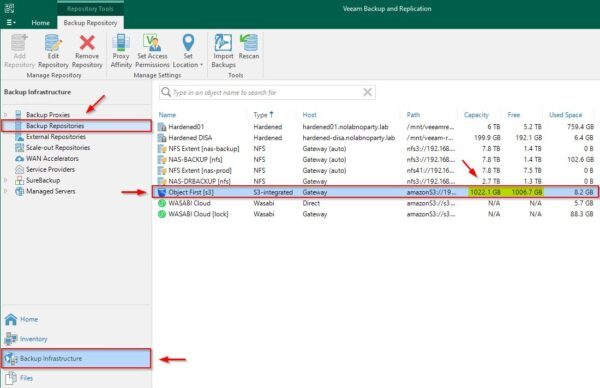
Go to Backup Infrastructure > Repository area and locate the Object First OOTBI repository. Take a note of Capacity and Free values displayed.
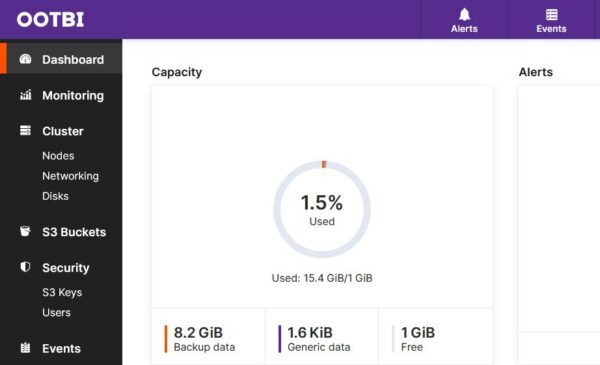
The Capacity status can also be verified within the OOTBI console.
Initial configuration of the node
Once you have verified the remaining free space in the OOTBI repository, you can proceed with the procedure to expand Object First OOTBI cluster. Before you begin, make sure that no backup jobs are currently running in Veeam.
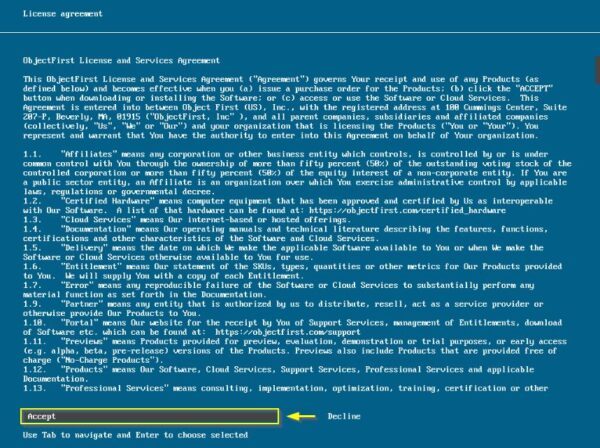
Access the console of the newly added OOTBI appliance using a local monitor and keyboard, or remotely through IPMI. Select Accept and press Enter to accept the EULA.
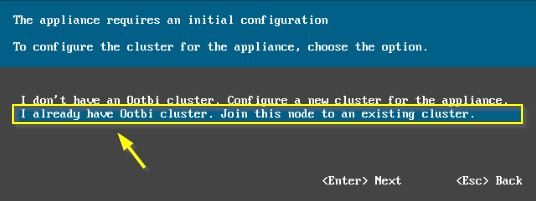
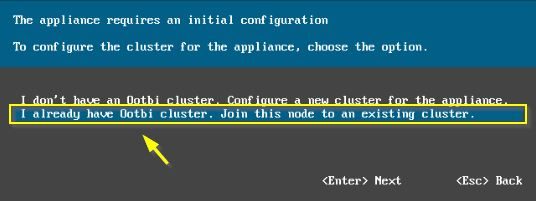
Since you are not creating a new cluster but simply joining an existing one, highlight the I already have Oobti cluster. Join this node to an existing cluster. option and press Enter.
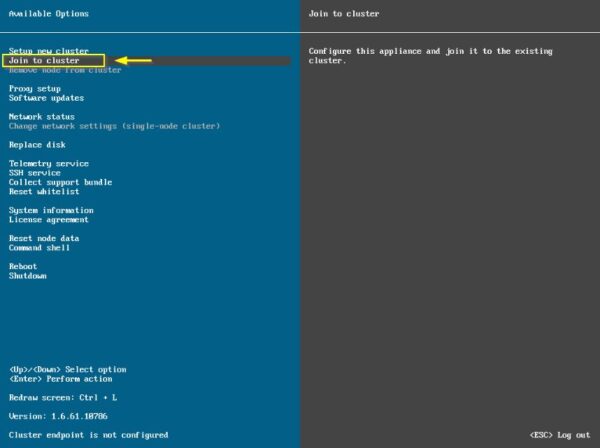
If you want to see the available setup options, press Esc to skip this setup window.
If the previous window was closed, select the Join to cluster option to expand the cluster.
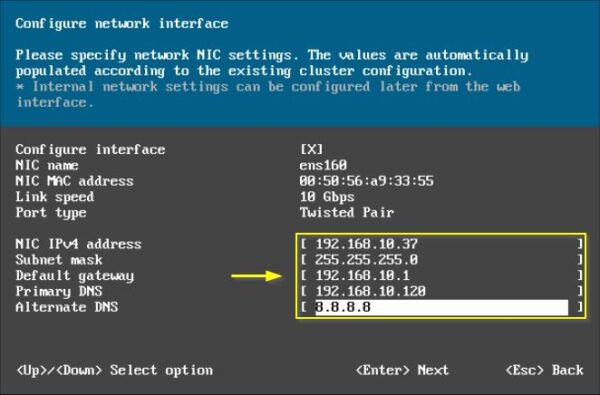
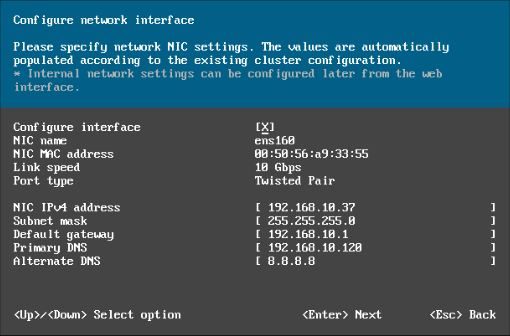
Enter the network interface settings for the new appliance and press Enter.
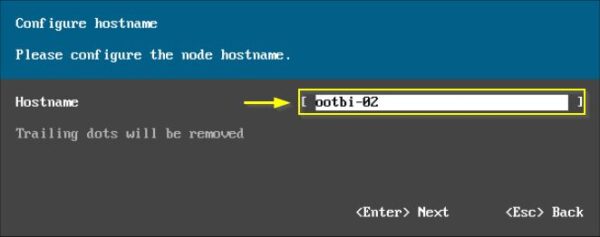
Specify the Hostname and press Enter.
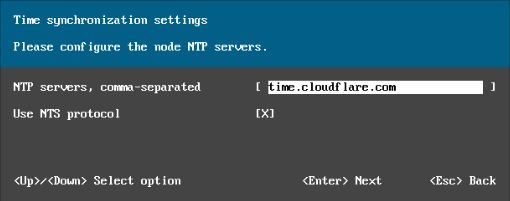
Enter the NTP Servers to use for time synchronization, then press Enter.
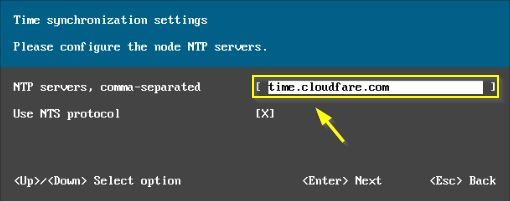
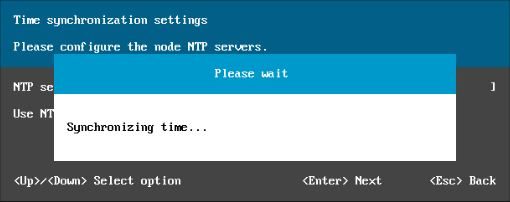
The system then synchronizes the time with the specified NTP servers.
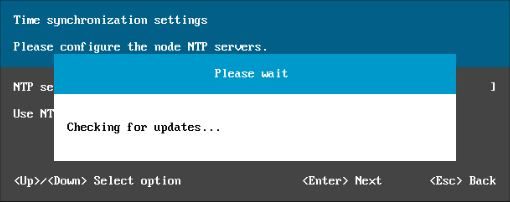
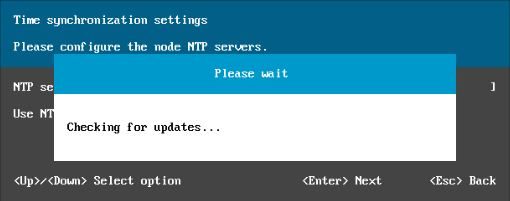
After the time has synchronized, the system checks for available updates.
If an update is found, press Enter to install it. Make sure that all appliances in the cluster have the same software version installed.
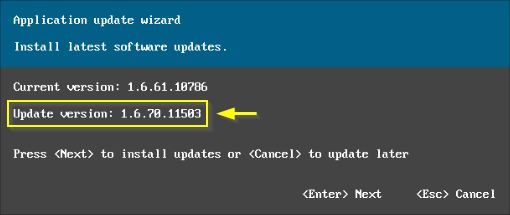
The update is being installed.
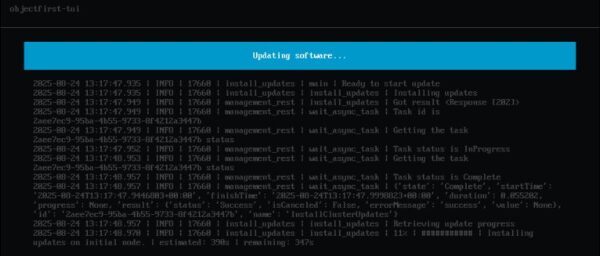
When the update process is complete, the initial setup window is displayed once again. Highlight the I already have Oobti cluster. Join this node to an existing cluster. option and press Enter.
The next steps are exactly the same as before, but all the settings from the previous setup are retained, and no changes are necessary. Press Enter to continue.
Again, press Enter to continue.
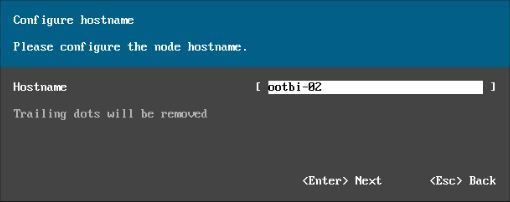
Press Enter to continue.
As the final step, the system will synchronize the time and check for updates once again.
Expand Object First OOTBI cluster
With the appliance configured and updated, it's time to expand the Object First OOTBI cluster.
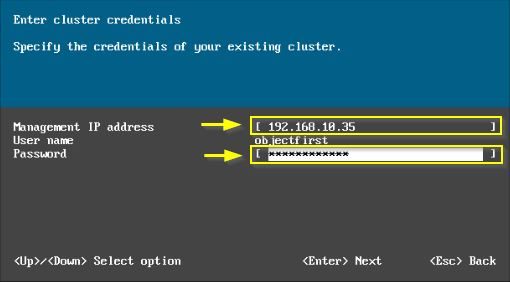
Enter the Management IP address (the IP address of the existing Object First cluster) and the Password for the objectfirst user.
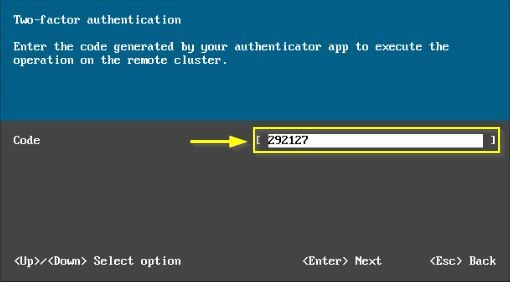
If you have enabled MFA, which is a security best practice, you'll need to enter the Code generated by your authenticator app and then press Enter.
The system will display the detected Cluster UUID. To ensure you are joining the correct cluster, verify that this displayed UUID matches the one from your existing cluster. Press Enter to continue.
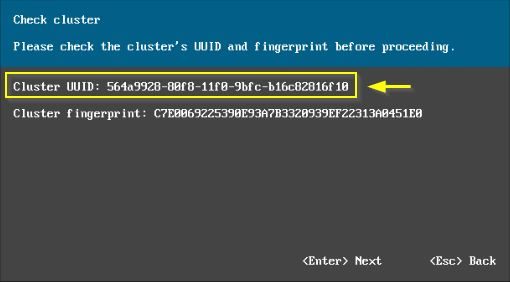
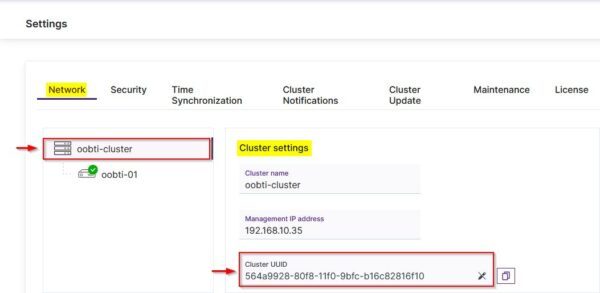
You can find the Cluster UUID by connecting to the existing cluster's console and navigating to Settings > Network > Cluster Settings.
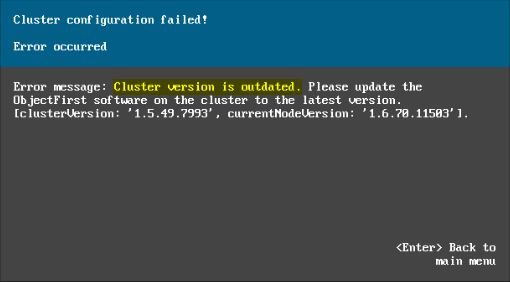
If the new node's software version does not match that of the existing cluster, you will encounter an error. In this scenario, you must first upgrade the cluster to the correct version before adding the new node.
Press Enter to finalize the task.
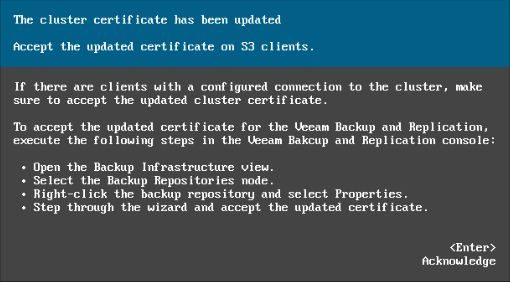
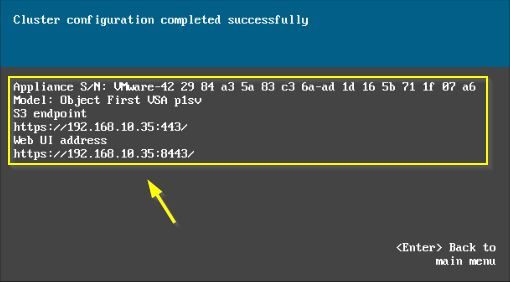
Once the system has successfully completed the process, the new node is fully integrated into the cluster.
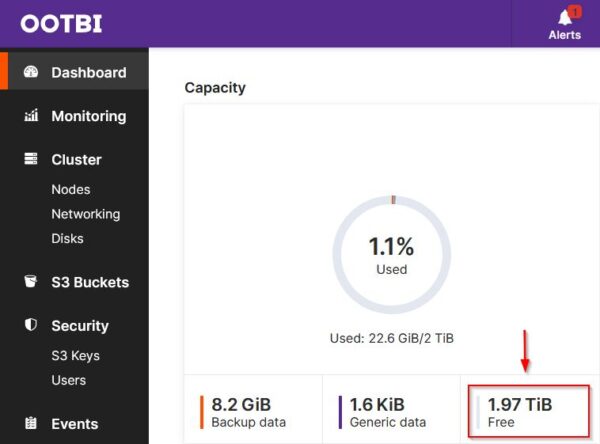
You can verify the increased Capacity by checking the OOTBI console.
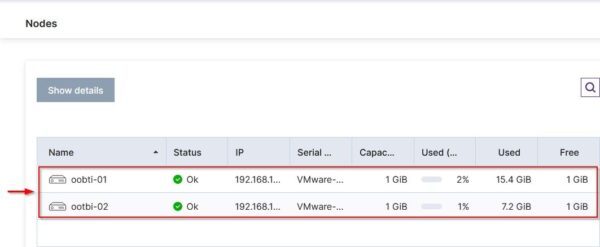
You can check also the updated number of nodes.
Update the repository space in Veeam
To allow Veeam Backup & Replication to recognize the increased capacity, you need to run the setup wizard again. Right click the OOBTI repository and select Properties.
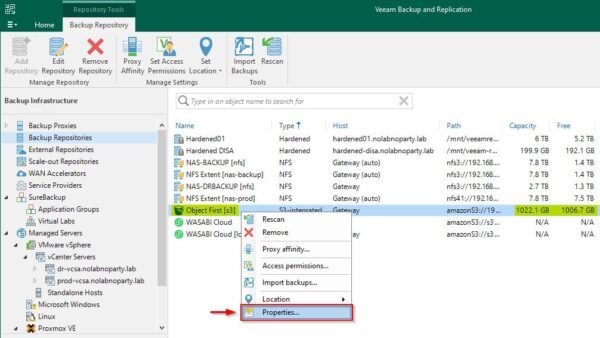
Proceed through the wizard by clicking Next, then Next again, followed by Apply, and finally Finish.
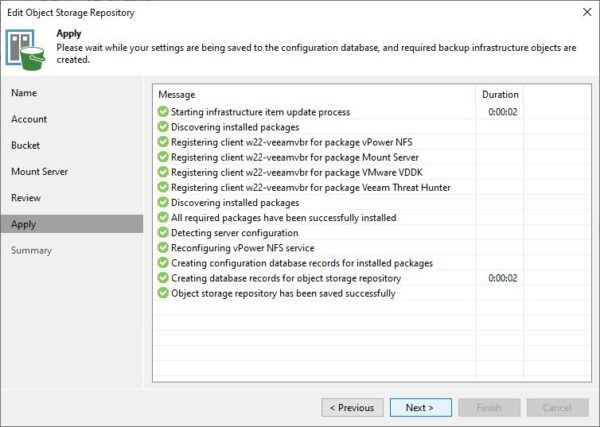
After this simple operation, the total capacity of the repository has been updated to reflect the new value.
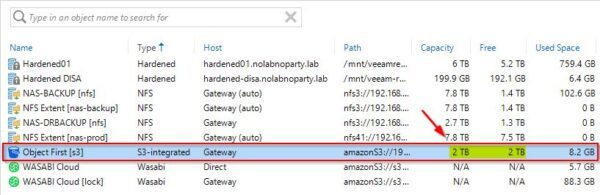
The procedure to expand Object First OOTBI cluster is now complete and the Veeam repository has now additional space to store backups.


